

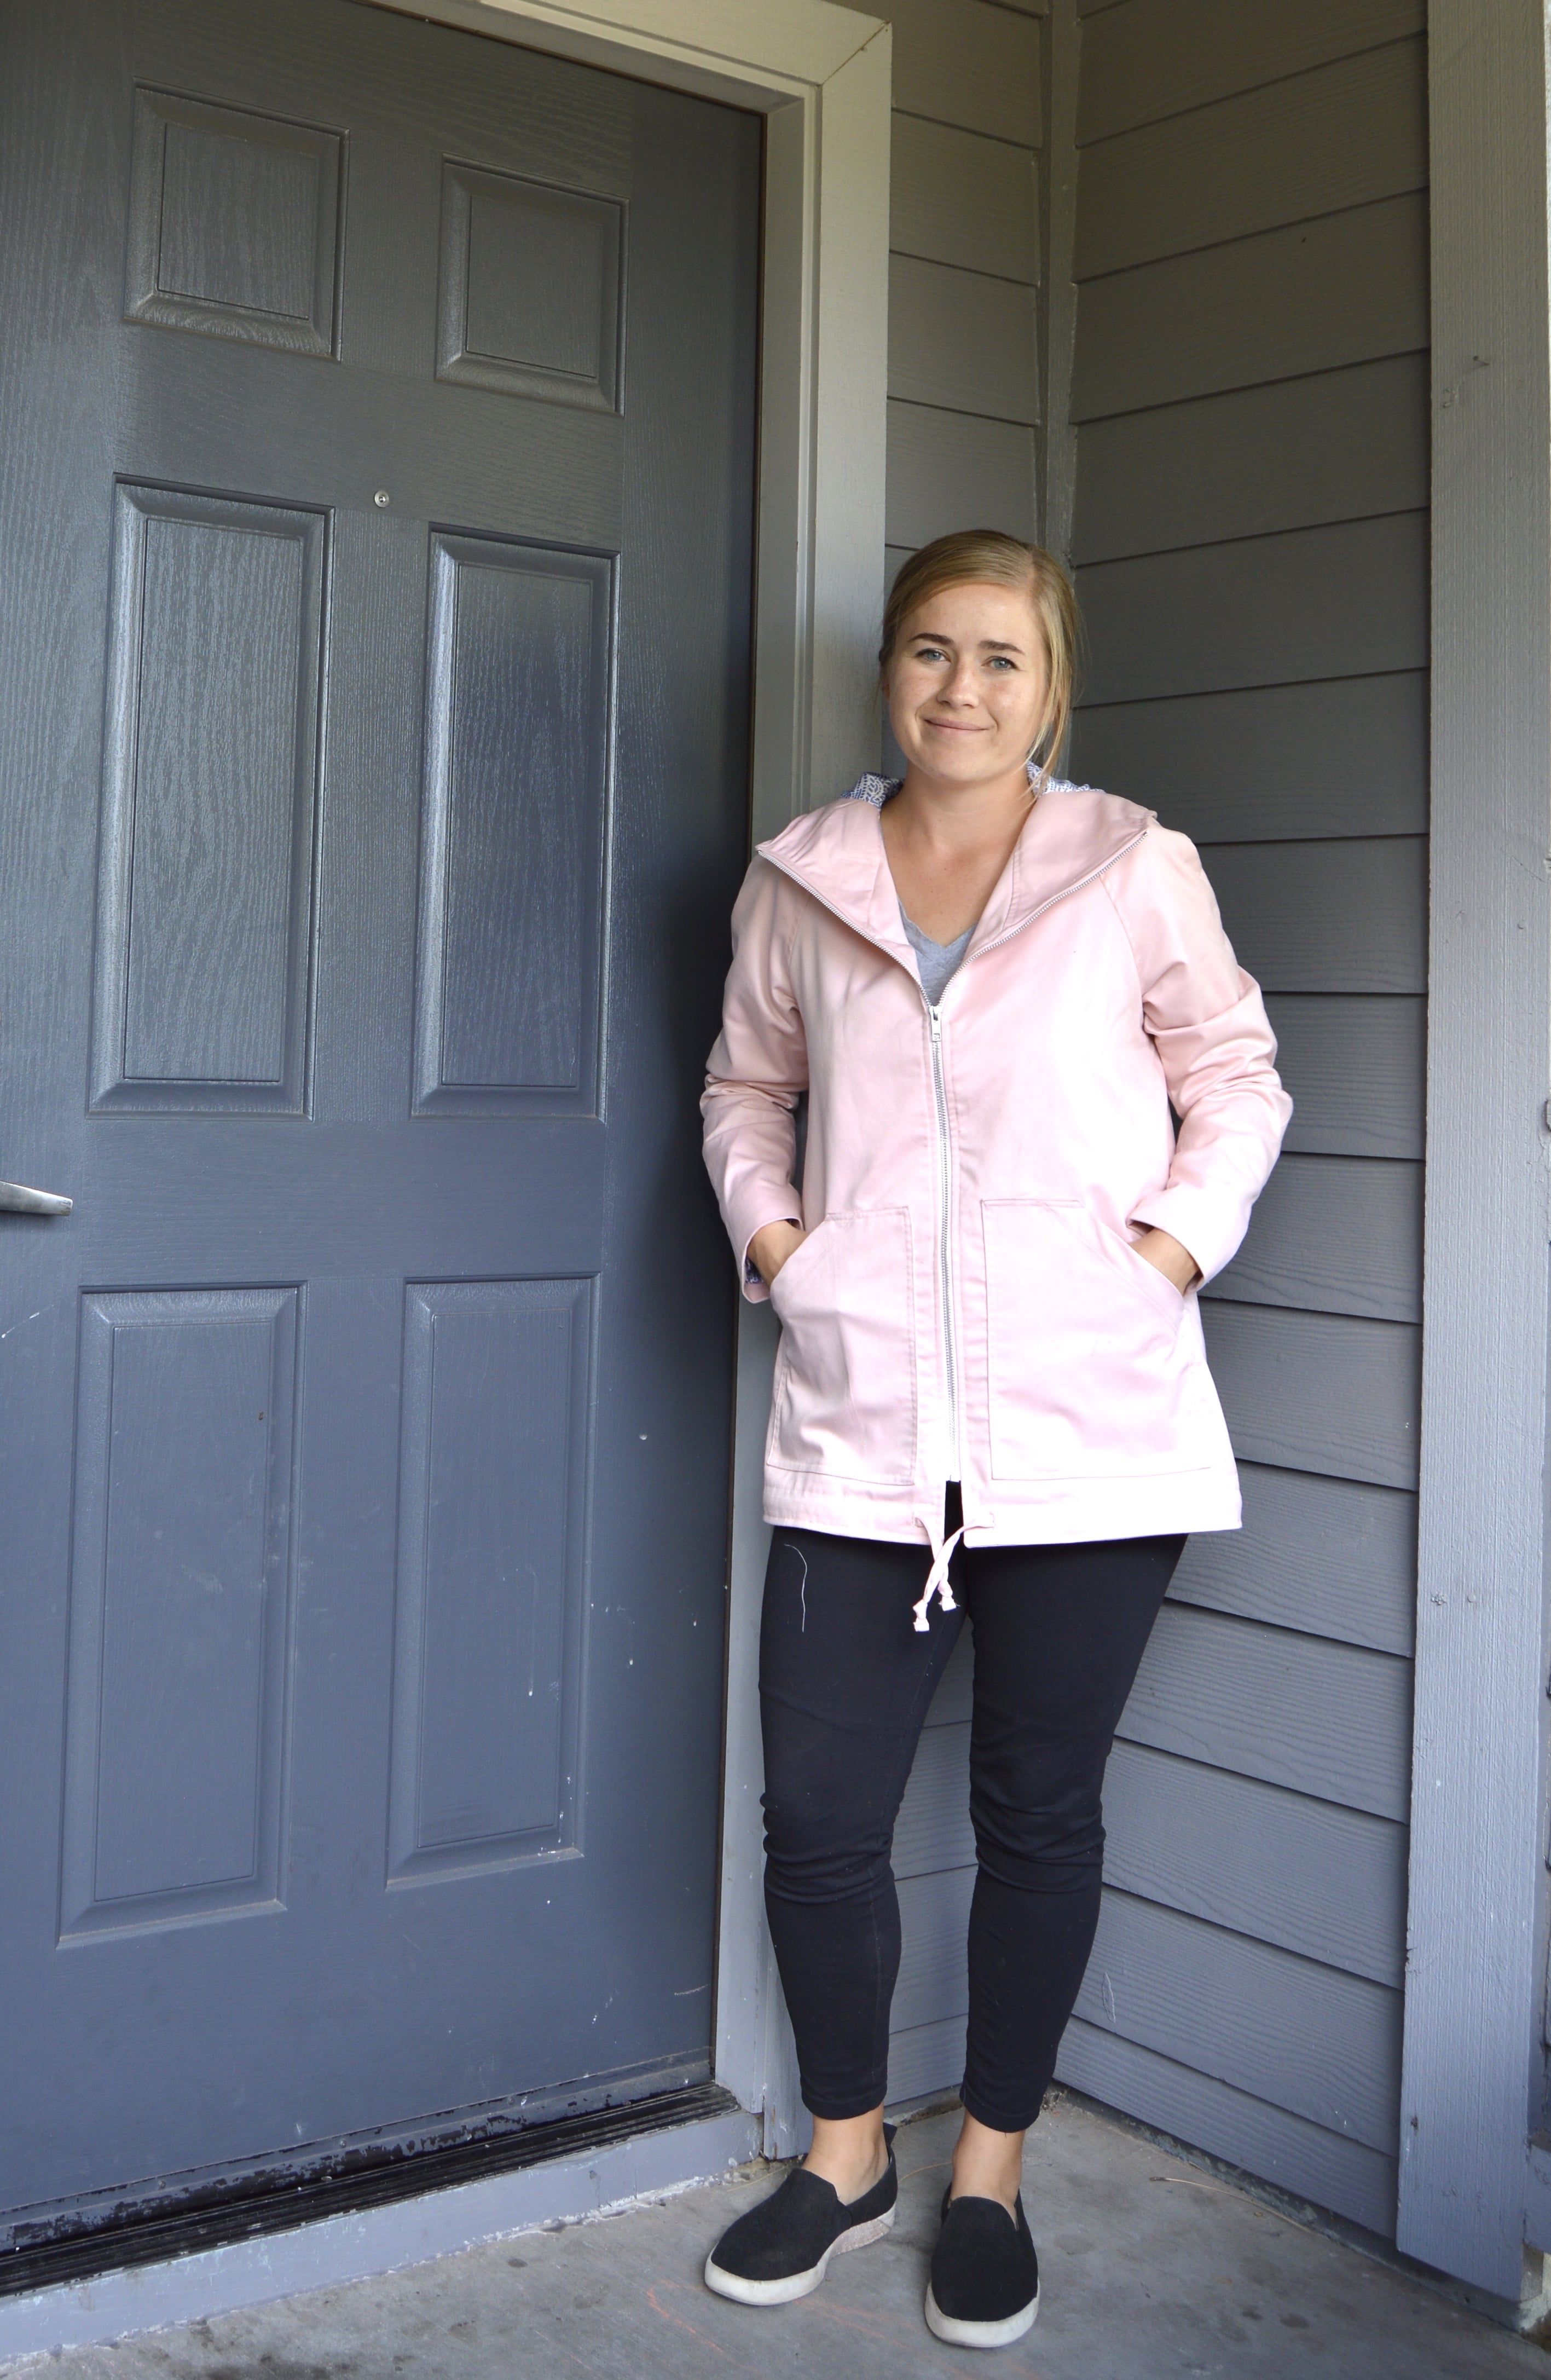
I made a jacket!
And I totally love it!
For me, making a jacket is right up there with some of the other crazy things you might make, like jeans. Like, sure, you might make a t-shirt or a dress but a jacket? No way! Except, I did! And it was so fun and so much more doable than I had expected and I am in love with it and I might even not mind if the weather starts getting colder so I can wear it more often. Okay maybe not that. But all the other things for sure!

Okay so let me back up and start at the beginning. I had a period, when I started making clothes, where I just was still so oblivious to the gobs of independent pattern designers out there. So any time I saw a pattern that was even remotely cute I’d feel like I needed to have it, regardless of my own skill level or style. The Joy Jacket by Chalk and Notch was one of those patterns.
- I saw it
- I thought it was really cute
- It was on sale (a bonus step)
- I bought it
No matter that it was outside my skill level or that I had none of the required fabric or notions (now my rule typically is that I have to have all of that ready to go before I purchase a pattern). But the pattern sat in my stash for over a year while I gathered the supplies and (inadvertently) increased my sewing skills. And then around August I finally decided it was time to get going on this jacket, just in time for fall.

So let me talk a little bit about sourcing supplies. Summer of last year my mom got a bunch of fabric for free from various people (spring cleaning, I guess??). She got lots of different kinds of fabric, especially apparel, and since she mostly sews quilts she let me go through the haul and take anything I wanted. I grabbed a big bolt of this cotton/poly twill and I knew it would make a great muslin for my Joy Jacket.

The pattern recommends using a medium weight fabric with good drape, such as a Tencel twill or rayon linen. This particular fabric is more structured than it is drapey, and, to me, it seems heavier weight than your standard Tencel twill. Because it’s a different fabric than what’s recommended, this was one case where I conceded that this version would be the muslin and that I would make my “real” version later. Spoiler alert is that the fabric and pattern seemed to go very well together. I had almost no issues due to my fabric choice (except for the hood; I wasn’t able to cleanly sew the casing, so I ended up just leaving the drawstring off the hood). I’ve loved the result so much that calling it a muslin has been scratched. This is my regular, made-it-myself jacket!

When I was seeing the jacket all over Instagram last fall, one of my favorite things was how so many people incorporated a really cute and fun fabric for the lining, so I wanted to do the same. I kept my eye out for awhile. After a couple of times almost buying some fabric for the lining, I realized how silly it would be to spend a lot of money on lining fabric since the shell fabric was totally free and because this version was only supposed to be a muslin anyway! I changed gears and headed to Joann’s determined to leave with something that was cheap and something that wouldn’t look horrible paired with the light pink. I landed on this cornflower blue silk (I should say “silk like” because I didn’t actually look at the content, silly me) that was on sale for $4 a yard. I got myself 2 yards. It’s not the absolute perfect match but I think since it’s a lighter hue it goes with the pink, it’s cute and it’s incredibly soft. Like really, really soft.

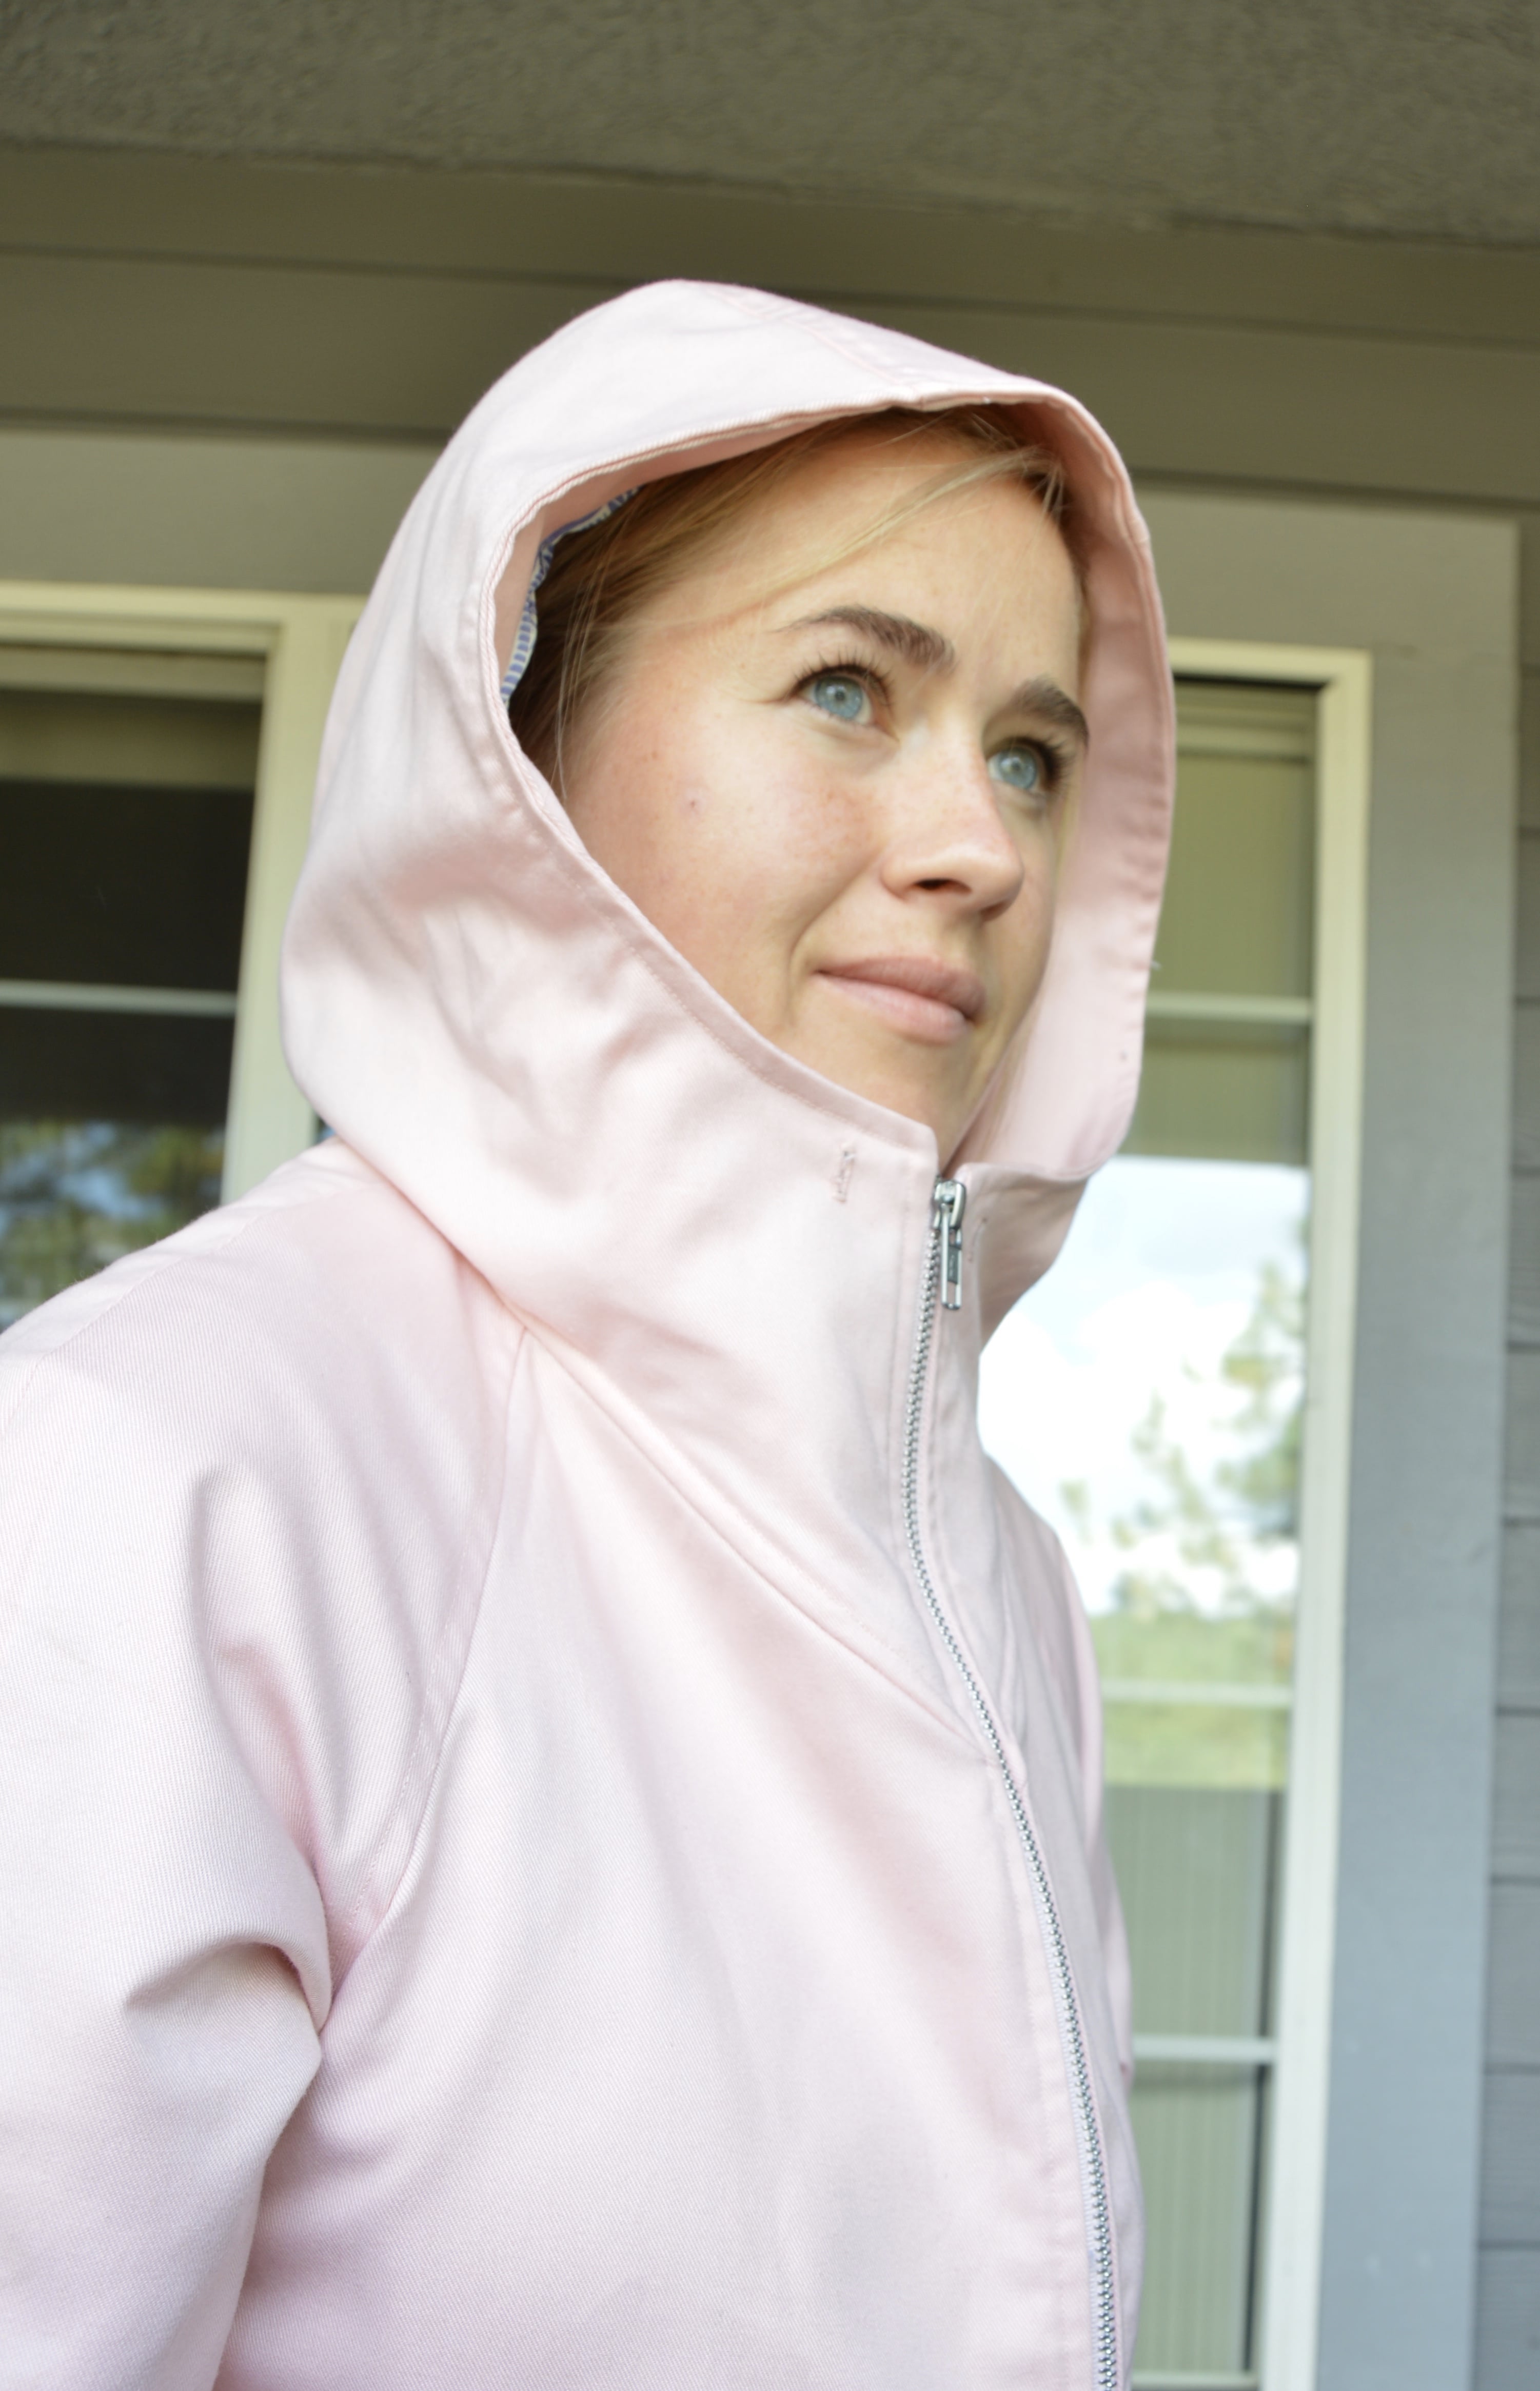
The jacket has two views, one with a hood and one without. It’s true that I almost never use my hood, but I like the look of a hood (even one that is not in use) and the option of a hood so I chose to do the hooded view.
I think one of the trickiest parts about this pattern is just the sheer number of pattern pieces. Because this is a lined jacket most of the outer pattern pieces have a lining piece to go with it. On top of that is the need for interfacing so with all those factored in there are over 30 pattern pieces! Again, all of them make sense, but it is a lot to prep. I spent one night printing, taping and cutting out my paper pattern pieces, one night cutting fabric for the shell pieces, and one night cutting out my lining and interfacing pieces (probably about 1-2 hours each night). So there is quite a bit of prep work to do before you even get to the sewing.

Once I got into sewing, I was really surprised at how quickly everything started taking shape. After only a couple hours I had the outer shell pretty much all sewn. I mean compared to jeans, that’s pretty quick to have something you can actually try on and test out. It felt pretty awesome. Next came the lining and the zipper. Then you bag the lining (sewing the lining to the shell) and the rest is just cosmetic (edgestitching, drawstrings, etc.). The jacket probably took me 4-5 days to complete (sewing about 2-3 hours each day. Sorry, I really ought to keep better track of timing, but I just sew when I can. I probably spent between 10-14 hours from first stitch to last press).

I mentioned that the amount of pattern pieces was the trickiest, but as far as sewing went, I think I only had two places where I got a bit tripped up. The first was in bagging the lining and it was when you sew the sleeves together at the wrist. I assumed some things and didn’t pay near as close attention as I should have to the instructions (and picture), so I ended up sewing that part totally wrong (which was easy to discover when I went to flip the lining to the inside and just straight up couldn’t.) Whoops! I unpicked and payed closer attention and voila! Success!
The other part where I had an issue was sewing the casing for the hood. I mentioned this briefly above and it was totally due to my choice in fabric. Since my fabric leaned more toward the structured side of things, it didn’t really have the give necessary to create a smooth casing for the drawstring on the hood. I gave it a go but it was just pulling and puckering all over. This wasn’t a huge deal for me, and I just decided to unpick the failed attempt and leave the hood as is, without a drawstring (the drawstring is optional anyway). Which, does leave me with an empty button hole, but I don’t think it’s super noticeable.

For the drawstrings at the hood and at the waist, you can use grommets but since I thought I wouldn’t be wearing this one, I just decided to go with buttonholes. It doesn’t look nearly as professional, but also I don’t think people are really eyeing your jacket to see if it has actual grommets, so I’m not sad I went with buttonholes this time, but I most likely will choose grommets for the next go around. I got my zipper at Wawak (their zippers are cheap and they’ve got a good selection of colors-much better than the selection at any of the sewing/craft stores I have locally). I made the mistake of storing the zipper folded in half and now there’s a bit of a struggle to get it zipped at the place where it was folded. I mean, I can get the zipper all the way up, it’s just a bit tricky. Lesson learned. Don’t store zippers folded!
A total plus to sewing something that’s fully lined is there’s no need for a serger. I think there was maybe a place or two where there was an option to serge something (just to clean up an an edge and prevent fraying inside your jacket), but nowhere is it necessary. I didn’t serge anything that was kind of awesome if you ask me.
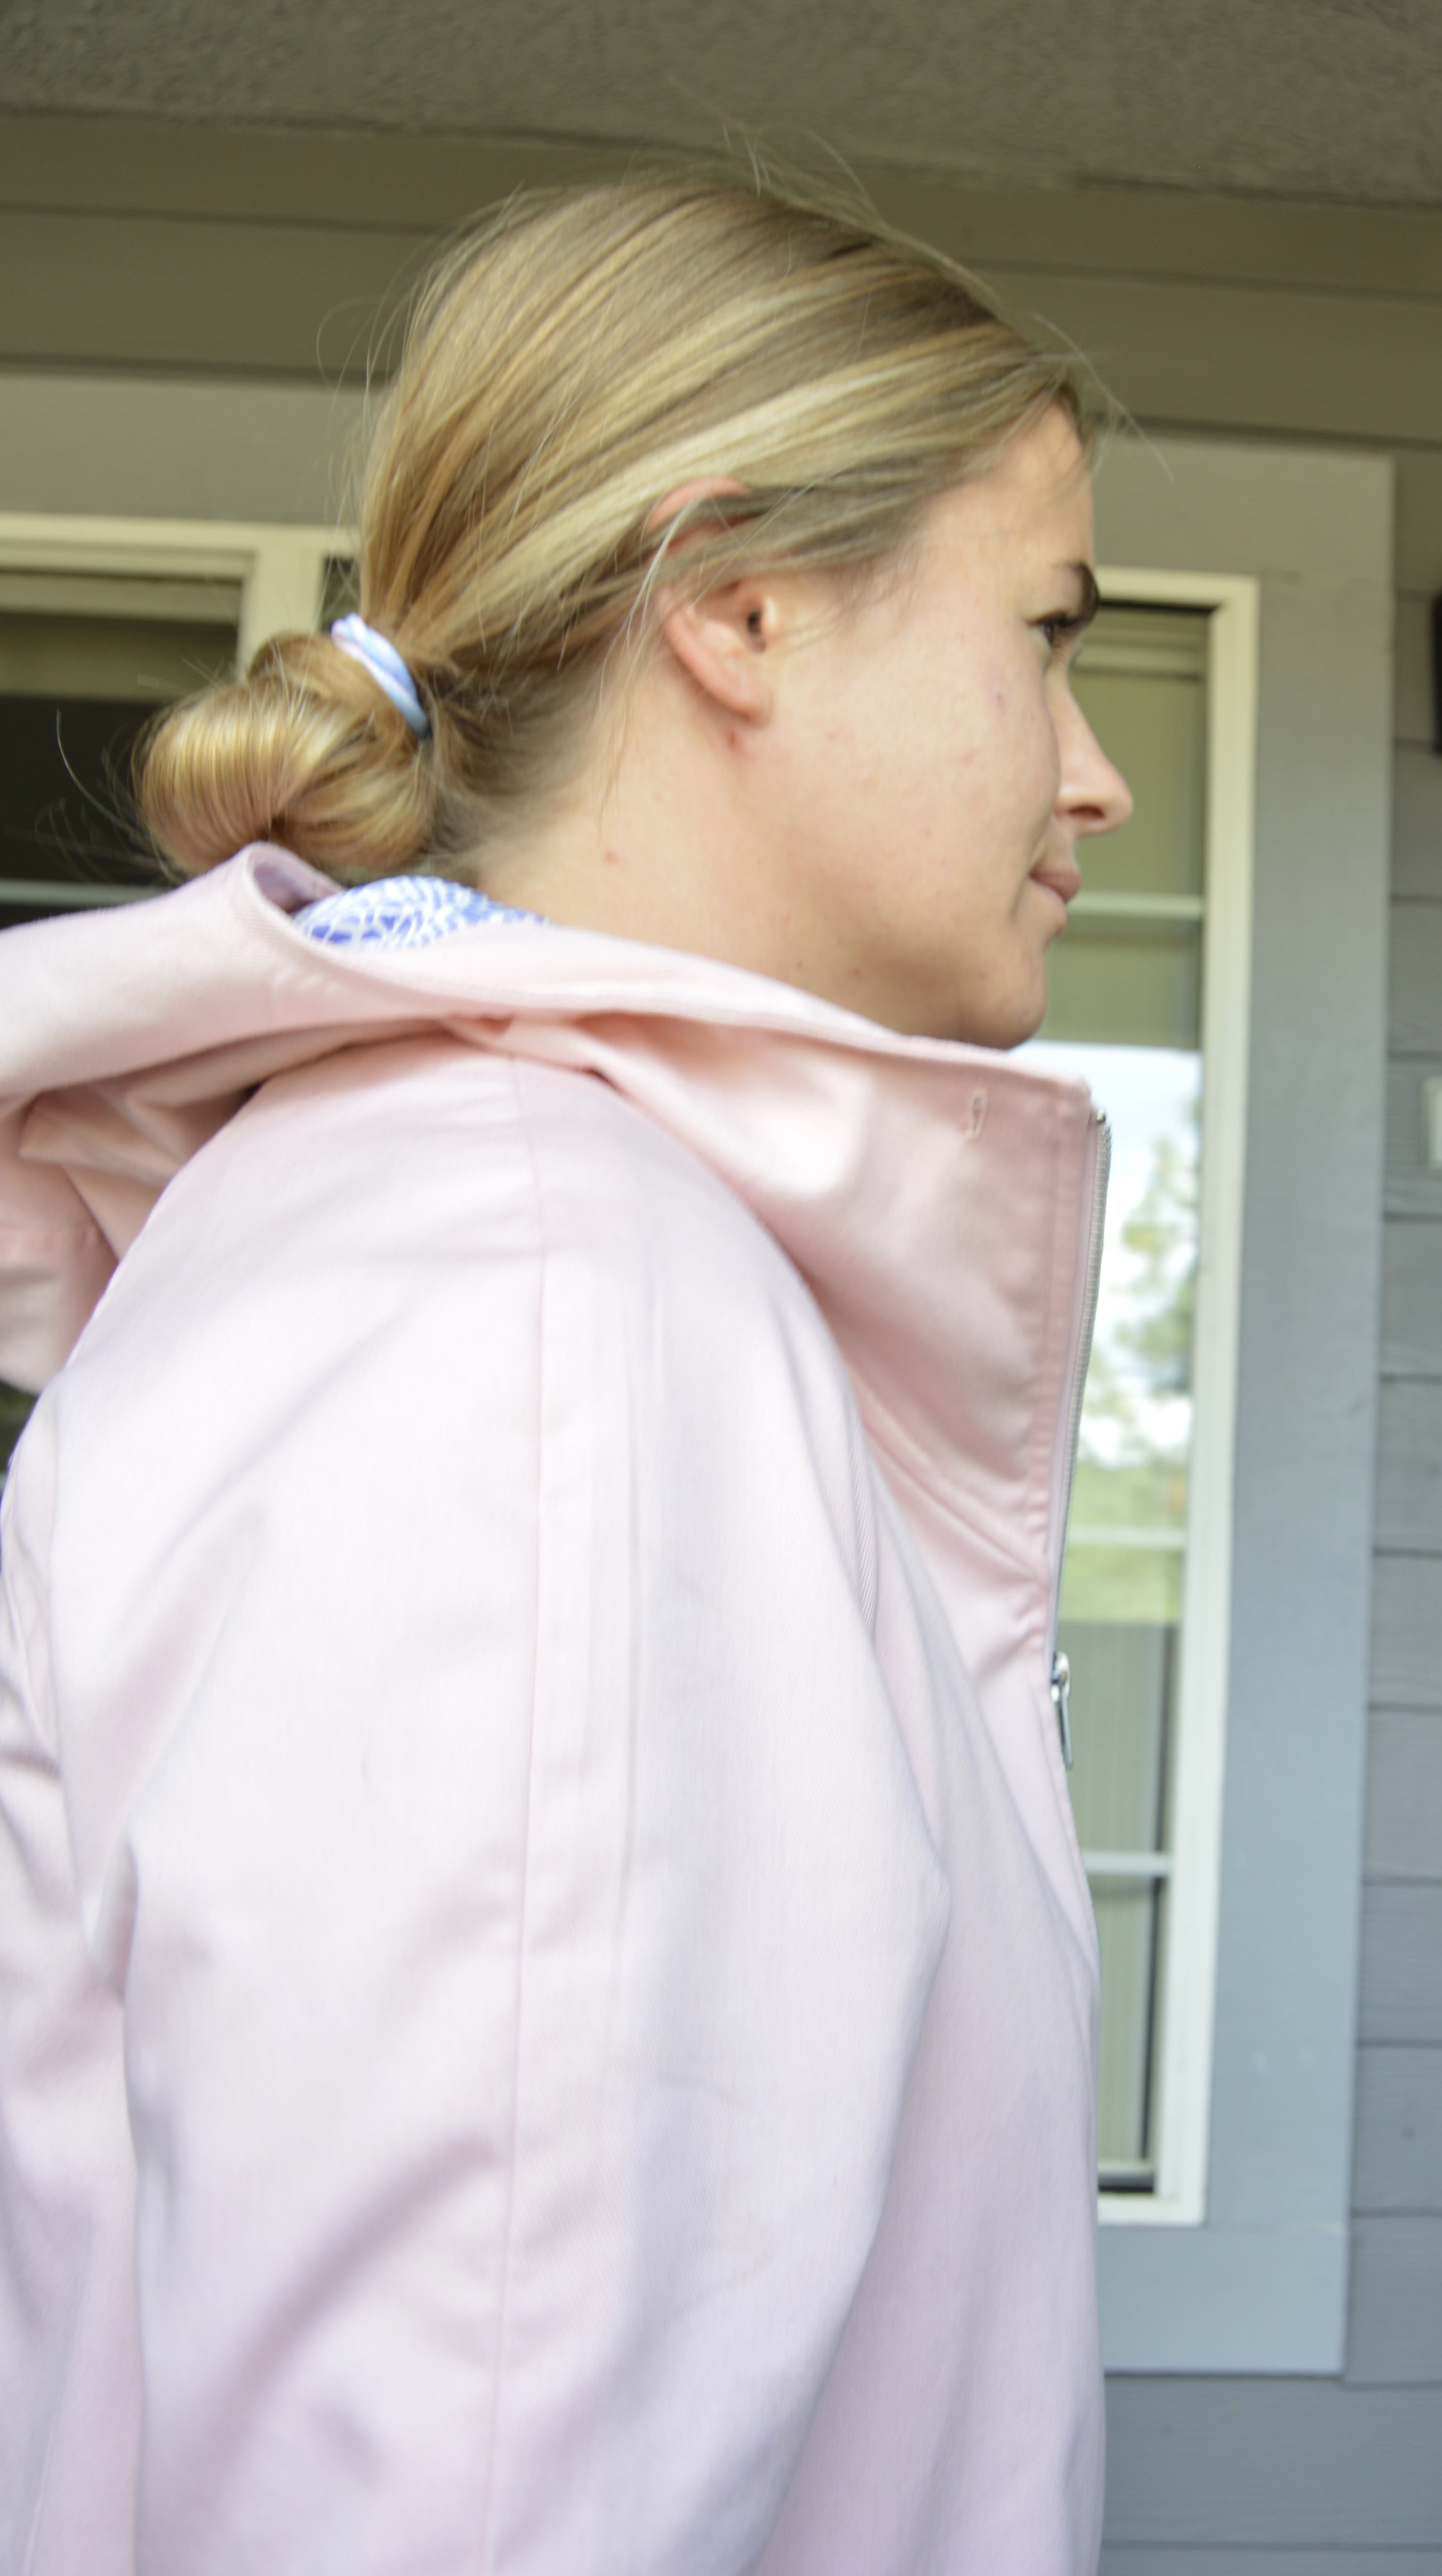
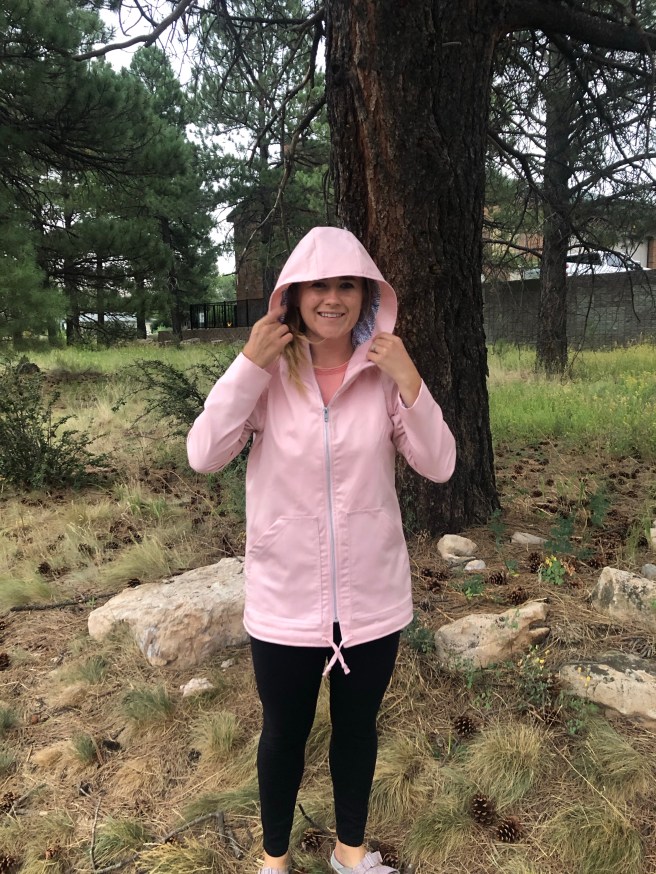
Most of the projects I sew up to wear (even basic tees) are accompanied with a sense of accomplishment for having completed the project. But I think this jacket took that sense of accomplishment to an even higher level. I just feel so darn proud of this thing. I don’t generally announce that I’ve sewn something but every time I wear this I want everyone to know. I made this jacket, people! It’s totally not perfect but I’m just so pleased by how it turned out. It fits so well. It’s roomy enough for layers, but doesn’t look or feel huge. The hood is generous and comfortable, but stays in place when on my head. I wasn’t sure if I’d like the raglan arms, but they are drafted so well that they just look natural (meaning, I don’t think that’s a feature that is even noticed at first because it’s just so seamless). And the lining I chose has been a surprisingly huge hit! It’s insanely soft and smooth against my skin (and against other fabrics). We had a cold snap for a couple weeks and I wore this jacket every chance I got. Things have warmed back up for the time being, but I still get to wear it when we go for evening walks and I’m so glad. It is such a joy (jacket) to wear (har har, sorrynotsorry).
I don’t know if this will make sense but some of the clothes I make feel like I made them. Whether it’s the construction or just wearing fabric that’s different from what you’d buy ready to wear, I’m not sure. But I think one of the best successes of this jacket is that it doesn’t feel like it’s handmade at all. And, again, I don’t know if that’ll make sense, especially if you’ve never worn handmade clothing before, but it’s been a big deal to me this time around. It just feels natural and regular and so comfy and I feel like I’m not making any sense so I’ll move on.
I think I’ve praised Chalk and Notch patterns before, but on the chance that I haven’t, let me just say how pleased I am with this pattern (and with all their patterns I’ve tried: the Orchid and the Fringe (and mini Fringe)). Gabriela puts so much care and detail into her patterns. I feel like there are always so many subtle details that might even be lost to the viewer, but as you sew it you are just so appreciate how things are put together and what the overall look ends up being. Plus the instructions are so incredibly approachable. I think even a newer sewist could absolutely whip one of these jackets out because everything is taken step by step. Pictures are included and there is a sew along (although I never felt the need to look at it). I’ve also been so happy with the fit of Chalk and Notch patterns. They must use a block similar to my needs because the waist always hits me right on. I may have to account for some length but that is totally normal for me. Anyway the pattern is wonderful and that’s been consistent with every pattern I’ve purchased from these guys.
There are definitely other jacket patterns out there. I haven’t tried any other ones so I can’t really speak to them, but I have really loved this particular pattern and I think it’s a great option especially for your first jacket and/or if you’re new to sewing clothes (and you don’t need a serger! I think those things all kind of fit together). It’s also (in my opinion) a good value (lots of other jacket patterns I’ve seen are more expensive, or include additional pricing if you want to include a lining). Okay, okay I’m sure you get it by now! I definitely recommend this pattern. I’ve really loved it (obvs).
Pattern: the Joy Jacket pattern from Chalk + Notch
Size: 10
Adjustments: I took 1 inch off the sleeve (I don’t really like long sleeves and taking off 1 inch was perfect for me. If you adjust length, don’t forget to adjust on your lining piece as well!)
Fabric: a cotton poly twill that I got for free from my mom…I still have like 10 yards of this stuff so…yeah. The lining is from Joann Fabrics.
Cost: Pattern (on sale)- 11.20
Lining fabric- 8
Zipper– 1.09
Outer fabric, thread-free/in stash
(Heck yeah, excluding the pattern I made this jacket for under $10! That’s pretty sweet. Even including the pattern I got a great deal. Not always the case in sewing. Suh-weet!)
Would I make this pattern again?: YES! I’m totally happy with this version but I will make another one (definitely not until next year at least). For my next version I want to use the suggested material and I want to adjust the drawstring so that it sits at the waist instead, a hack I’ve seen that wouldn’t take too much effort but would be a super cute alteration.


Kim! This jacket is beautiful! I mean, all the things you create are, but this especially is just 😍😍😍
LikeLike
Thank you! And it makes sense that you like it-this is basically your color!
LikeLike