
 Mindy Dress by FibreMood")
Well, I checked to see when I made my last dress and it’s been about 9 months! What a shame since dresses are one of my favorite things to make. Thankfully, this one turned out and I love it! BUT it came with some serious hurdles to overcome along the way.

When I first saw the Mindy dress, I automatically loved it. But I also knew that if I were going to make it, I’d have to do some tweaking because the neckline as originally drafted is wider and deeper than my personal comfort level. I hemmed an hawed over whether to go for it or not. I even went to Etsy and looked for cheap patterns that I could hack (since even with the Mindy, there would be a fair amount of hacking involved anyway, so maybe I could save a few dollars). In the end, though, I bought the Mindy pattern and let that be my base pattern.
Here comes the mic drop: I made 4 muslins of this pattern. FOUR. You guys might not believe me as I am notoriously lazy about making muslins, and that is your right, but really truly I made 4 muslins! I was making these teeny tiny adjustments and after the third toile, I finally just hacked and spread with the gusto that was necessary and ended up with a workable pattern!

Here’s what I changed:
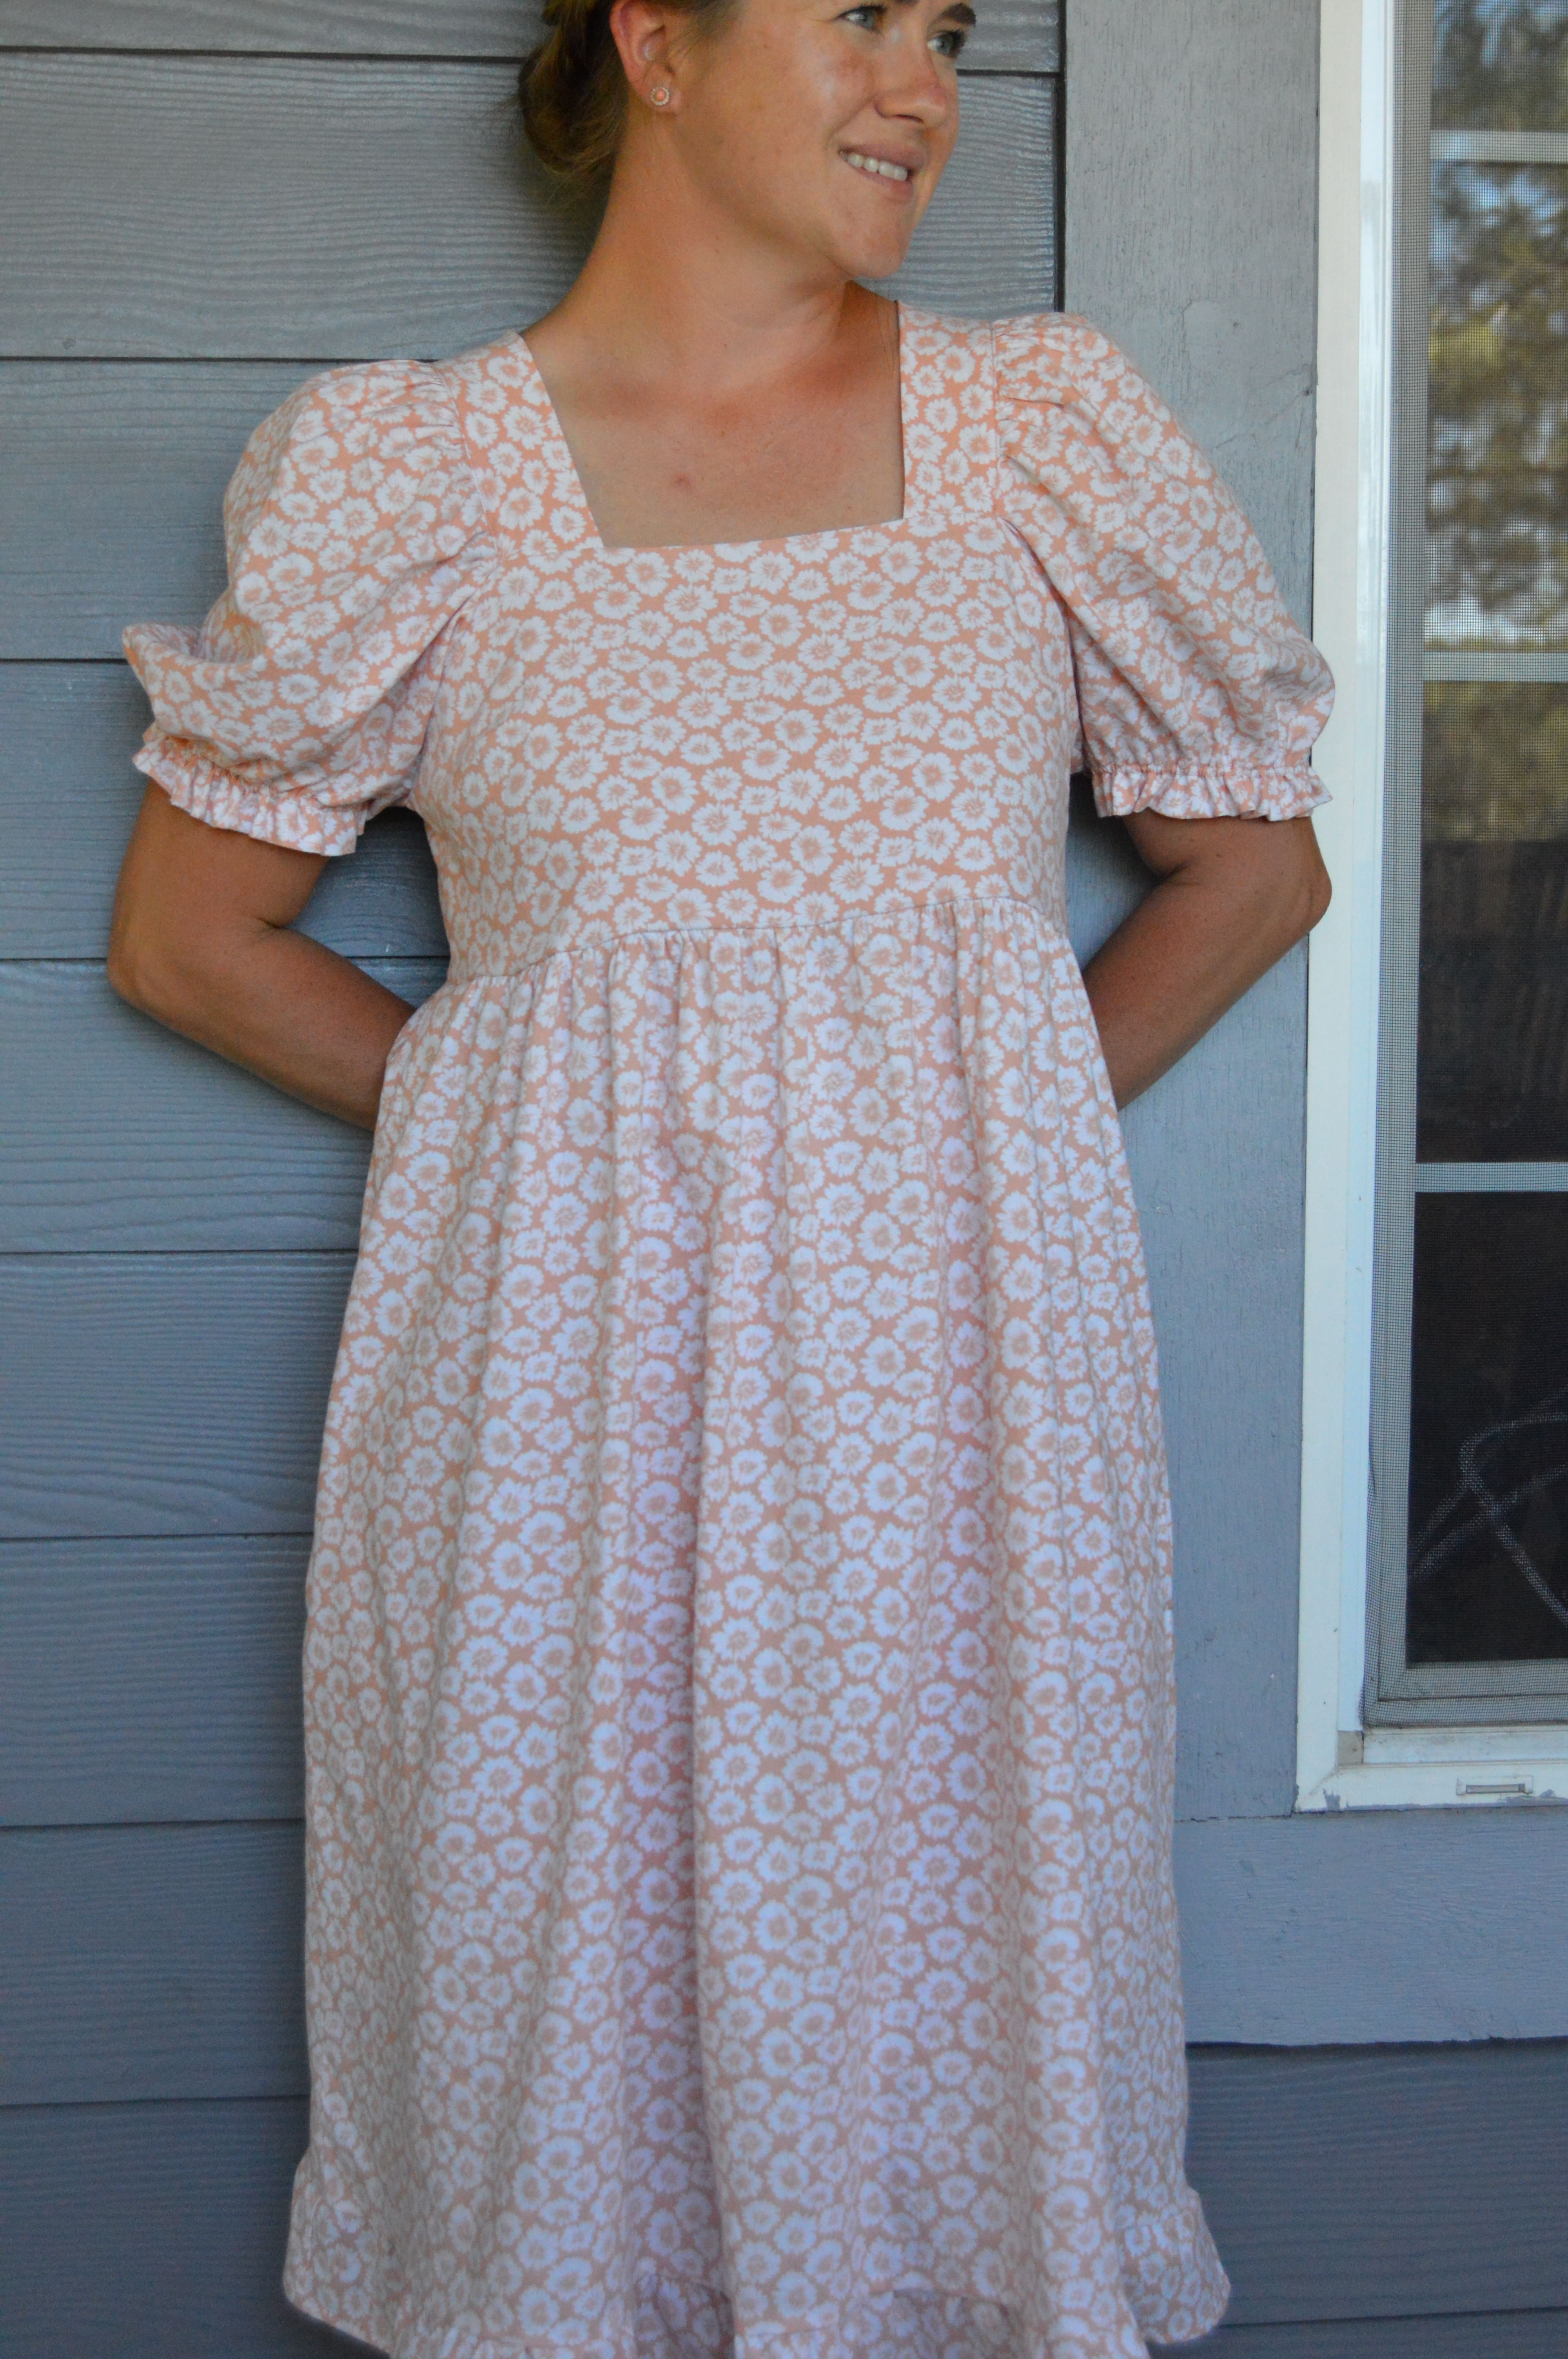
Right off the bat, I felt like the pattern would be better with a lining so I omitted the two facing pieces and cut two of the front and back bodice pieces, one fabric and one lining. Next, I added an inch on each side of the strap piece (this piece gets folded so no need for lining and, essentially, only added 1 inch more of coverage) as well as shortened that piece (called the neck trim) in length by 2 inches. I added 1/2 an inch to the bottom of the front and back bodice pieces. I felt like this was necessary so that the seam was below my bust rather than on it. If you don’t fit in the small chested category, I would highly recommend making this adjustment (or a proper full bust adjustment).
Finally, I chopped the front bodice piece above the dart line (about an inch down from the top) and added an inch of length. I also chopped the bodice back similarly but added 2 inches of length. After making such a drastic change on both bodice pieces, I had to smooth things out and true things up but somehow it all worked out. These adjustments also meant that the notches provided on the sleeve had to be moved somewhat, and (after making the bodice of the dress 4 times by this point) I had no issues doing that.

So, yes, I agree that this isn’t really a true Mindy by this point but it did provide a good base and my brain appreciated some hand-holding while trying to come up with a pattern that worked for me.
Let’s talk for a minute about the pattern itself, shall we? This was my first time buying a pattern from FibreMood and, of course, I also looked at all the other patterns they have available. They have some lovely patterns in their library. I especially love how if you scroll to the bottom of the page with the pattern listing, that they also have dozens of photos from others who’ve made the pattern. I bought the Mindy dress on sale for $8 (it was cheaper to buy it on Etsy than on their website). Once I bought it, I realized I still had to make an account on FibreMood so that I could access the instructions to the Mindy. It’s free but still kind of a hassle to have to go to multiple places for all I need before I start sewing.
The pattern has layers which is nice but none of the pattern pieces are labeled at all, except for grain line, notches, and to indicate where the seam allowance is. For me, it was even a little unclear which pieces were meant to be cut on the fold (it’s indicated with a grainline that has a little bump in it but that’s not a symbol I’ve ever seen before as far as I can recollect). So I had to transfer all the information from the instructions onto the pattern piece itself, because that’s how I prefer to keep things organized.
I have to admit that since I was going rogue in a lot of ways (like with using a lining instead of facings), I didn’t necessarily follow the instructions. I read through them, several times, in fact, but more to just understand what they had in mind rather than to follow word for word. The instructions seemed fine, nothing more. How you attach the sleeve to the neck trim and the bodice, though, is a little funky and I could see how easy it would be for someone to get tripped up there. Thankfully those huge sleeves do a lot to cover up any errors but in all 5 times of me sewing this dress, there never was a time where that part of construction seemed intuitive or easy. And can I just say, I think lining the bodice is a better, and dare I say easier, choice? But that’s just my two cents.

Through all my muslining, I was only making the bodice and when it was time to make the skirt, I wanted to just use up what fabric was left, so I did some slashing and spreading and extending the waistline in order to get a very slightly fuller skirt. But then, last minute, I decided to include a ruffle at the bottom of the skirt and so I chopped of essentially all of the extra I had added onto the skirt. I also didn’t cut out my pockets until the very end and I knew I had the fabric for them. Just small scraps left on this one, and that’s all right by me!

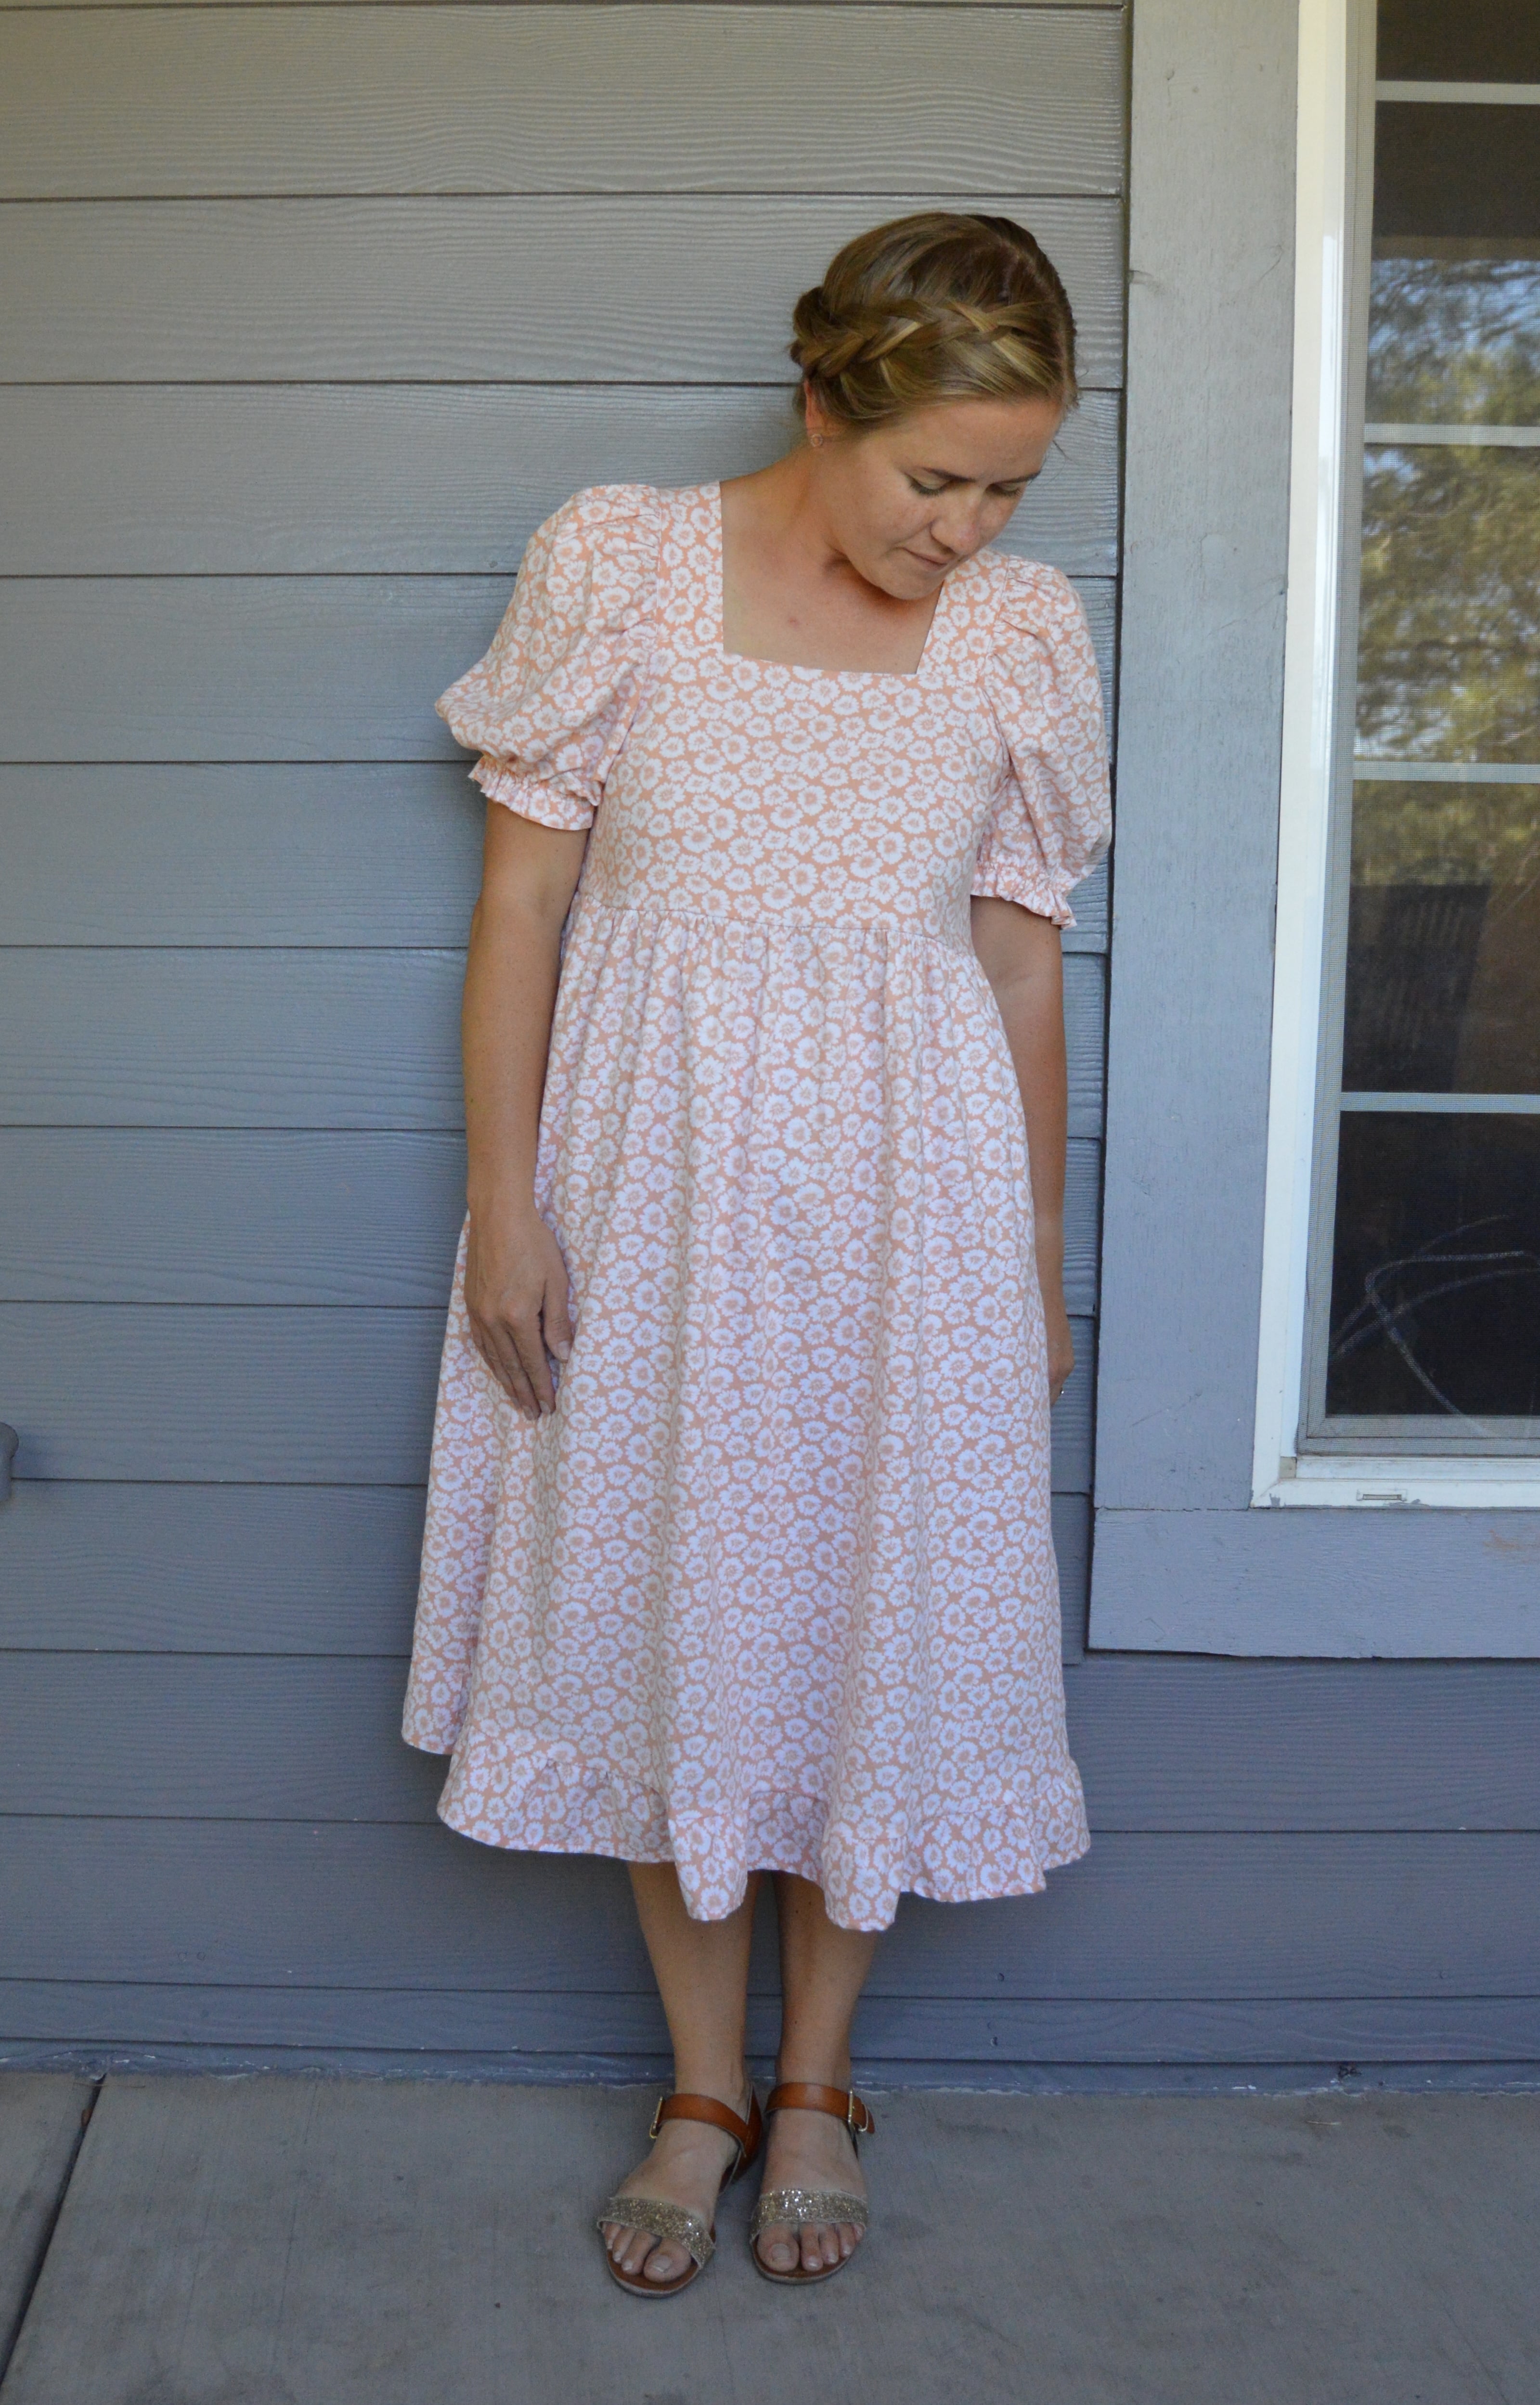
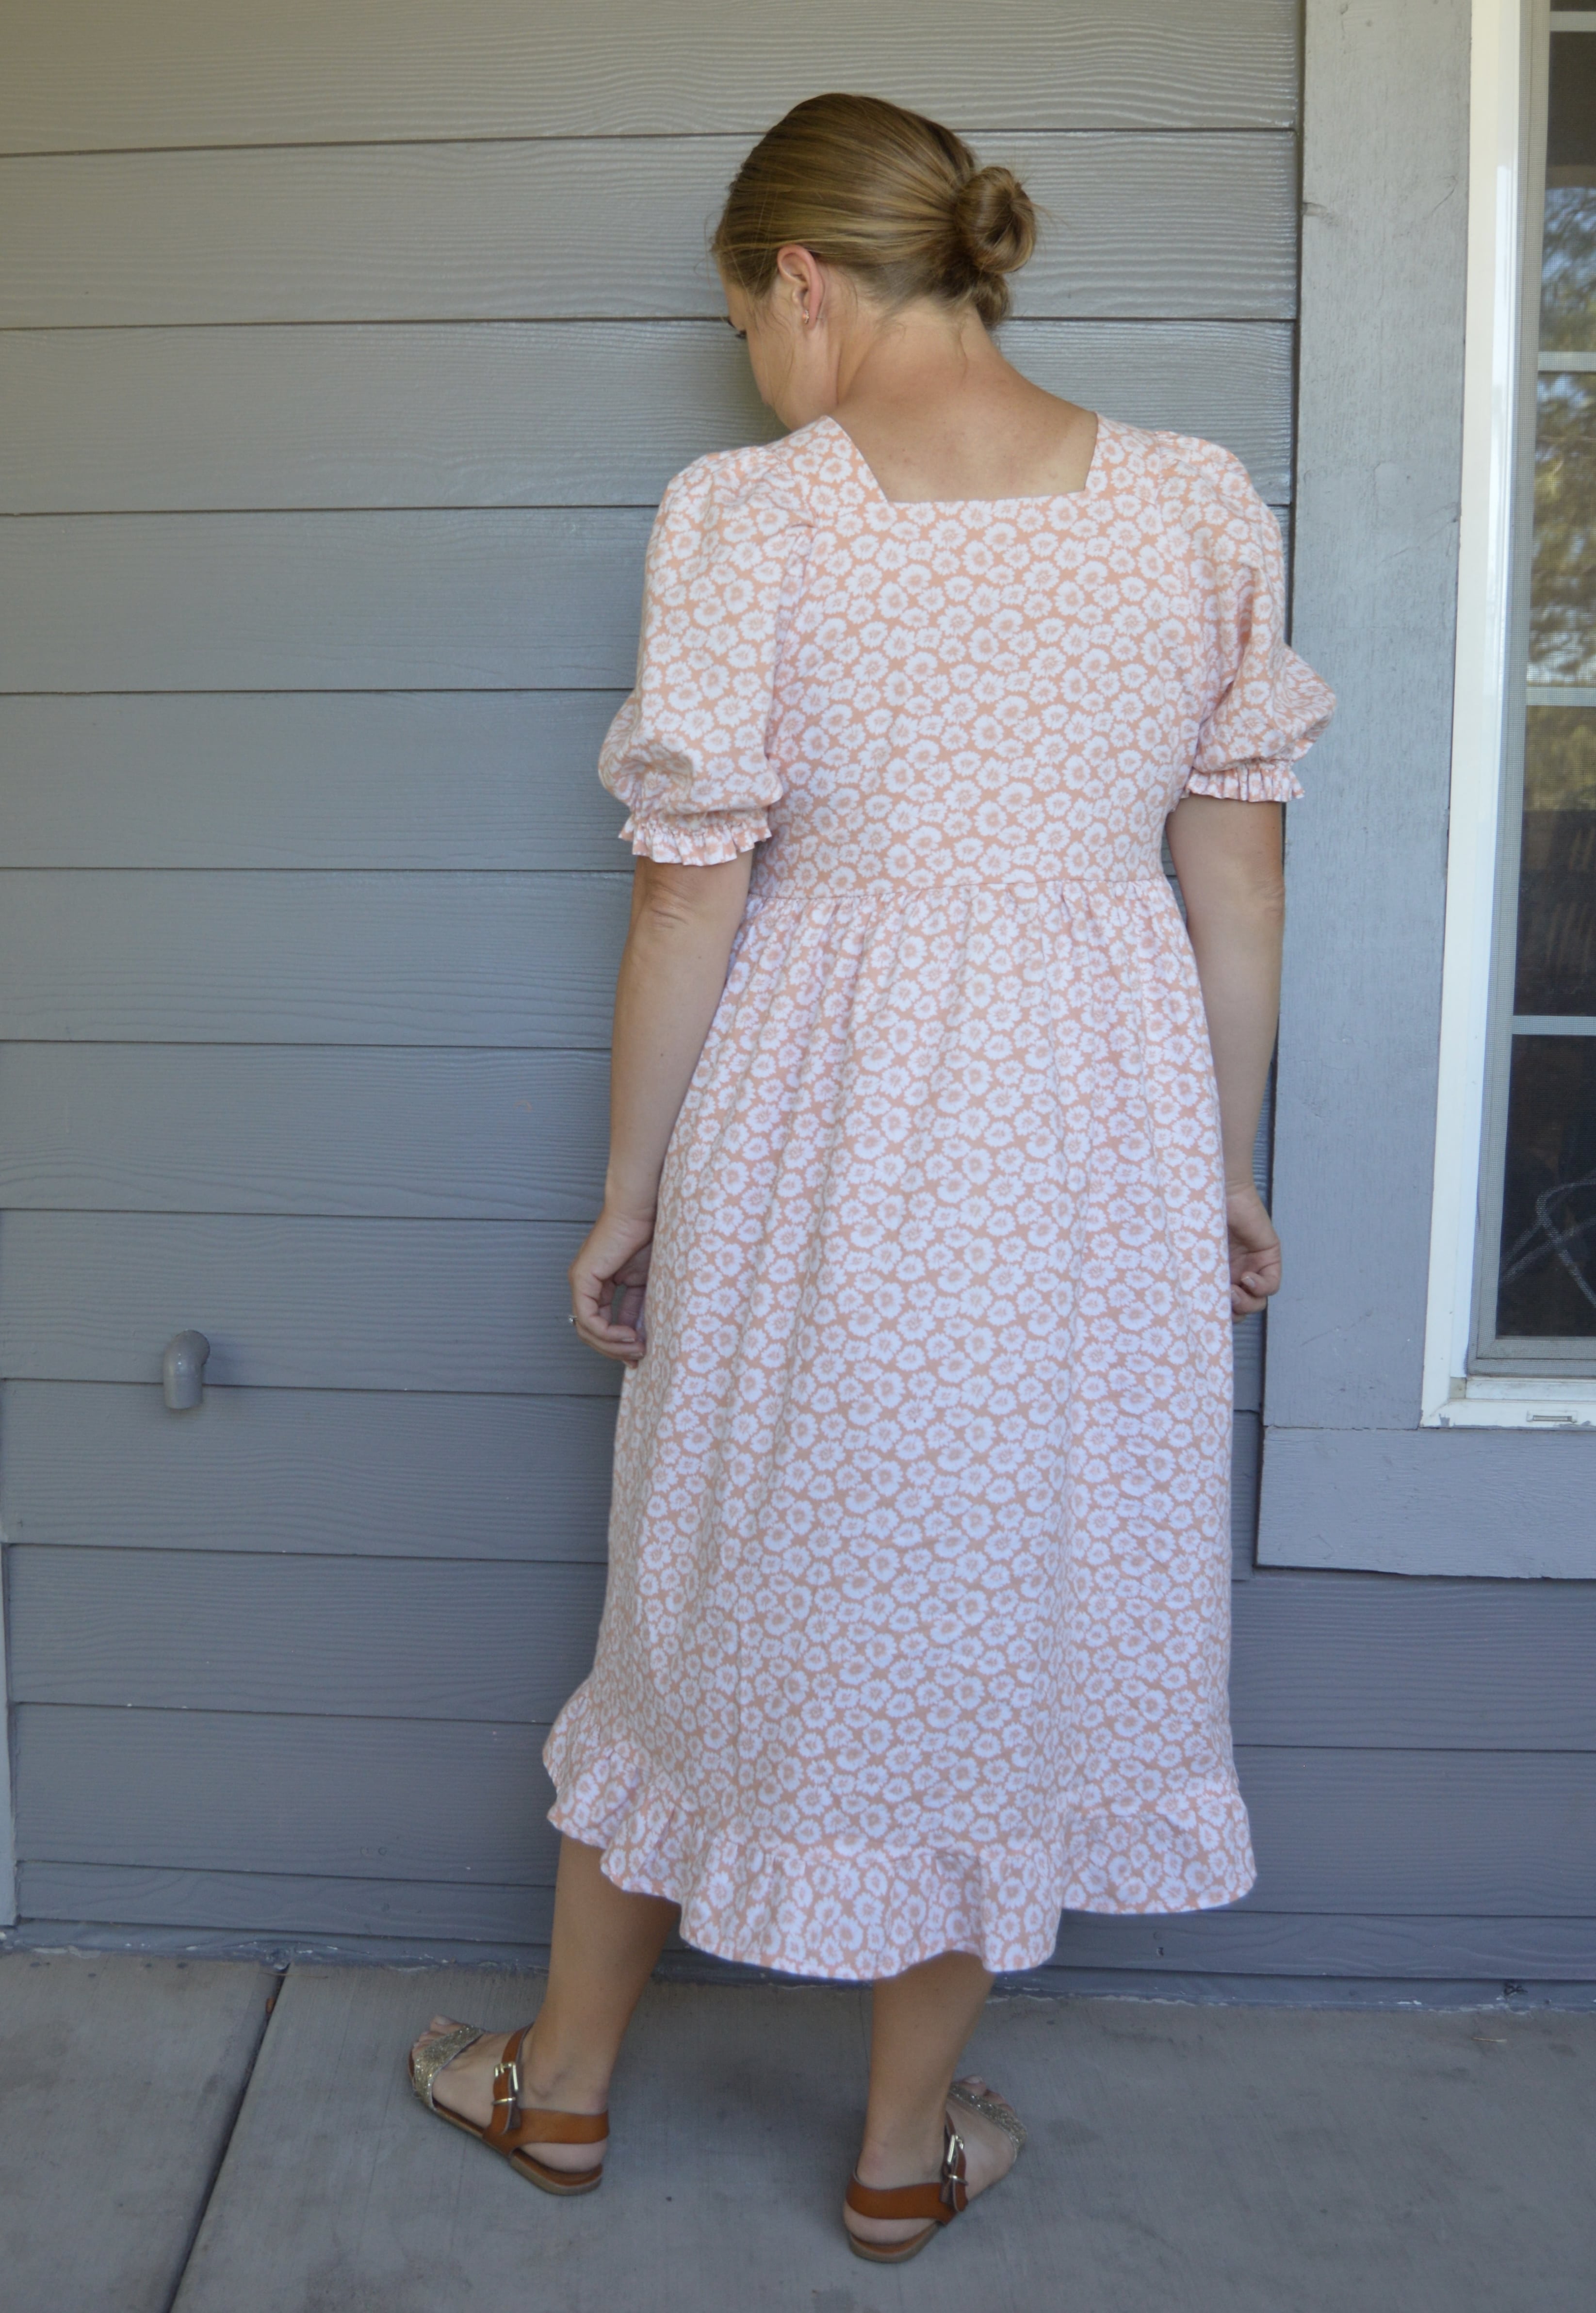
As I’m sure you’ve notice by this point, I wasn’t really paying the Mindy dress or Mindy instructions any mind, but just kind of doing my own thing. So I added the ruffle to the bottom of the skirt and made the sleeves poufy princess sleeves. I honestly don’t know that those details are the best. I thought about removing the bottom ruffle but in the end decided that it being there wasn’t a big deal. I can always take it off later if I want!
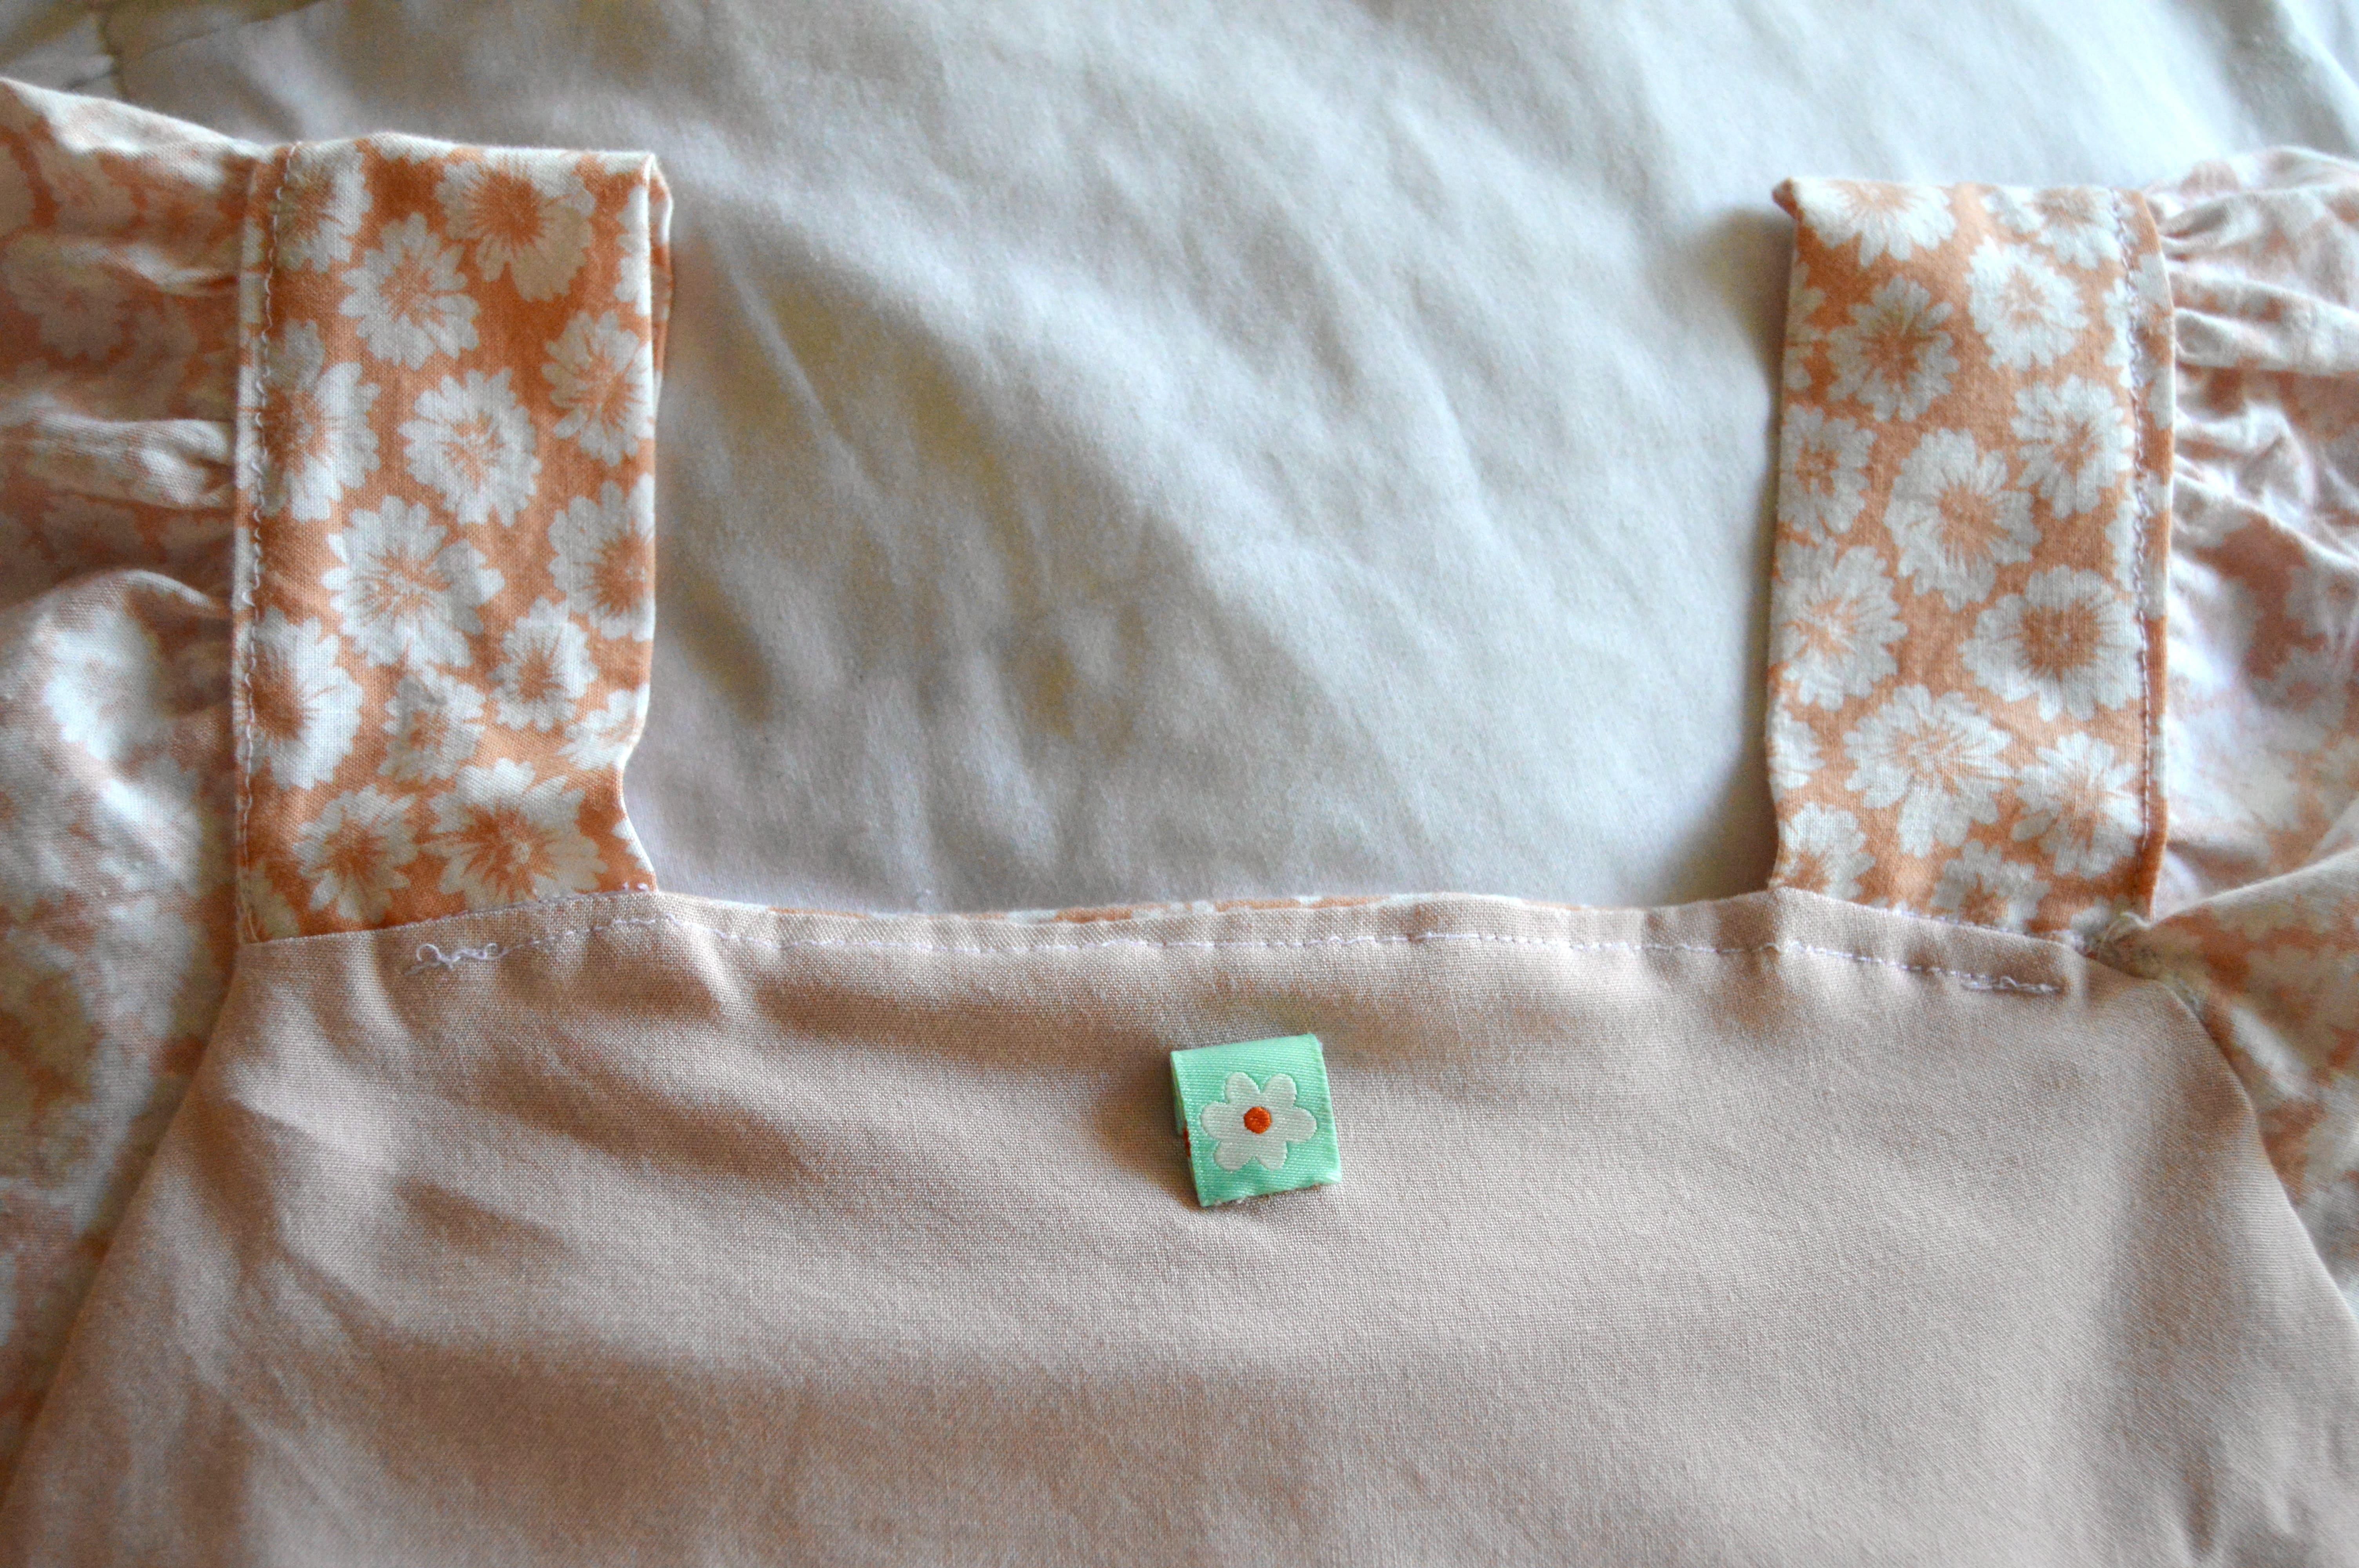
I went back and forth on my fabric. I bought some great navy/teal jacquard from Hobby Lobby awhile back and all through the preparation process, I was imagining using that fabric. But after my final muslin I paused. I was worried that fabric would be too thick. The only problem this would create was that the sleeves might be overly structured which could create a silhouette potentially too bold for me. Now, looking at each fabric, I think the jacquard could very well have worked…maybe I’ll have another Mindy in the works before too long (might as well make use of all the time I put in to making the pattern work for me). But in that moment, I decided to go a safer route and use this pretty salmon colored daisy print. The mystery fabric was given to me by my sister. It’s perhaps some sort of cotton lawn? I’d almost say it’s a quilting cotton but it’s slightly lighter-weight and the width of it was closer to the 54″ that are more standard in apparel fabric. For my lining, I used a light pink cotton rayon blend that was leftover from another project.
I felt pretty unsure about where my feelings landed with this dress. I liked it but was worried the shape wasn’t very flattering for me. However, I’ve found that I’m often more critical of a piece that’s on me in front of the mirror than I am of it on me in a picture. So I took some pictures of me in the dress and decided it looked good enough to wear. Having worn it now, I can confidently say that I really love how this dress turned out and I can’t wait to wear it again! I started this dress clear back in April but had to shelve it because of events and then because of brain power. It was tedious getting from Point A (the start) to Point B (the finished dress), but I’m glad I put in the work!

Pattern: The Mindy Dress by FibreMood (and here is the listing on Etsy)
Size: 10 (??? the sizing guide on the instructions lists sizes 1-26, but then for printing the sizes are 32-58??? I can’t remember at all what I did here).
Adjustments: Lots! Information in the body of the post
Fabric: mystery fabric from my sister. Probably a cotton lawn
Cost: Fabric, lining, thread and elastic free from stash; Pattern $8
Would I make this pattern again?: I think yes! It’s a bit funky to construct but I like how it turned out!

