


I made a goal for October to sew for 20 minutes every day. And by “sew” I mean anything that needs to be done to make up a garment. So taping a pattern together counted just as much as sewing a seam at my machine. Inevitably, I’ve ended up spending more time than just 20 minutes most days, but, somehow, I’m still at a relatively normal level of output as far as number of makes goes. I’ve been surprised at how challenging this goal has been (there are about a hundred things in a day that are more pressing than sewing) but I’ve also been surprised at how it’s helped me to look at sewing differently. Instead of only having eyes for shiny, new projects, I’ve been able to have headspace for old projects that need to be looked at in new ways.
Which is where we come to this skirt!
To jog your memory, here’s what this fabric used to look like.

Back in February, I used this lovely fabric to make up McCall’s 8248 (you can read the whole post here). The shortened version of the post is that the fabric was incredibly difficult to work with, my pleats were skiwampus, and I had some pretty terrible fit issues. It was a total mess.
The finished M8248 traveled back and forth from my closet to my sewing space for some months but I never once wore that thing. And that wasn’t particularly surprising but it finally dawned on me that there was really only one option for the skirt and that was to turn it into another skirt. (There may have been more options had I been able to find more of the fabric, but, alas, it seems to have disappeared).
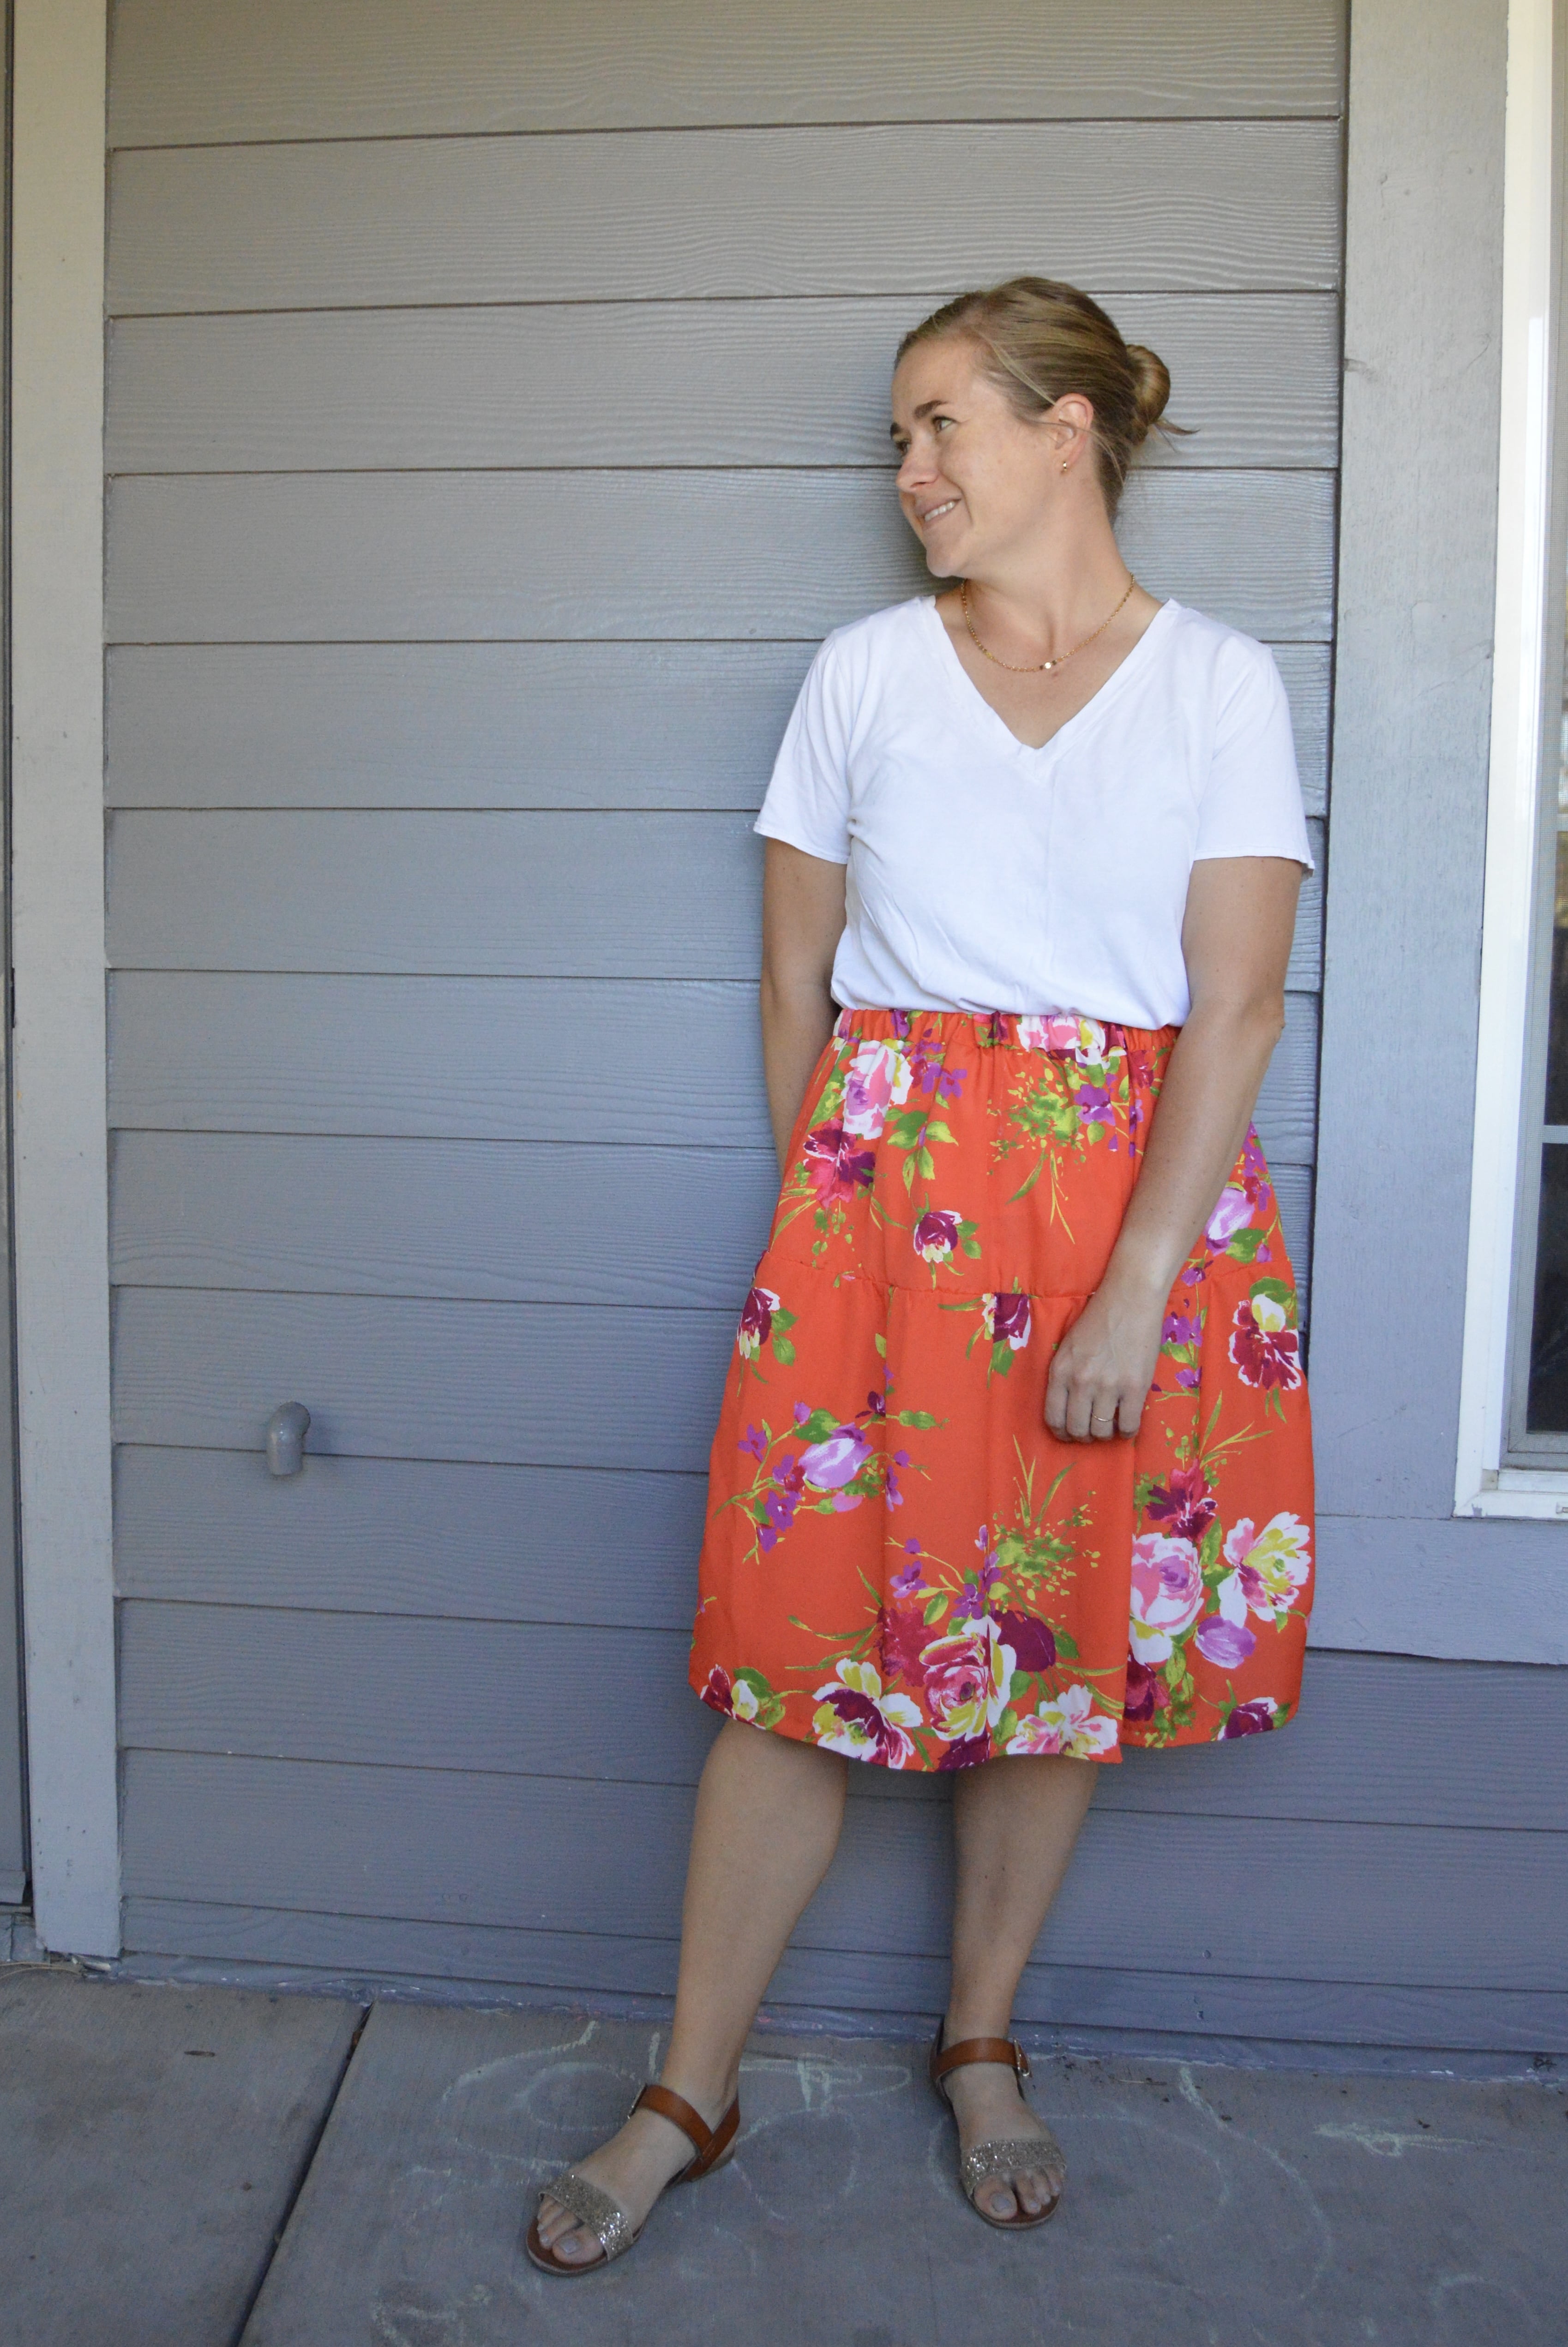
It’s a print that I personally wouldn’t wear as a top and the material isn’t at all suited for pants or shorts (at least not for my thighs that have such affinity for rubbing together) so truly a skirt was still its best destiny but a different skirt, please! Enter the Mave skirt. Honestly, when all else fails, Mave it! (Yes, I am using that as a verb and I stand by it!)

My first step was to dismantle my M8248. I pulled out my seam ripper but realized that ripping out the serged seams was a very bad idea. The fabric is very delicate and even if I was extremely careful, I knew I’d still end up snagging fabric fibers and creating lines throughout the fabric. SO I just went at it with my scissors. First I chopped off the waistband. Then I cut each side seam. The original skirt was made up of two main panels and 4 smaller side panels, so I got them all separated. The main panels are where the pleating was, so I did use my seam ripper to un-pleat the fabric.

I used two side panels to make the waistband. Then the main panels were used to cut out the top tier of the Mave (I removed 2 inches of length here) as well as the middle tier…although I didn’t have enough to make that a full piece and I just did the best I could (essentially I just cut the biggest rectangles I could from what was left over). As a result, my bottom tier isn’t as ruffled as it should be but it’ll do. I kept the hem in tact so that it didn’t have to be resewn at the end.

Once I had it all cut out, I started sewing. It was still a very tricky fabric to work with, although, admittedly, much more friendly when working with only a few seams and nothing so fiddly as pleats! I got a bit of bunching on my side seams that now I’m realizing is likely from having too tight of settings on my serger. I could have fixed this by doing French seams or by taking some time to adjust settings. Of course, I had the mindset of making this a quick project so I didn’t think of it at the time.

When I got to the waistband, I realized I didn’t have 2 inch elastic (I use it the most and, therefore, rarely have it on hand) so I cut the pattern pieces narrower and just made do with 1 inch elastic. If length had been an issue, I would have made a trip to the store but it wasn’t! So I didn’t!

Once I got the skirt out and started taking it apart, it took hardly any time to get it finished. I saved time by not needing to hem. I also didn’t bother with pockets (I might’ve been able to squeeze some pockets out of the remaining side panels but with a skirt so light and airy, and a waistband so thin, pockets would likely not be functional so I didn’t bother!
I started with a skirt and ended with a skirt so there was no wild transformation. However, I do think this is an improvement! I absolutely hated the idea of letting this beautiful fabric go to waste so I’m glad I was able to give it another chance. This new skirt feels much more wearable and does a better job at highlighting the fabric. I’m glad I took the time to change it. Of course, weather-wise, I might be out of opportunities to wear this this year, but hopefully I’ll have chances yet to wear it on warm weather days to come.
Pattern: the Mave skirt by True Bias
Size: 12
Adjustments: Shortened top tier by 2 inches; adjusted 2nd tier to work with whatever fabric I had left; omitted pockets; adjusted waistband to be 2 pieces and to work with a 1″ elastic
Fabric: something silky from Melanated Fabrics
Cost: n/a
Would I make this pattern again?: Always (you can see my other Mave skirts here, here and here)


Great save, looks much more wearable
LikeLike