

I am going to post about this dress and then I very possibly might start making stuff that is appropriate for the cold weather we’ve been having instead of making something that screams spring/summer. Now, I won’t make any promises on this because I seem to have a problem. But know that I am aware that this dress says May and it is very much December (yes, I was freezing taking these pictures).
A lot has happened since I last posted and one of those things is that I got a new sewing machine! I’m so excited about it and, although I’ve so far only sewn this project on it, I have absolutely been loving it! When I got the machine, I knew I wanted my first project to be this Saraste Dress. It may have been wiser to start with something I didn’t care so much about, but wants won out over logic, and I set up the new machine and cut out the fabric for my Saraste in the same day. Fortunately, the Saraste ended up being a fantastic project for testing out a new machine, just for the number of things I was able to test out including basting stitches, topstitching, buttons and buttonholes. All in all, not a bad first go around!

The Saraste Dress comes from Named Patterns’ book, Breaking the Pattern. The book is 5 years old and the Saraste is fairly popular so I know I’m not sharing any new information here. But the dress caught my eye nonetheless and I knew I wanted one in my closet.

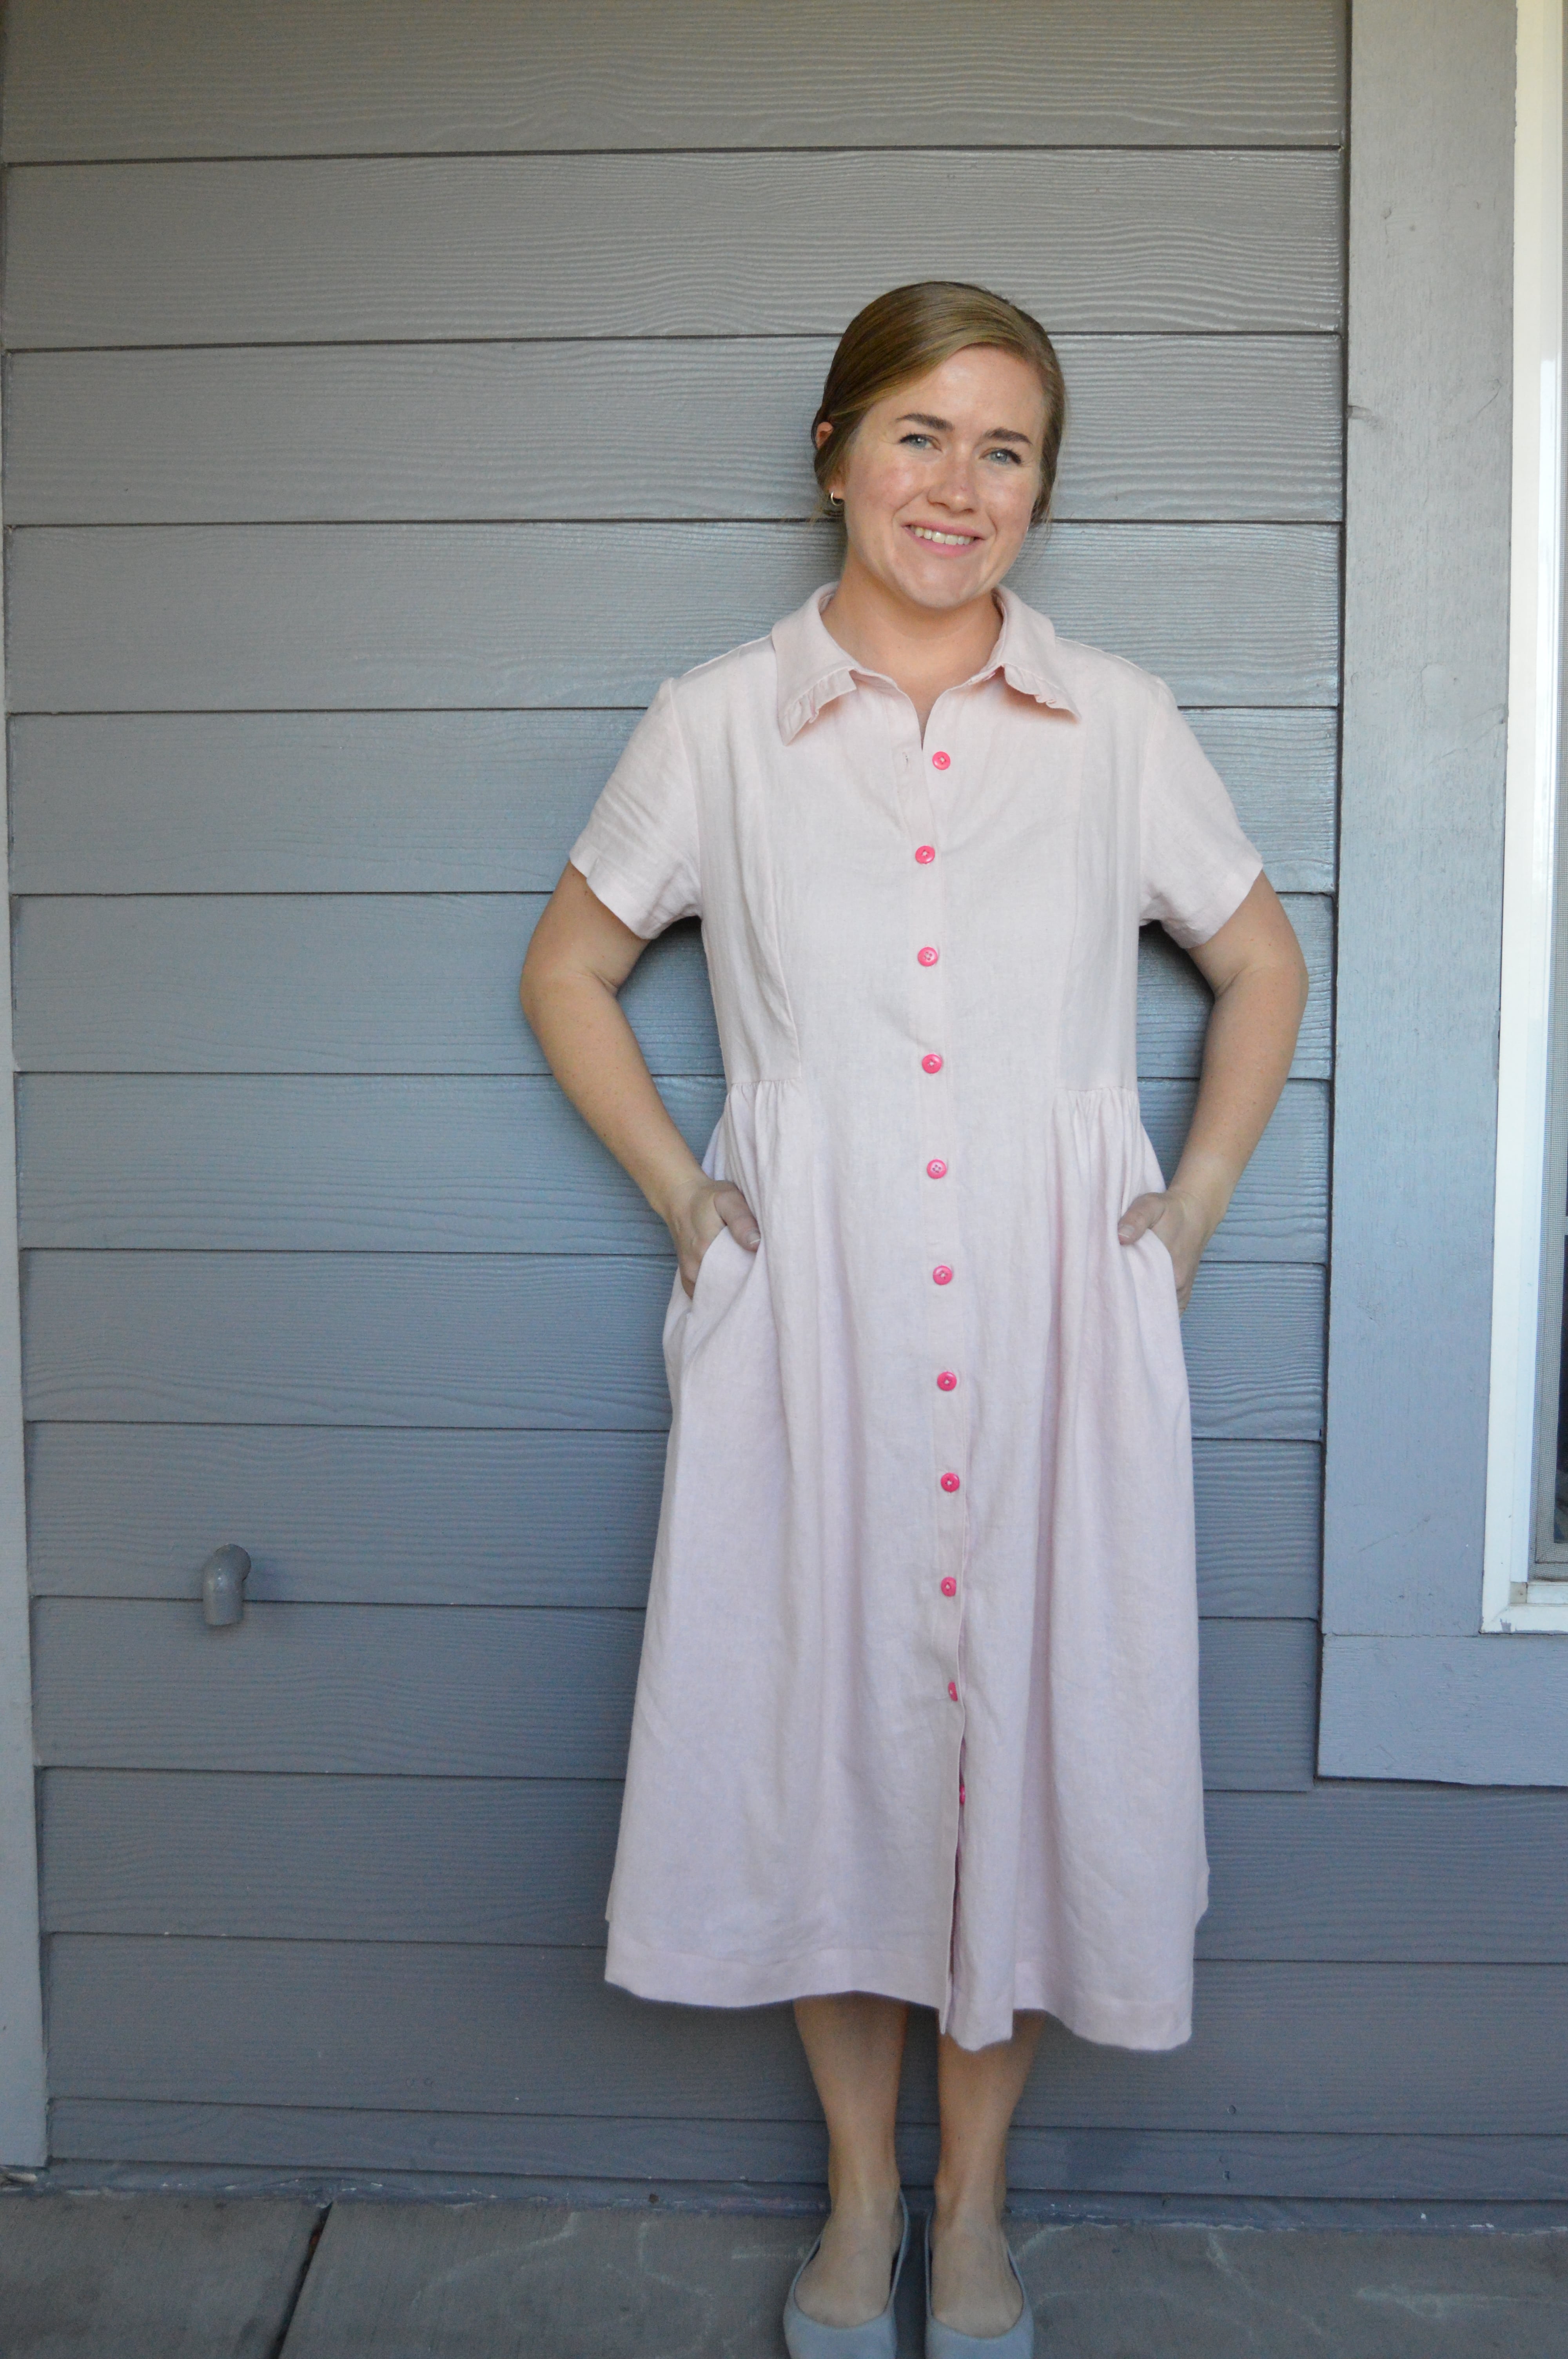
The fabric I used is this Brussels Washer Linen Blend, in blush, from StyleMaker Fabrics. It’s a great fabric, and one I ought to work with more. It’s incredibly soft and, after just one wash, it already has that coveted “lived-in” feel. It’s lighter-weight but still opaque. And at 12.99/yard, it’s also within the range of reasonably priced for my wallet. I bought 3 yards and have about a 1/3 yard leftover. I should also mention that my photos do a good job of washing the color out. It is a nice, though light, pink. “Blush” is an accurate descriptor, in my opinion.
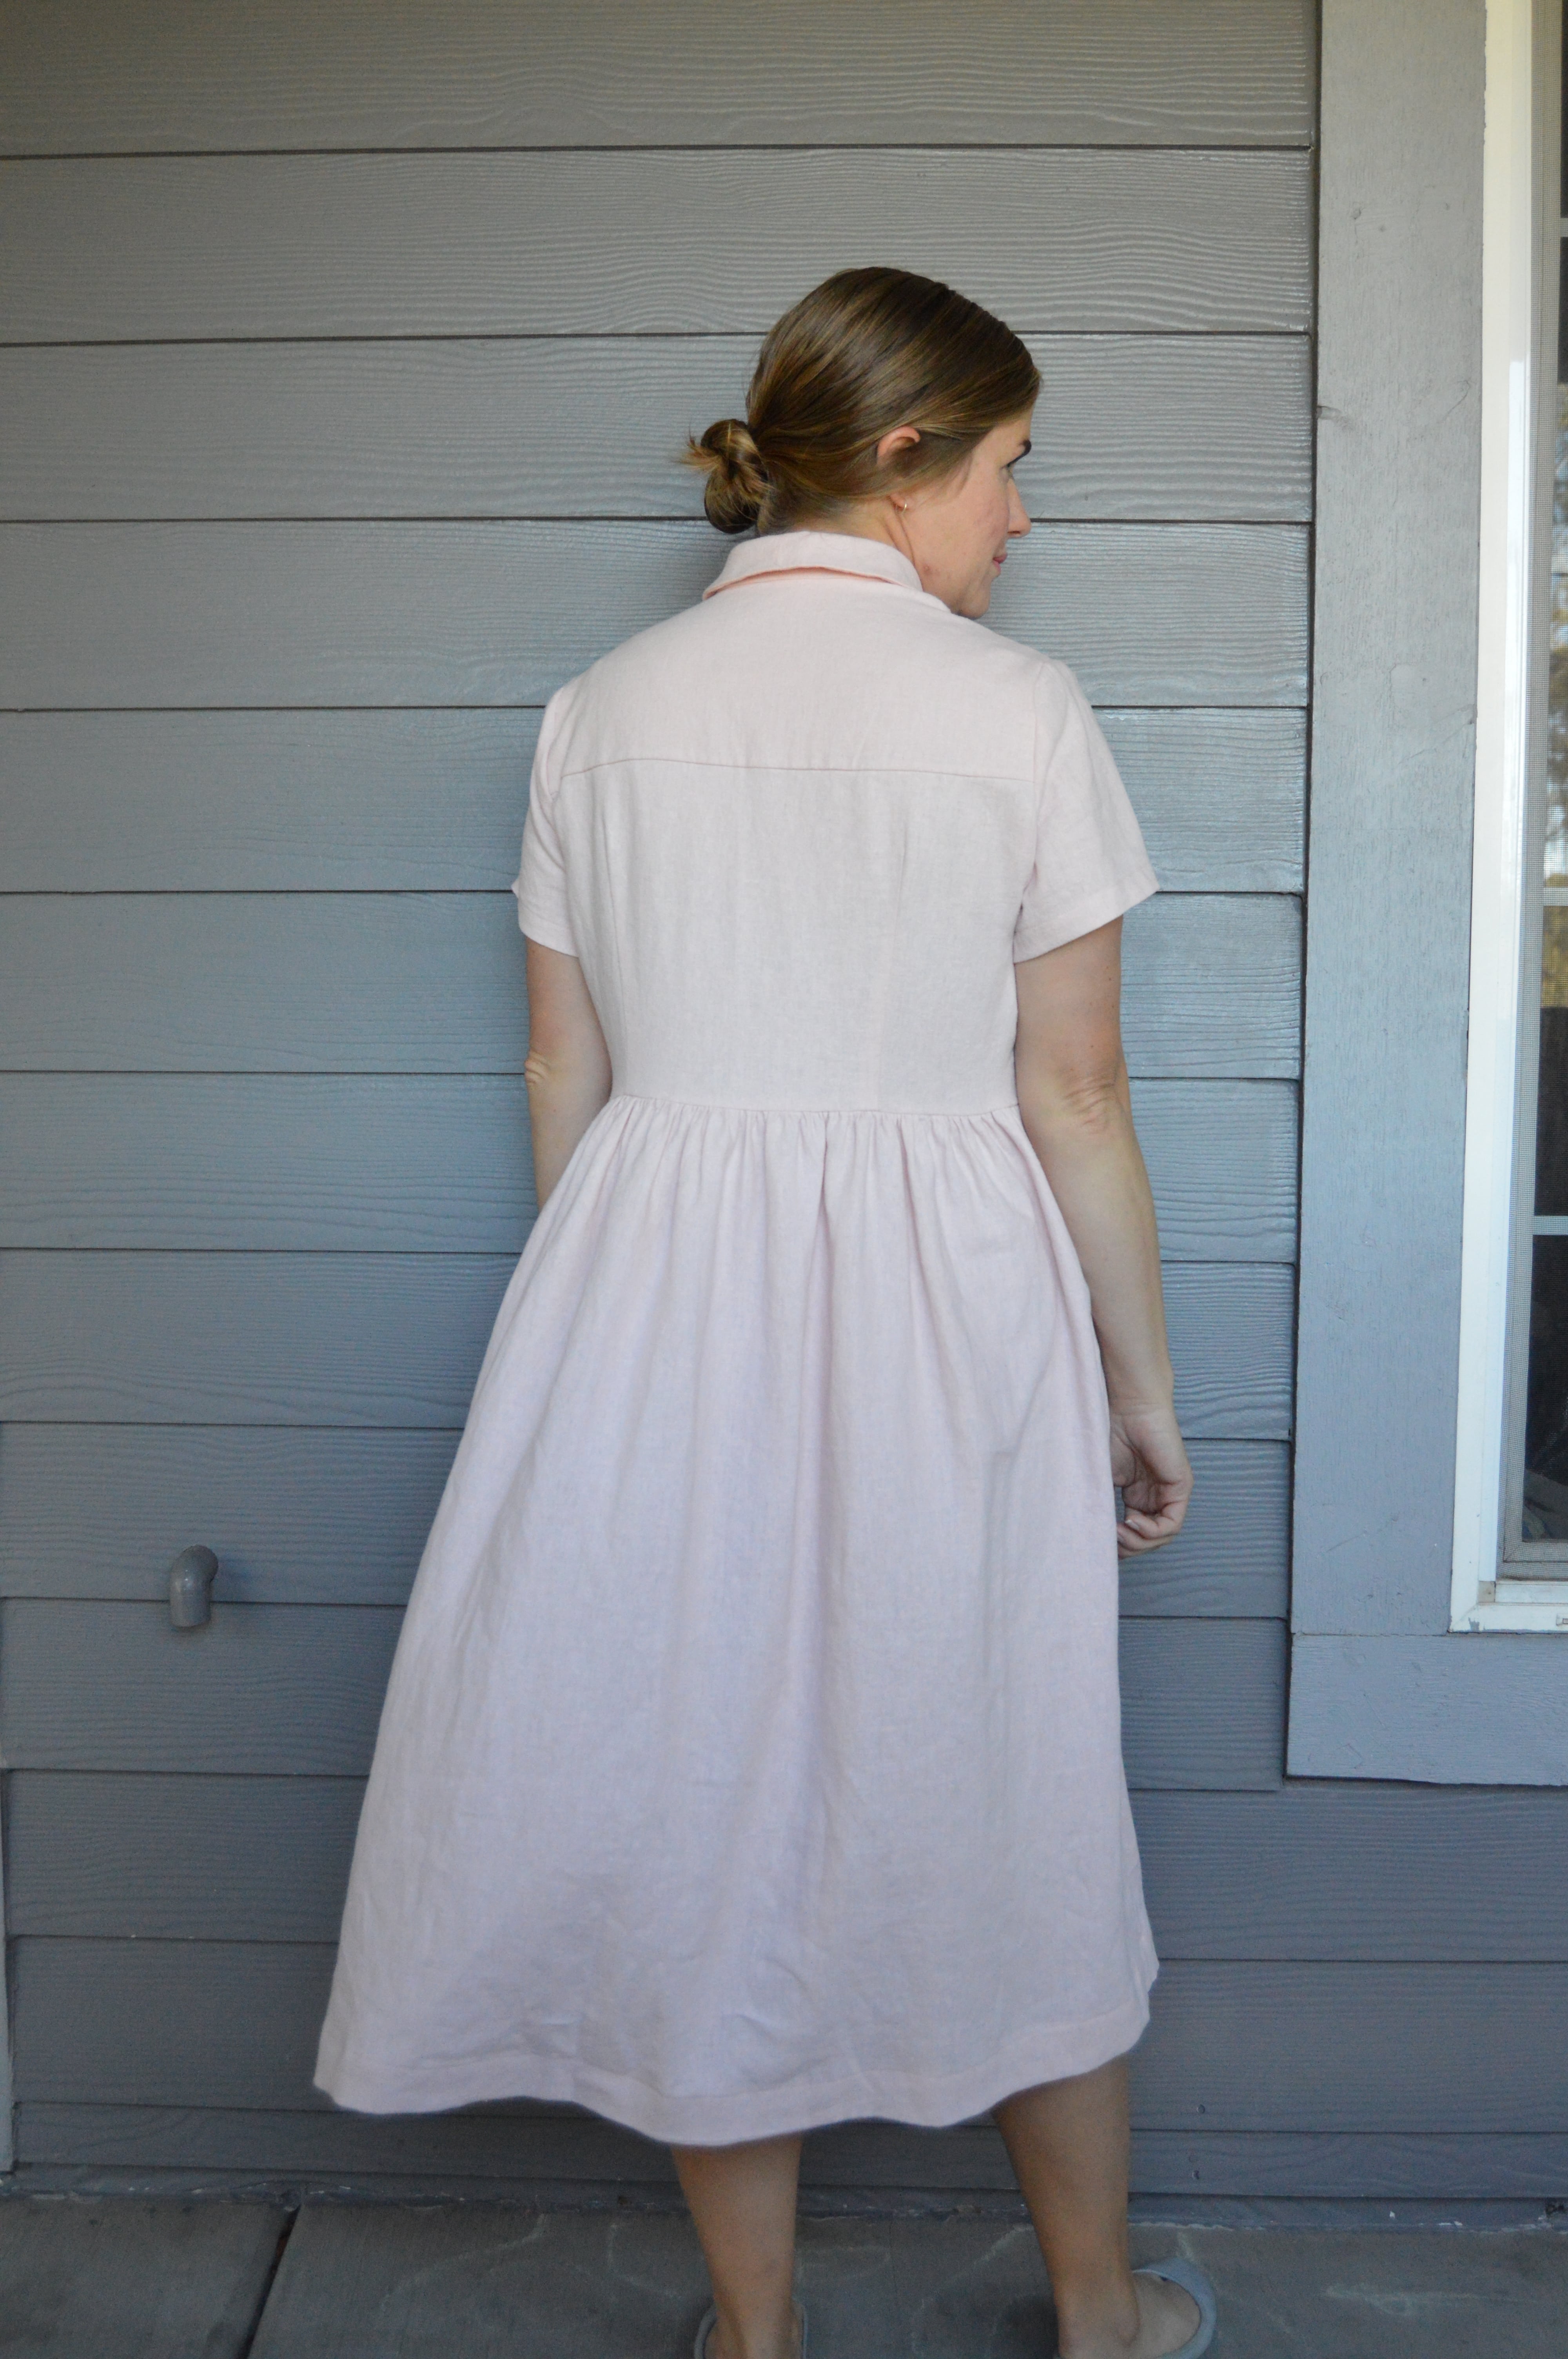
The construction of this dress was unexpected! Because the center front is one big long piece, and because it must be attached before you can construct any part of your collar, you end up not sewing your shoulder seams until almost the very end of construction. This was tricky for me for two reasons. The first is that I didn’t make a muslin, thinking that there was enough seaming going on that fit would be no more than just taking out a pinch here and a tuck there. But that actually was very difficult to do until you had almost the whole dress constructed. It was also tricky because usually the top of a garment is constructed first and can bear the weight of the rest of the garment. Since the top was very unfinished as I added on a gathered skirt, I had to be pretty careful while handling and ironing to not let the weight of the skirt pull anything out of proportion. It was manageable, but a change from the norm.
Here’s a picture of the fitting process (you can see my new machine to the side!!):

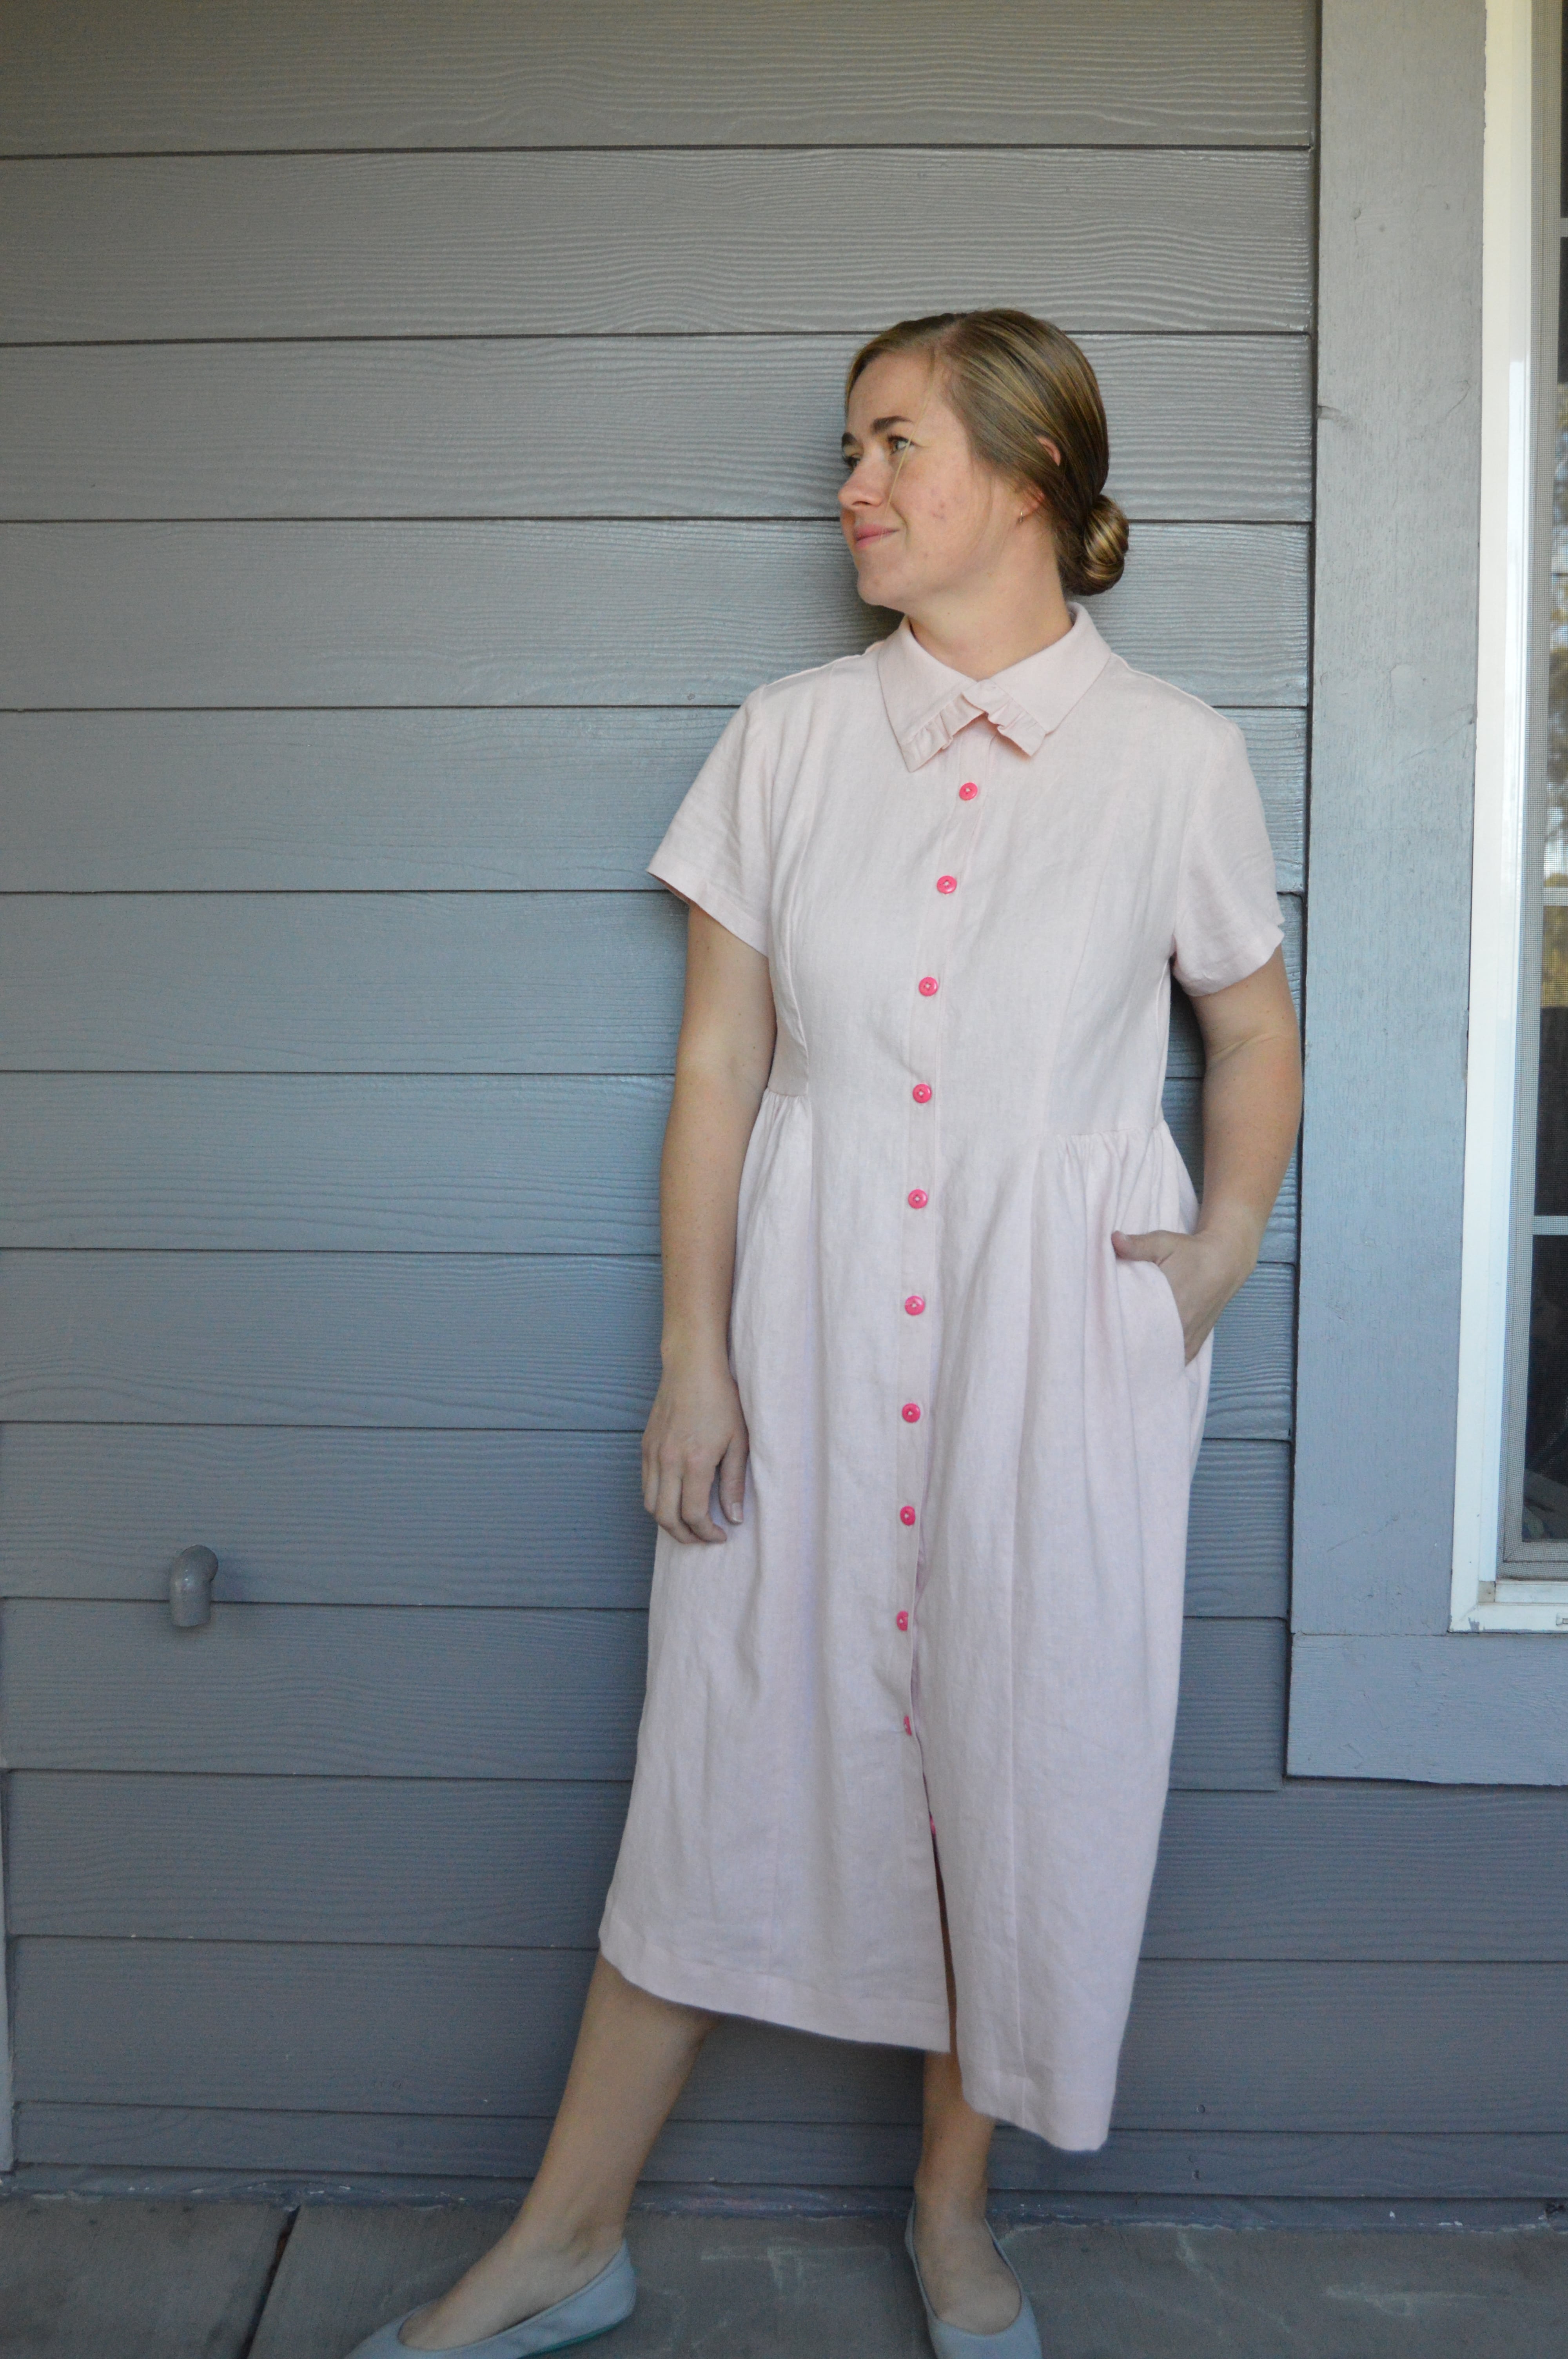
I tried on as I went but couldn’t really get an accurate feel of the dress until this step. I used clips at the shoulders to check fit and ended up doing a small amount of adjusting. I took in a tapered 1/2 inch under the bust and then a scant 1/4 inch above the bust. I made the size 5 and most likely could have gone down to the size 4. For me, the dress is not overly fitted. On my version, which may or may not be how it’s intended, I have plenty of ease. It’s very comfortable. I could have done more fitting, but doing so would have eaten into my ruffled skirt and that just wasn’t something I was willing to take part of. Next time, I will remove just a bit from the side seams but before attaching the skirt!
I did make two modifications to the paper pattern before cutting into my fabric. I made a 3/8ths inch forward shoulder adjustment. And I shortened all of the bodice pieces by 1 1/2 inches. It felt like a lot as I did it, but I’m glad I went for it because the waist seems just right. I could have removed a couple inches from the skirt as well. In the end, I did cut off one inch from the hem and then turned the hem under half inch and then another inch and half, for a slightly deeper hem.

As is mentioned in nearly every other review of the dress, the instructions have you flipping back and forth to find similar and previously explained steps in other patterns which is fine although tedious. I felt like the instructions were mostly good, but there were a few places that lacked specificity, for example not mentioned if things were supposed to be right sides together. And I’m pretty sure attaching the sleeve is completely skipped over (which, truthfully, isn’t a big deal because it’s certainly explained elsewhere in the book). I should say the instructions are enough, but I wouldn’t recommend this project for a newbie.
Oh! And the tracing of the pattern! What a headache! The book has the patterns squished onto 9 (I think?) large and folded sheets of paper. So you’ve got overlapping lines galore and pattern pieces for one pattern spread over multiple sheets of paper. Now, I have personally never created a book with a bunch of patterns and been made to consider what the best way to print the patterns is, so I can’t say that what they’ve got going on is bad. And it does seem like there was a lot of consideration into trying to keep things organized and understandable. It’s just that there are so many pattern pieces included that the organization gets a little bit lost. Again, if there’s a better way, I don’t know it, but tracing the patterns really was an opportunity for my brain to do some mental acrobatics. It was probably very healthy for me, ha!

Oh, it’d be foolish of me to not mention the glorious automatic buttonhole feature on my new machine! You can enter in the measurement of the button or even just hold the button up to the screen and turn the dial until the circle on the screen matches the size of your button. Then you just put on the right presser foot, line things up, and let the machine do its thing! It was a dream to use! And all my buttons fit inside the holes so nicely! No more having some holes that are too big and some holes that are too small. All these are just right! (And I’m sorry for saying “holes” so many times in one paragraph).
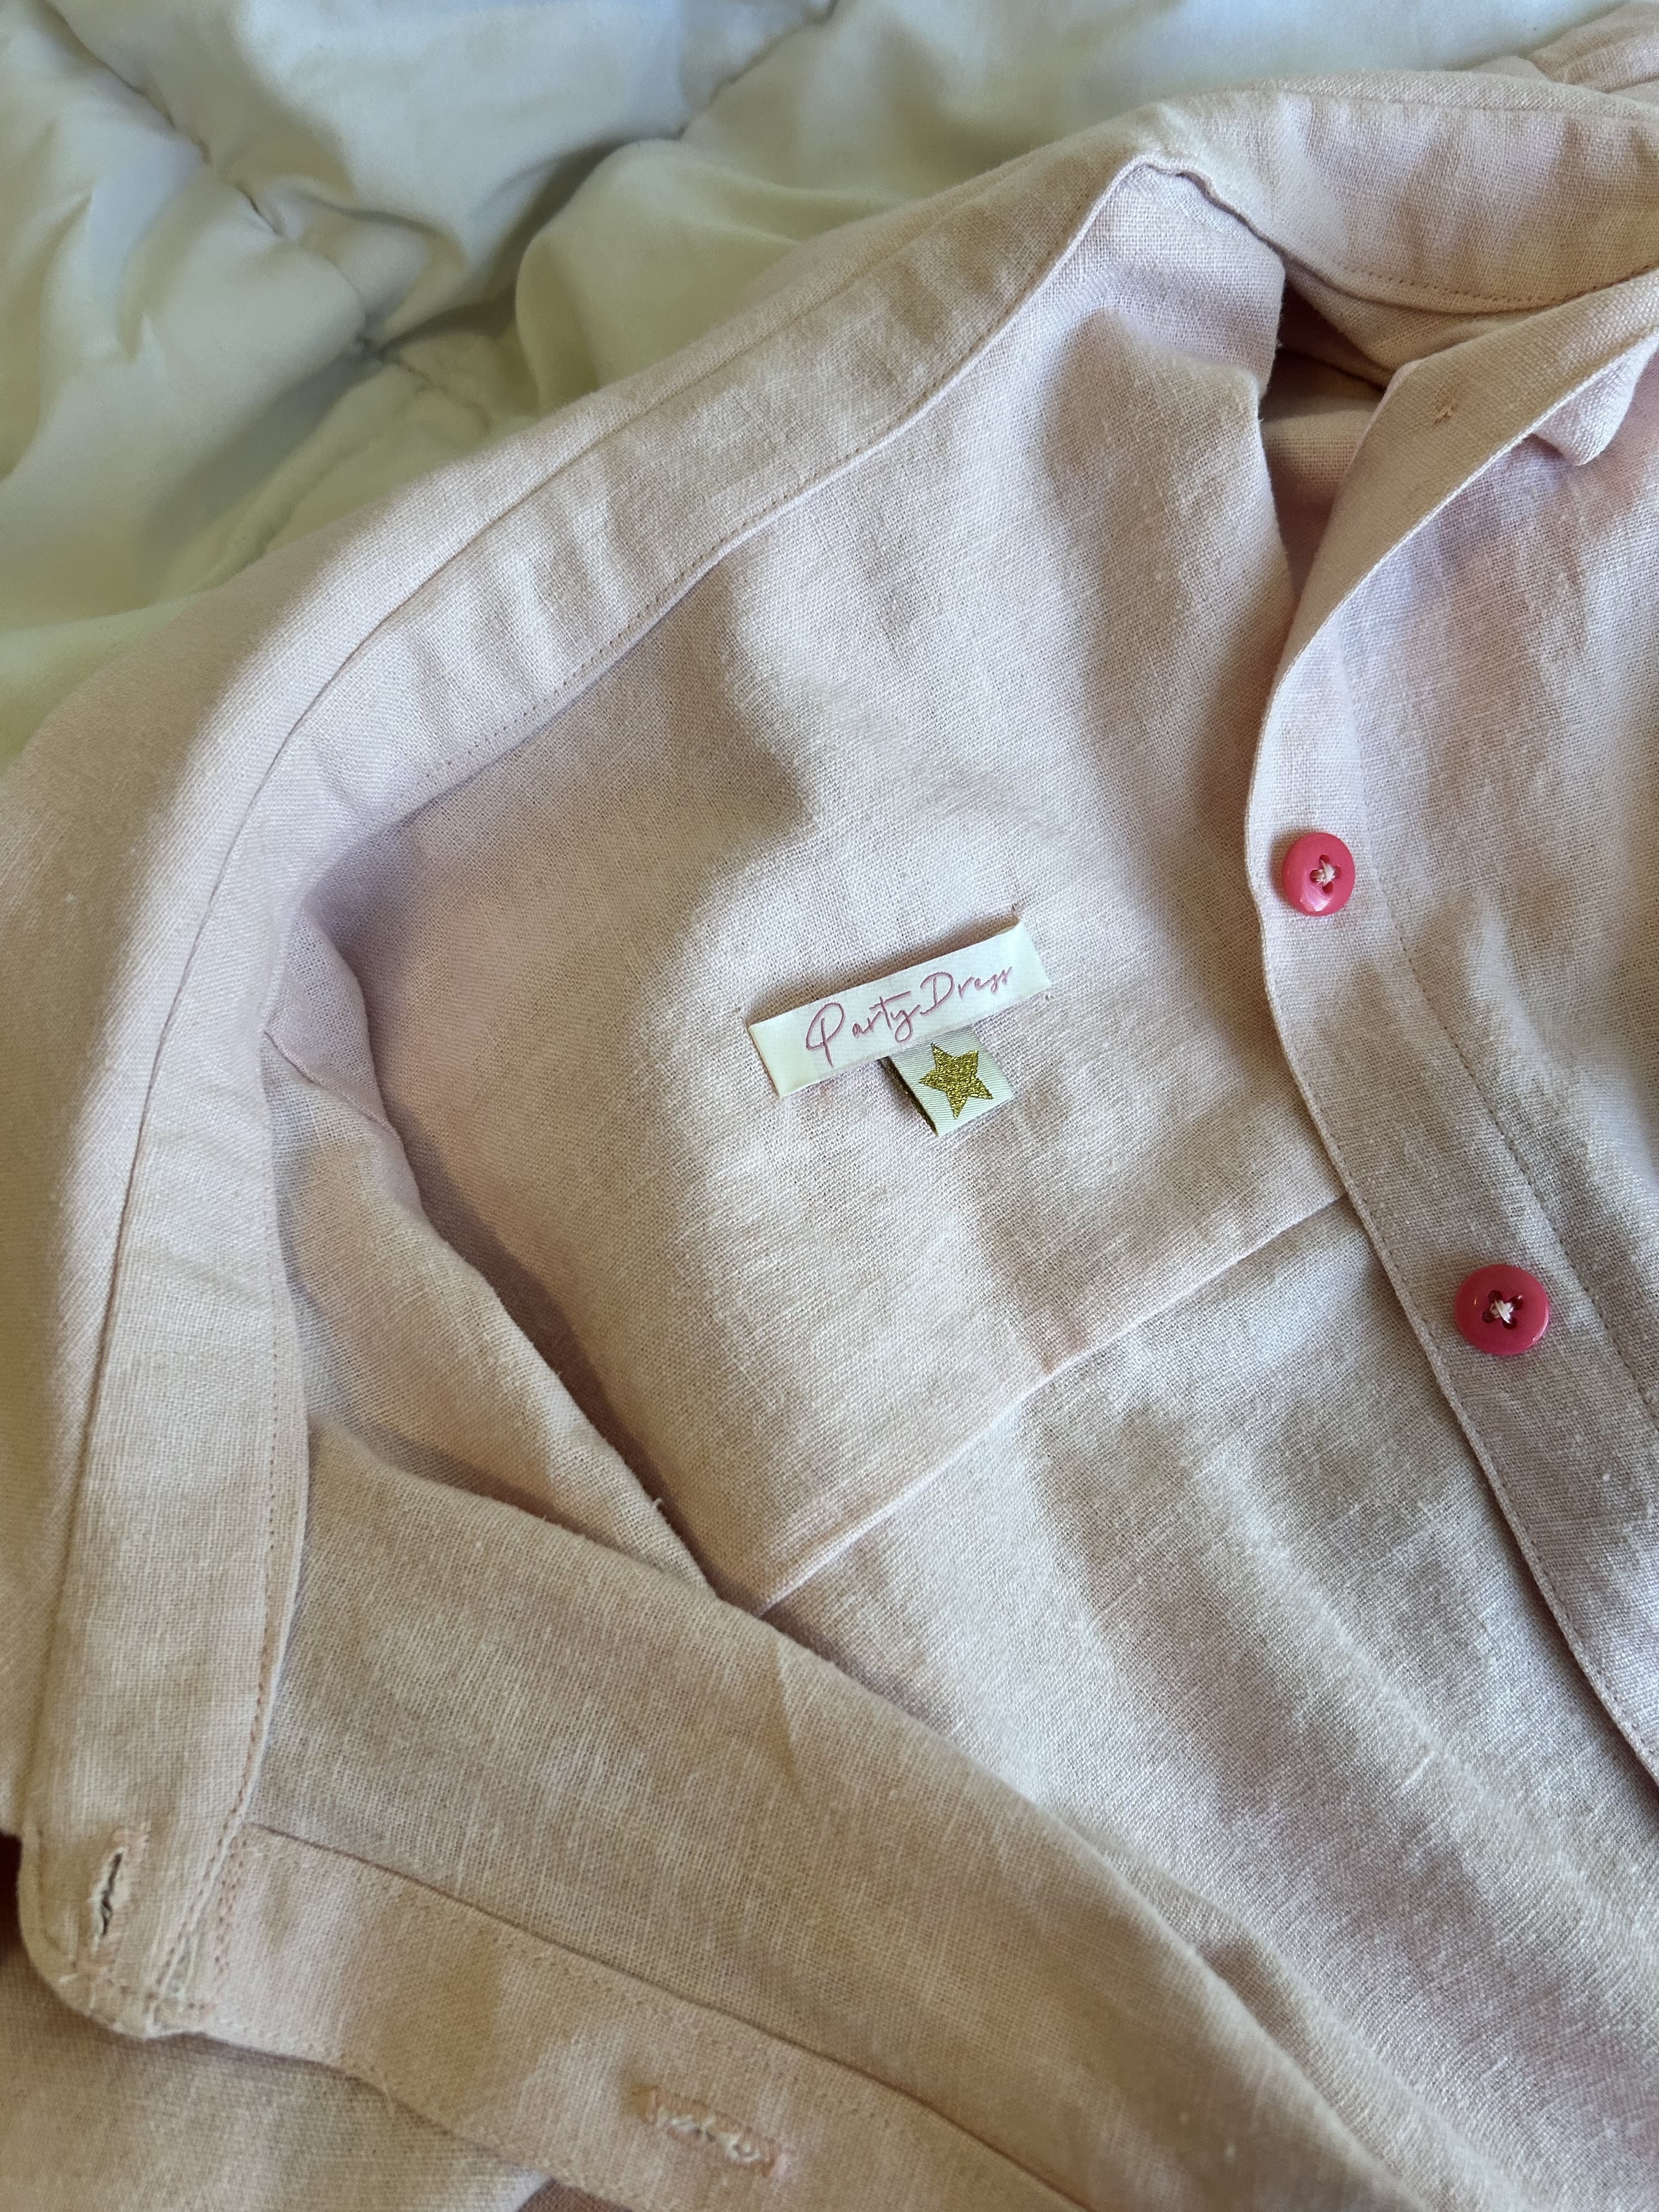
I pulled out my button stash and was surprised at how much I ended up liking the hot pink buttons. There were other good options, but I liked these the best. I had just enough to use them on the dress, although I did end up having to use a light pink button on the top, but it’s covered by the ruffle.
Sorry, I keep thinking of things I want to mention. One of the reviews I read talked about how tricky it was to get the ruffled collar to match. I was just so pleased with the ruffles in general (sometimes when you pull the gathers, they just feel so skimpy! The gathers here felt very healthy) that I hardly paid that any attention. So I was really disappointed when I got to the end and realized that my collar ruffles don’t match at all! One is nearly a half inch bigger than the other! I tried to press them in a way to make them match better, but I don’t think I did a great job of it. I feel like most people wear their Sarastes buttoned all the way up to the neck. I feel like that’s not really my style at the moment, and also wearing it that way kind of emphasizes the uneven collars! Wearing it with the top two buttons undone helps make the lack of symmetry harder to spot, I think!

So that’s my Saraste! Of course, I couldn’t write this review without taking it out for a spin so I wore it the other day and loved it! It’s the kind of dress that you have to pay zero attention to. Once it was on, I didn’t have to give it a second thought regarding shifting or adjusting and that’s exactly what I want in my clothes at this point in my life. The only bad part is the seasonality of it. I think the silhouette is very versatile and can be worn in any season. But the color and more importantly the heft-or lack of it-of the fabric turn my version of the dress into something that just isn’t that interested in the colder months (and I can’t blame it, the majority of the time I feel the same way myself). Otherwise, I’m really happy with how the dress turned out and can see myself making another one sometime.

Pattern: the Saraste Dress from Breaking the Pattern
Size: 5
Adjustments: Made a 3/8″ forward shoulder adjustment; shortened bodice pieces 1.5″ (I’m 5’3″).
Fabric: Brussels Washer Linen Blend in “blush” from StyleMaker Fabrics
Cost: Fabric about $40; Buttons, threads, interfacing in stash; and the pattern book I checked out for free from my library (and actually requested that they buy the book in the first place, so that all worked out very well for me:)
Would I make this pattern again?: I would!

One thought on “The Saraste Dress”