

As easy as it is to just get excited about sewing stuff for me and the gals, I’ve never wanted to exclude Ben in the Easter Outfit Fun, so, since that first year of Easter outfits, I’ve made him a tie! Yeah, it’s pretty basic but it’s not like there’s a bunch of different items to choose from when it comes to Men’s formal attire. A tie is an easy thing to add in that doesn’t add a bunch of stress because it’s pretty straightforward to sew up.
Here’s a picture of the first year I did Easter outfits, and the first tie I made for Ben:

The girls saw this picture and couldn’t get over how young I look! Ha! I could blame the years but I’m more inclined to blame the babies and subsequent lack of sleep! Ah, well, the little cherubs are worth it.
Anyway, when we wore these outfits to church, a lady there couldn’t get over that I’d made Ben’s tie. “I can believe you made your dress and the baby’s skirt,” she said, “but I can’t believe you made a tie!”
But, truly, the tie has been the easiest part of any year of Easter makes! Essentially, it’s a few seams and then a whole lot of pressing.

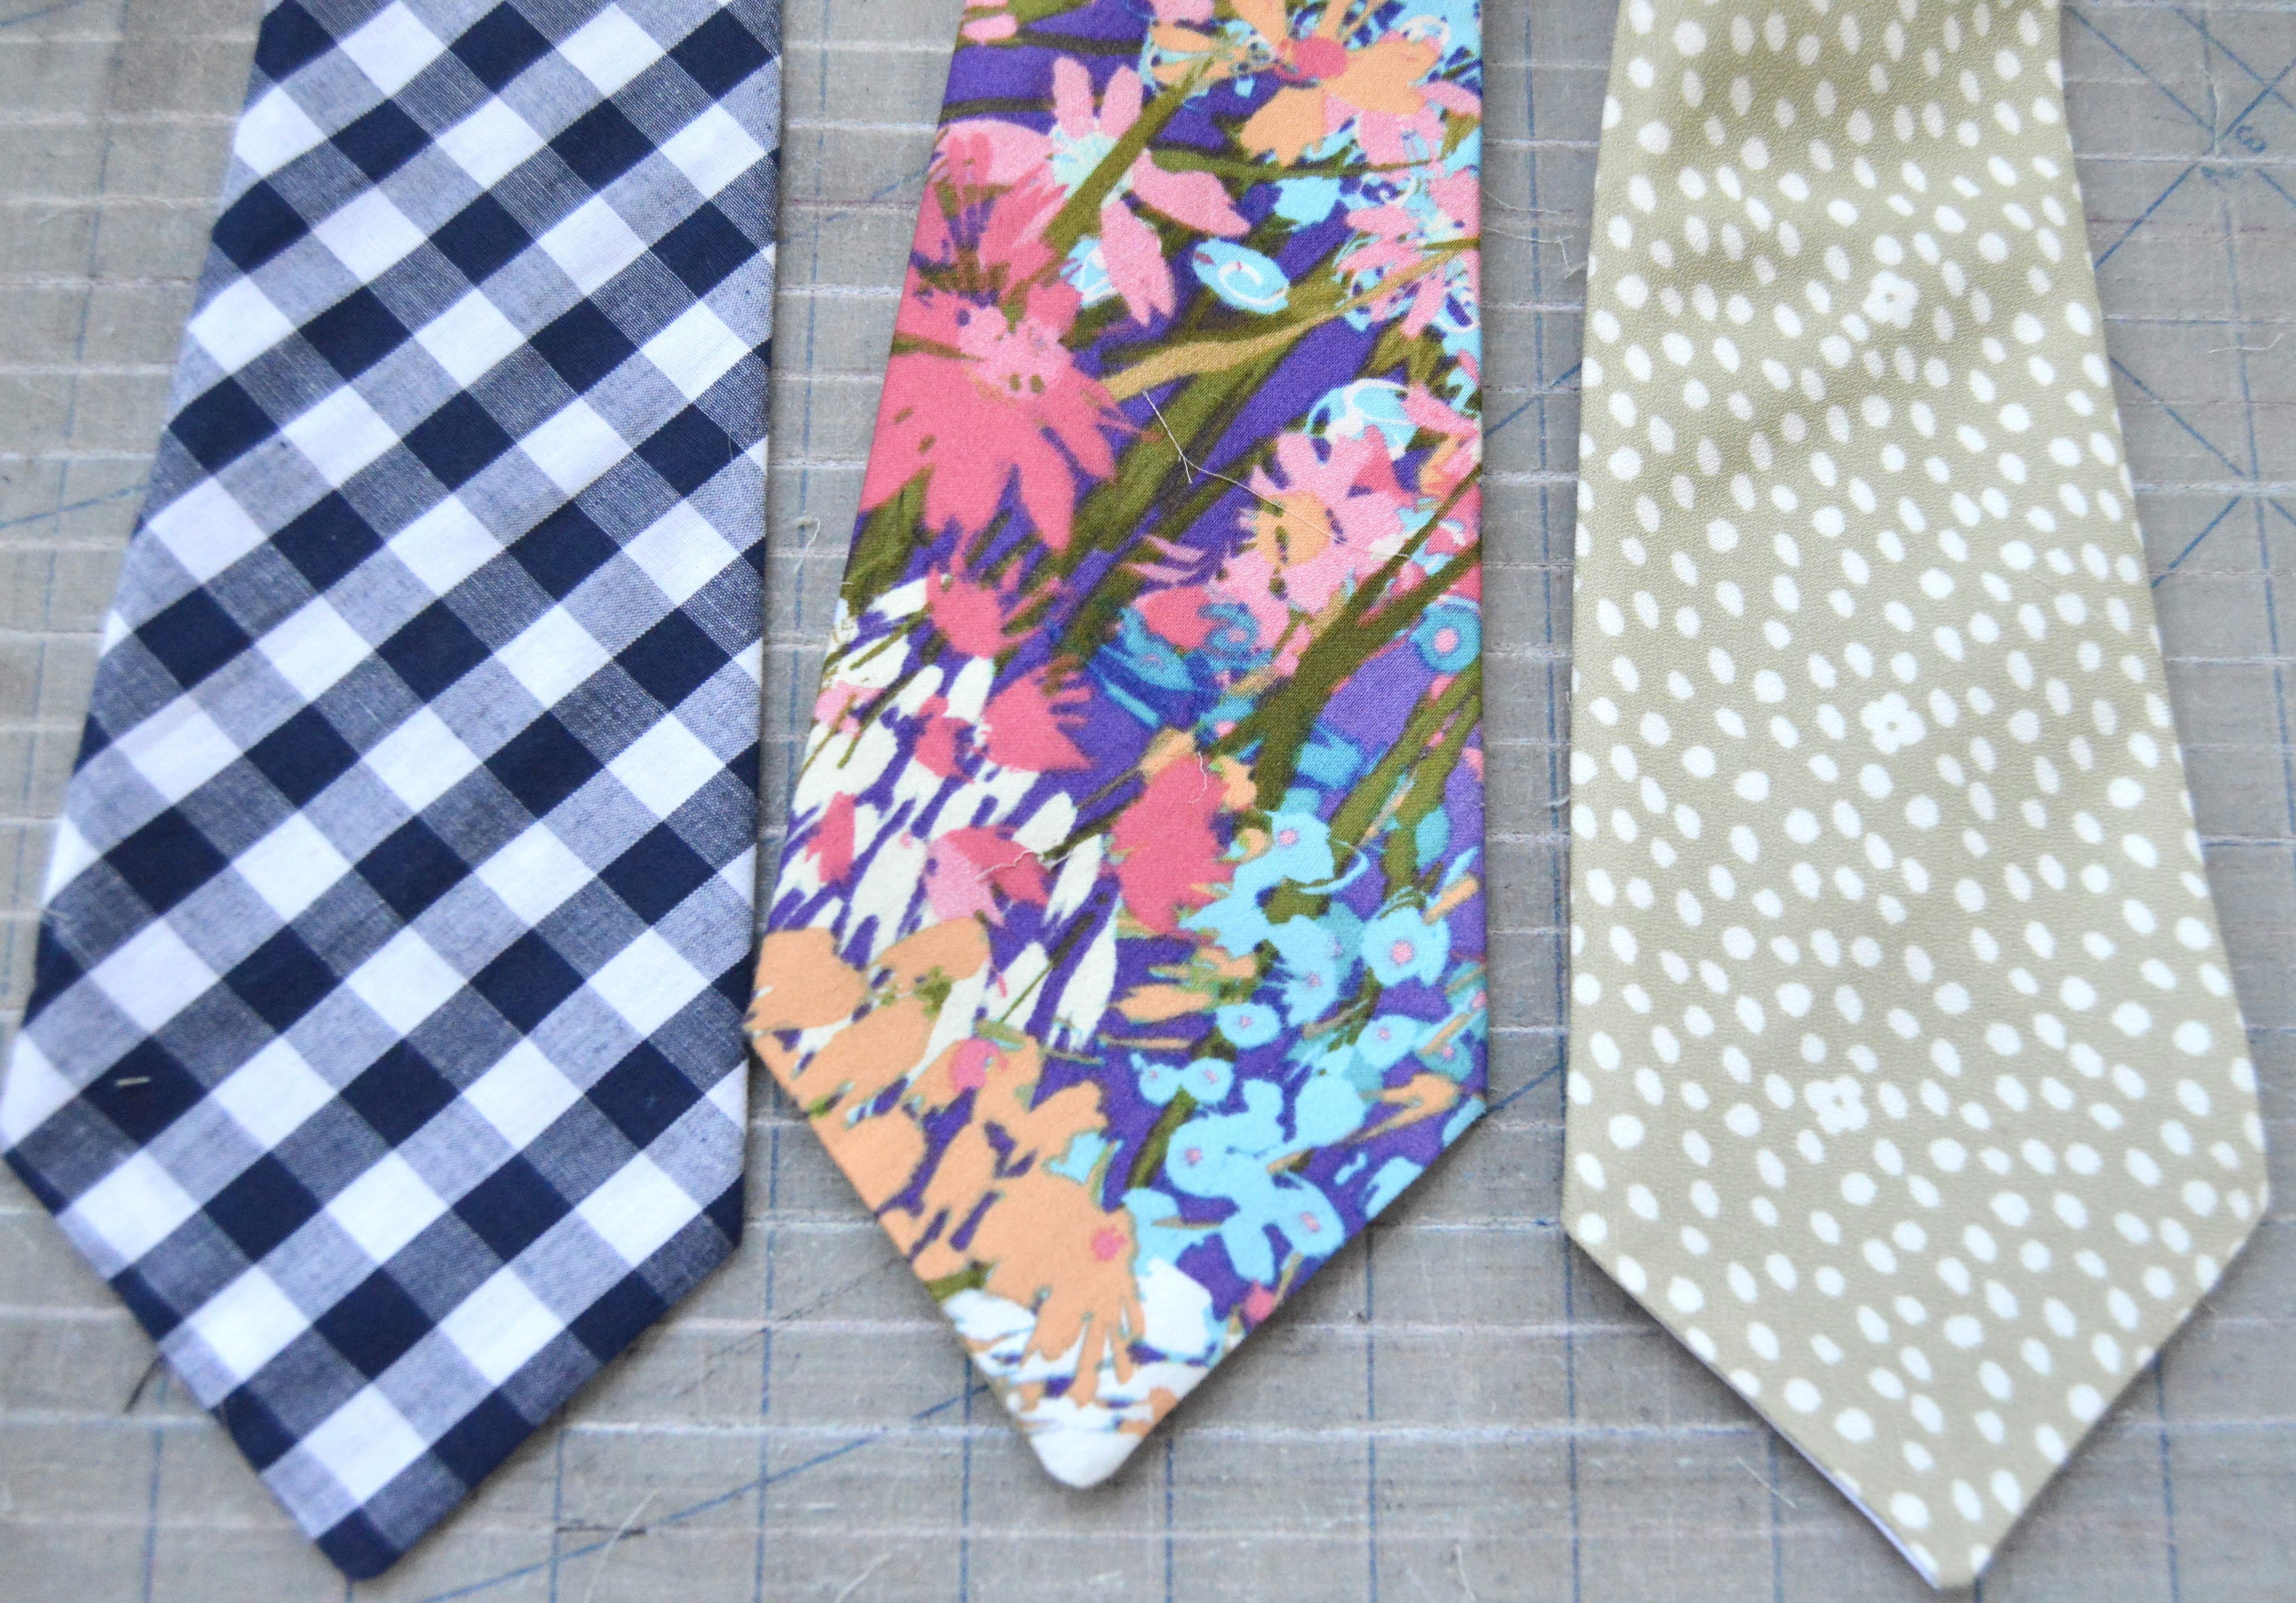
Somehow, that first year, I ended up landing on the perfect tie fabric. It was crisp and sturdy with just the slightest bit of stretch. Since then, I’ve tried lots of different types of woven fabrics, with varying degrees of success. Some of them have turned out poorly enough that I didn’t even bother to include them in the pictures. Just know that learning what fabric works has been a trial and error effort, one that’s ongoing.

The ties on the left in the photo above were both made out of quilting cotton. And while they certainly pass as ties and can be worn, Ben rarely wears them, I think because the weight and feel are all off (and, I mean, one of them is obviously a Christmas tie). For this year’s tie I used a very lightweight fabric (similar to what I made my skirt out of-kind of like a chiffon). After a good 3 or 4 inches of it shredded in the wash, I was pretty nervous about how it would be as a tie. I felt like I had no other option but to use interfacing. Interestingly enough, this was my first time interfacing any of the ties I’ve made and it made such a huge difference (in a positive way!) that it made me wonder how some of the other ties I’ve made would have turned out had they been interfaced.
Ben’s words were, “Wow, this feels like a real tie.”
So, you know. Interface. If that’s what your fabric is telling you to do.

In the tutorial where the pattern came from, the tie fabric is actually upholstery fabric but it makes for a lovely tie. And one that doesn’t need interfaced. So interfacing isn’t always the answer. But sometimes it is.
So perhaps I should talk about the pattern/tutorial.
I found my pattern here at Sweet Shop Sewing. It appealed to me because it’s free! And because it’s just a regular ol’ tie pattern. Ben’s not a fan of skinny ties or wide ties, so this one is what we needed! I’ve never tried any other tie pattern and I don’t really see myself using any other one because this one is so good. It’s fairly simple to sew up and it results in a nice, professional looking tie.

The sewing part of making this tie probably takes about as long as it takes to cut out. It really doesn’t take much time at all! I can sew it in under an hour. And, like I mentioned above, through the sewing portion of the tie-making, I probably spend more time with my iron than my sewing machine. The most difficult part is probably turning the tie right side out, just because the channel you turn it through is fairly narrow. And then the pressing! Depending on your fabric, the pressing can be pretty difficult! If I’m having problems with ironing, I’ll use a damp cloth on top of the tie and that usually helps (I’m sure a clapper would also be helpful, but I don’t have one).
I will note that sometimes I alter the pattern so that it’s in three sections instead of two, just in an effort to save fabric. Everything is cut out on the bias, so whatever piece of fabric you use, you basically end up chopping a hole right in the middle of it. Cutting in three sections means you can use a smaller portion of fabric (under a yard, instead of the called for yard) but then there is an extra seam line. More recently I’ve just kept the pattern as is.
You also need a lining fabric to make a tie and for this tie I just used a plain white silk-like fabric that I had in my stash.

This was the first year Ben got to have a twinning buddy! I contemplated making Owen a few different things but then just decided to stick with a little bow tie (mostly because I was running out of time). I really quickly whipped this little bow tie out just by cutting a rectangle of fabric that I sewed together (it did require some hand sewing) and then did similar with the “knot” in the middle. The ties were the last thing I made and they were being made after kids were in bed on Saturday before Easter so I was just kind of feverishly working and hoping I’d get it done. I may have been able to come up with a better way to adhere it to Owen’s neck, but what I came up with was to just slip a piece of elastic (I only had black on hand) through the back of the knot and tie that onto Owen’s neck.
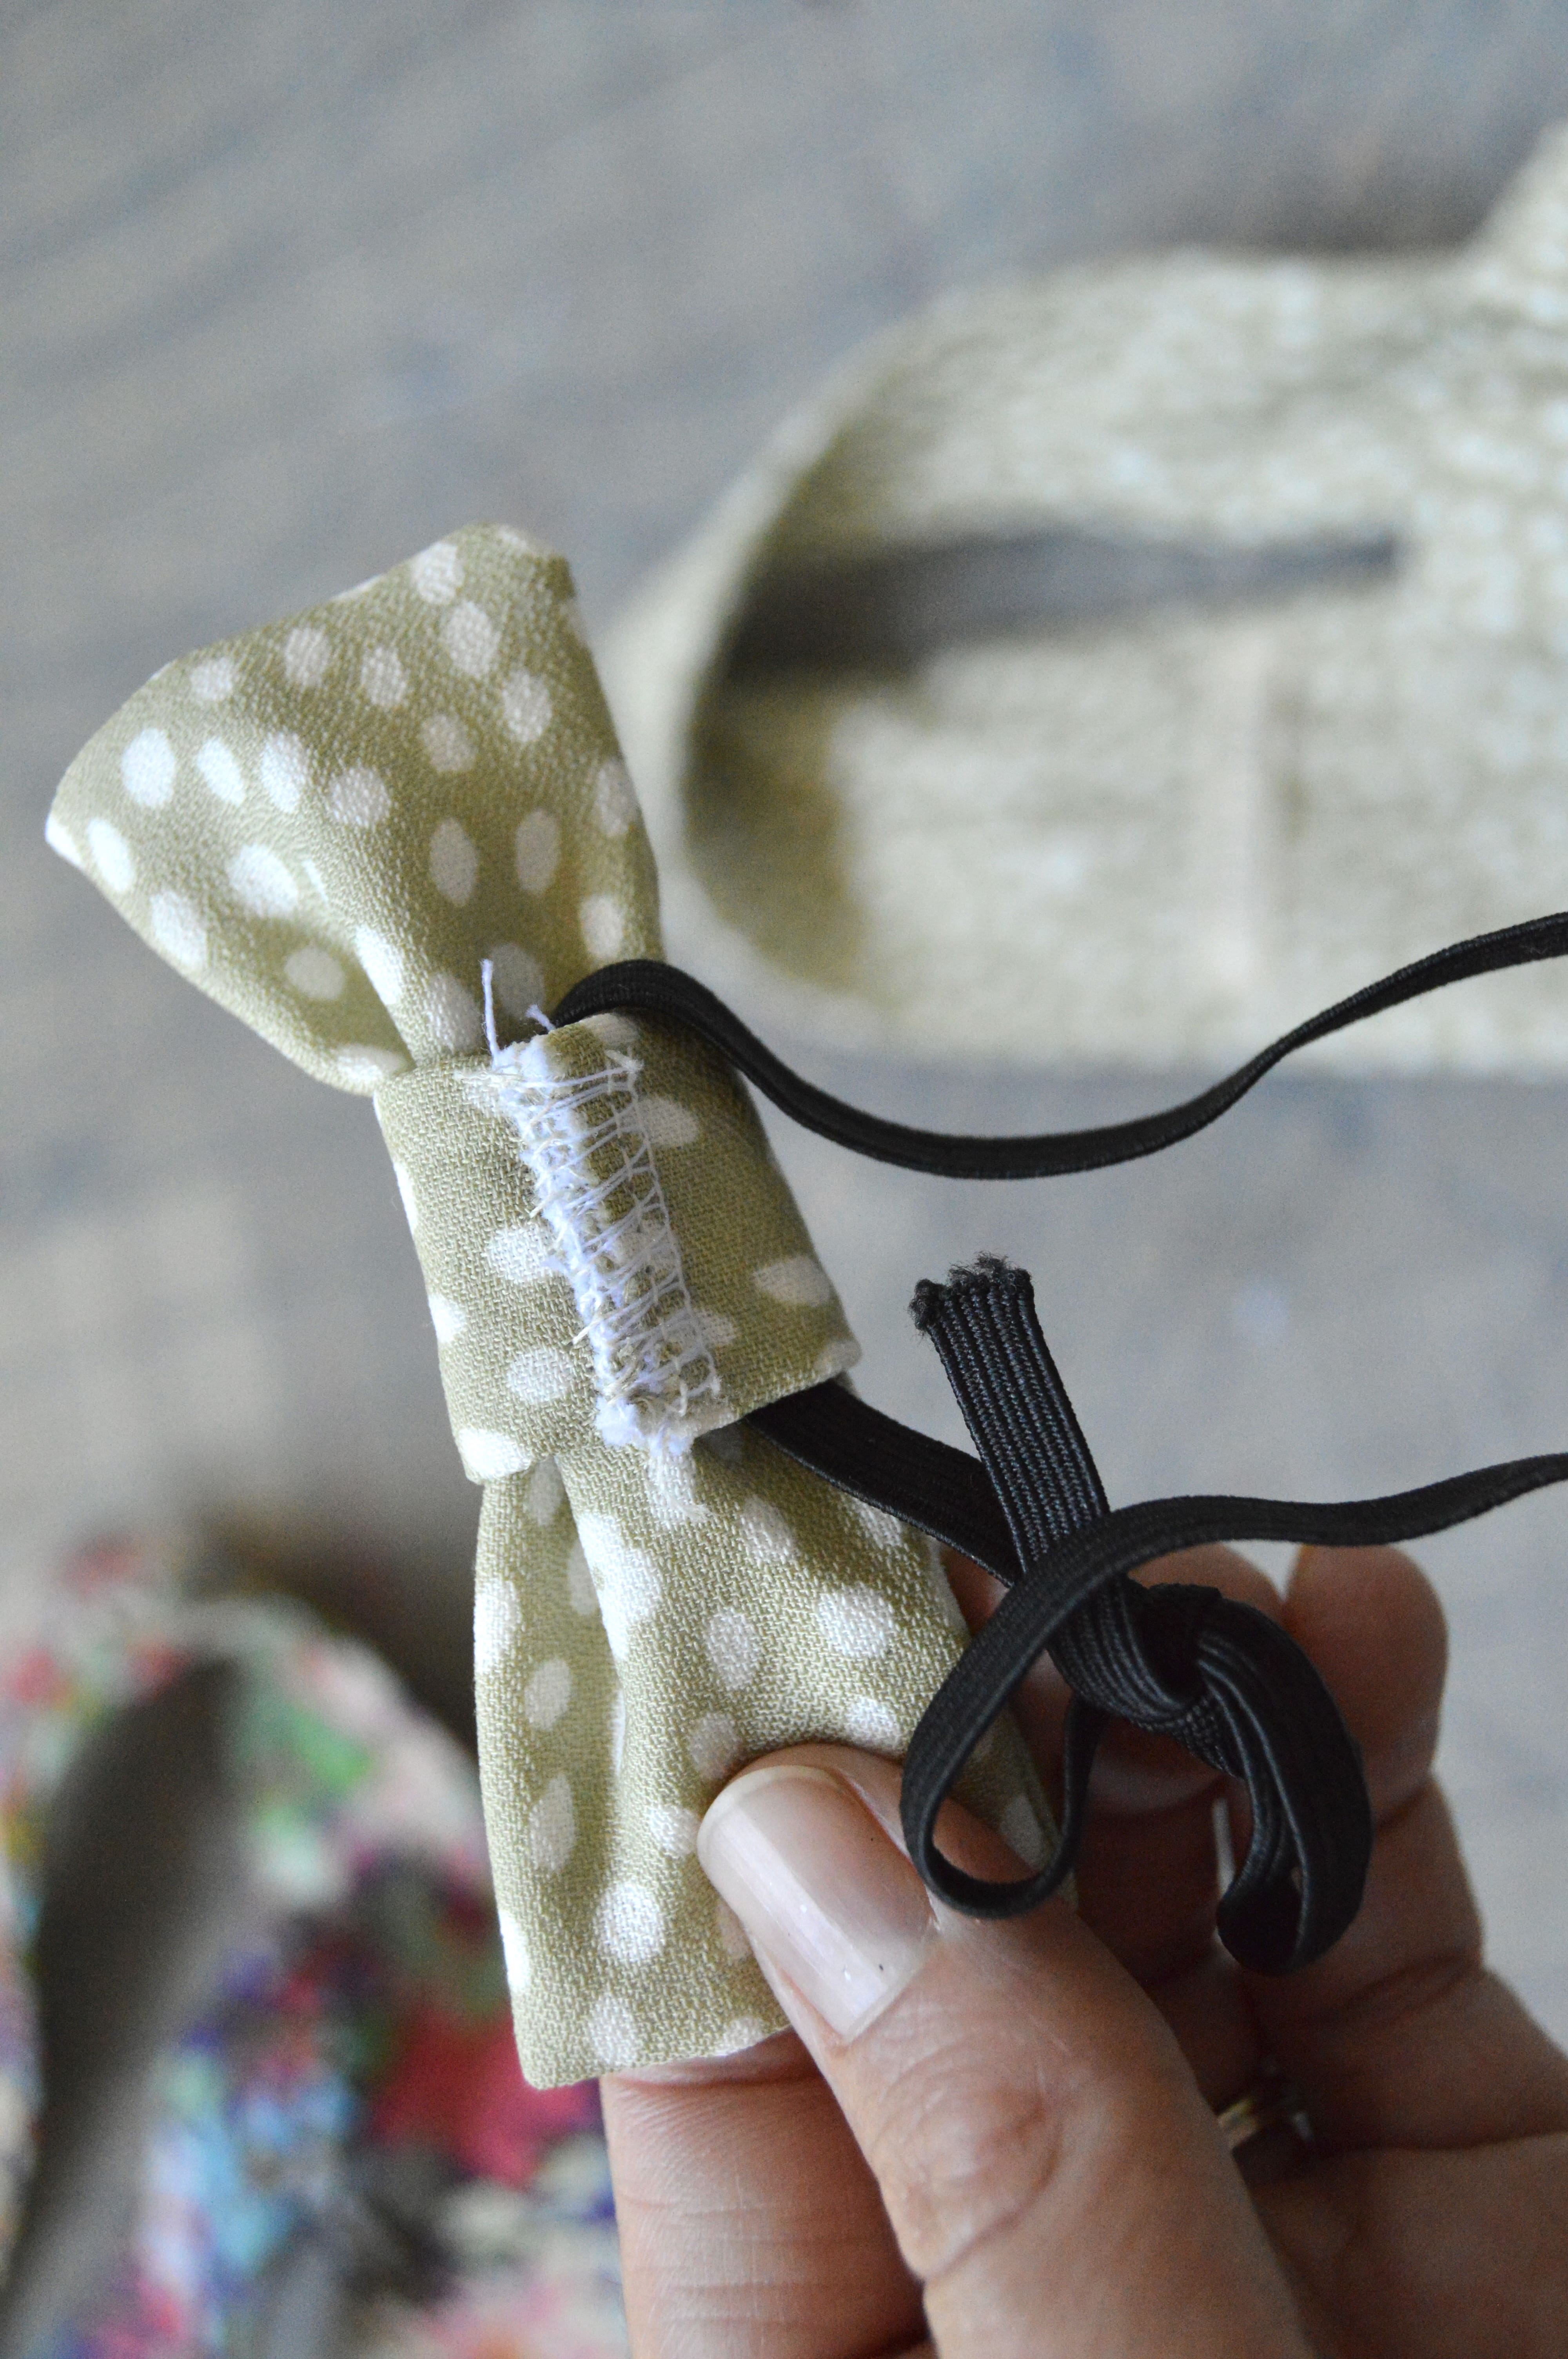
Very Make-It-Work but it does work!

See? You can’t even tell! And maybe this is the whole I’m-his-mother thing talking but I think this baby could wear any slapped together bow tie and still look adorable.
Anyway, the tie pattern and tutorial are awesome! I highly recommend them!
Pattern: Sweet Shop Sewing Men’s Neck Tie Pattern Here and Tutorial Here
Size: N/A
Alterations: None
Fabric: very lightweight, semisheer woven from Hobby Lobby
Cost: 3/4 yard fabric-$7; lining and interfacing in stash
Would I make this again?: Definitely!

