


Sorry for all the bottoms posts but that’s what I’ve been seriously lacking in my wardrobe and as a result what I’ve been focusing on in my sewing lately. Pants and shorts all up in here. Maybe someday we’ll return to other items…maybe.
I was really wanting some shorts that fit into the magical realm of having it all: comfortable, knee length, pockets, linen (necessary? yes!…okay, not really), elastic. I wanted it all! And here’s the thing: I didn’t even feel committed to making sure they were handmade by me. I was A-OK getting a RTW pair. But after days of searching I realized that if I wanted all those things, the easiest way to get them would be to make them myself. So! I abandoned my internet shopping search to search instead for a pattern.

I’ll be honest, shorts patterns aren’t super easy to come by. Now, given, most (all?) pants patterns have the possibility of becoming shorts so that’s not a super big deal. And, in fact, I did consider using a pattern I already had in my arsenal. The Tully Pants and the Free Range Slacks were both contenders. But then I found the Goji shorts pattern from Deer and Doe and it seemed to have all the things I wanted. The only downside was the length. The Goji pattern can either be a skirt or short shorts, but it isn’t at all drafted to be long. And I wanted to lengthen them quite a bit. I wasn’t sure how that would change them and I was worried it’d ruin them. I even asked my husband what he thought and he discouraged me from using that pattern because lengthening them seemed to be opposite what the pattern was meant for. But I couldn’t find anything else I loved so I just decided to go with it. And, overall, I’m glad I did although I did hit some snags along the way.

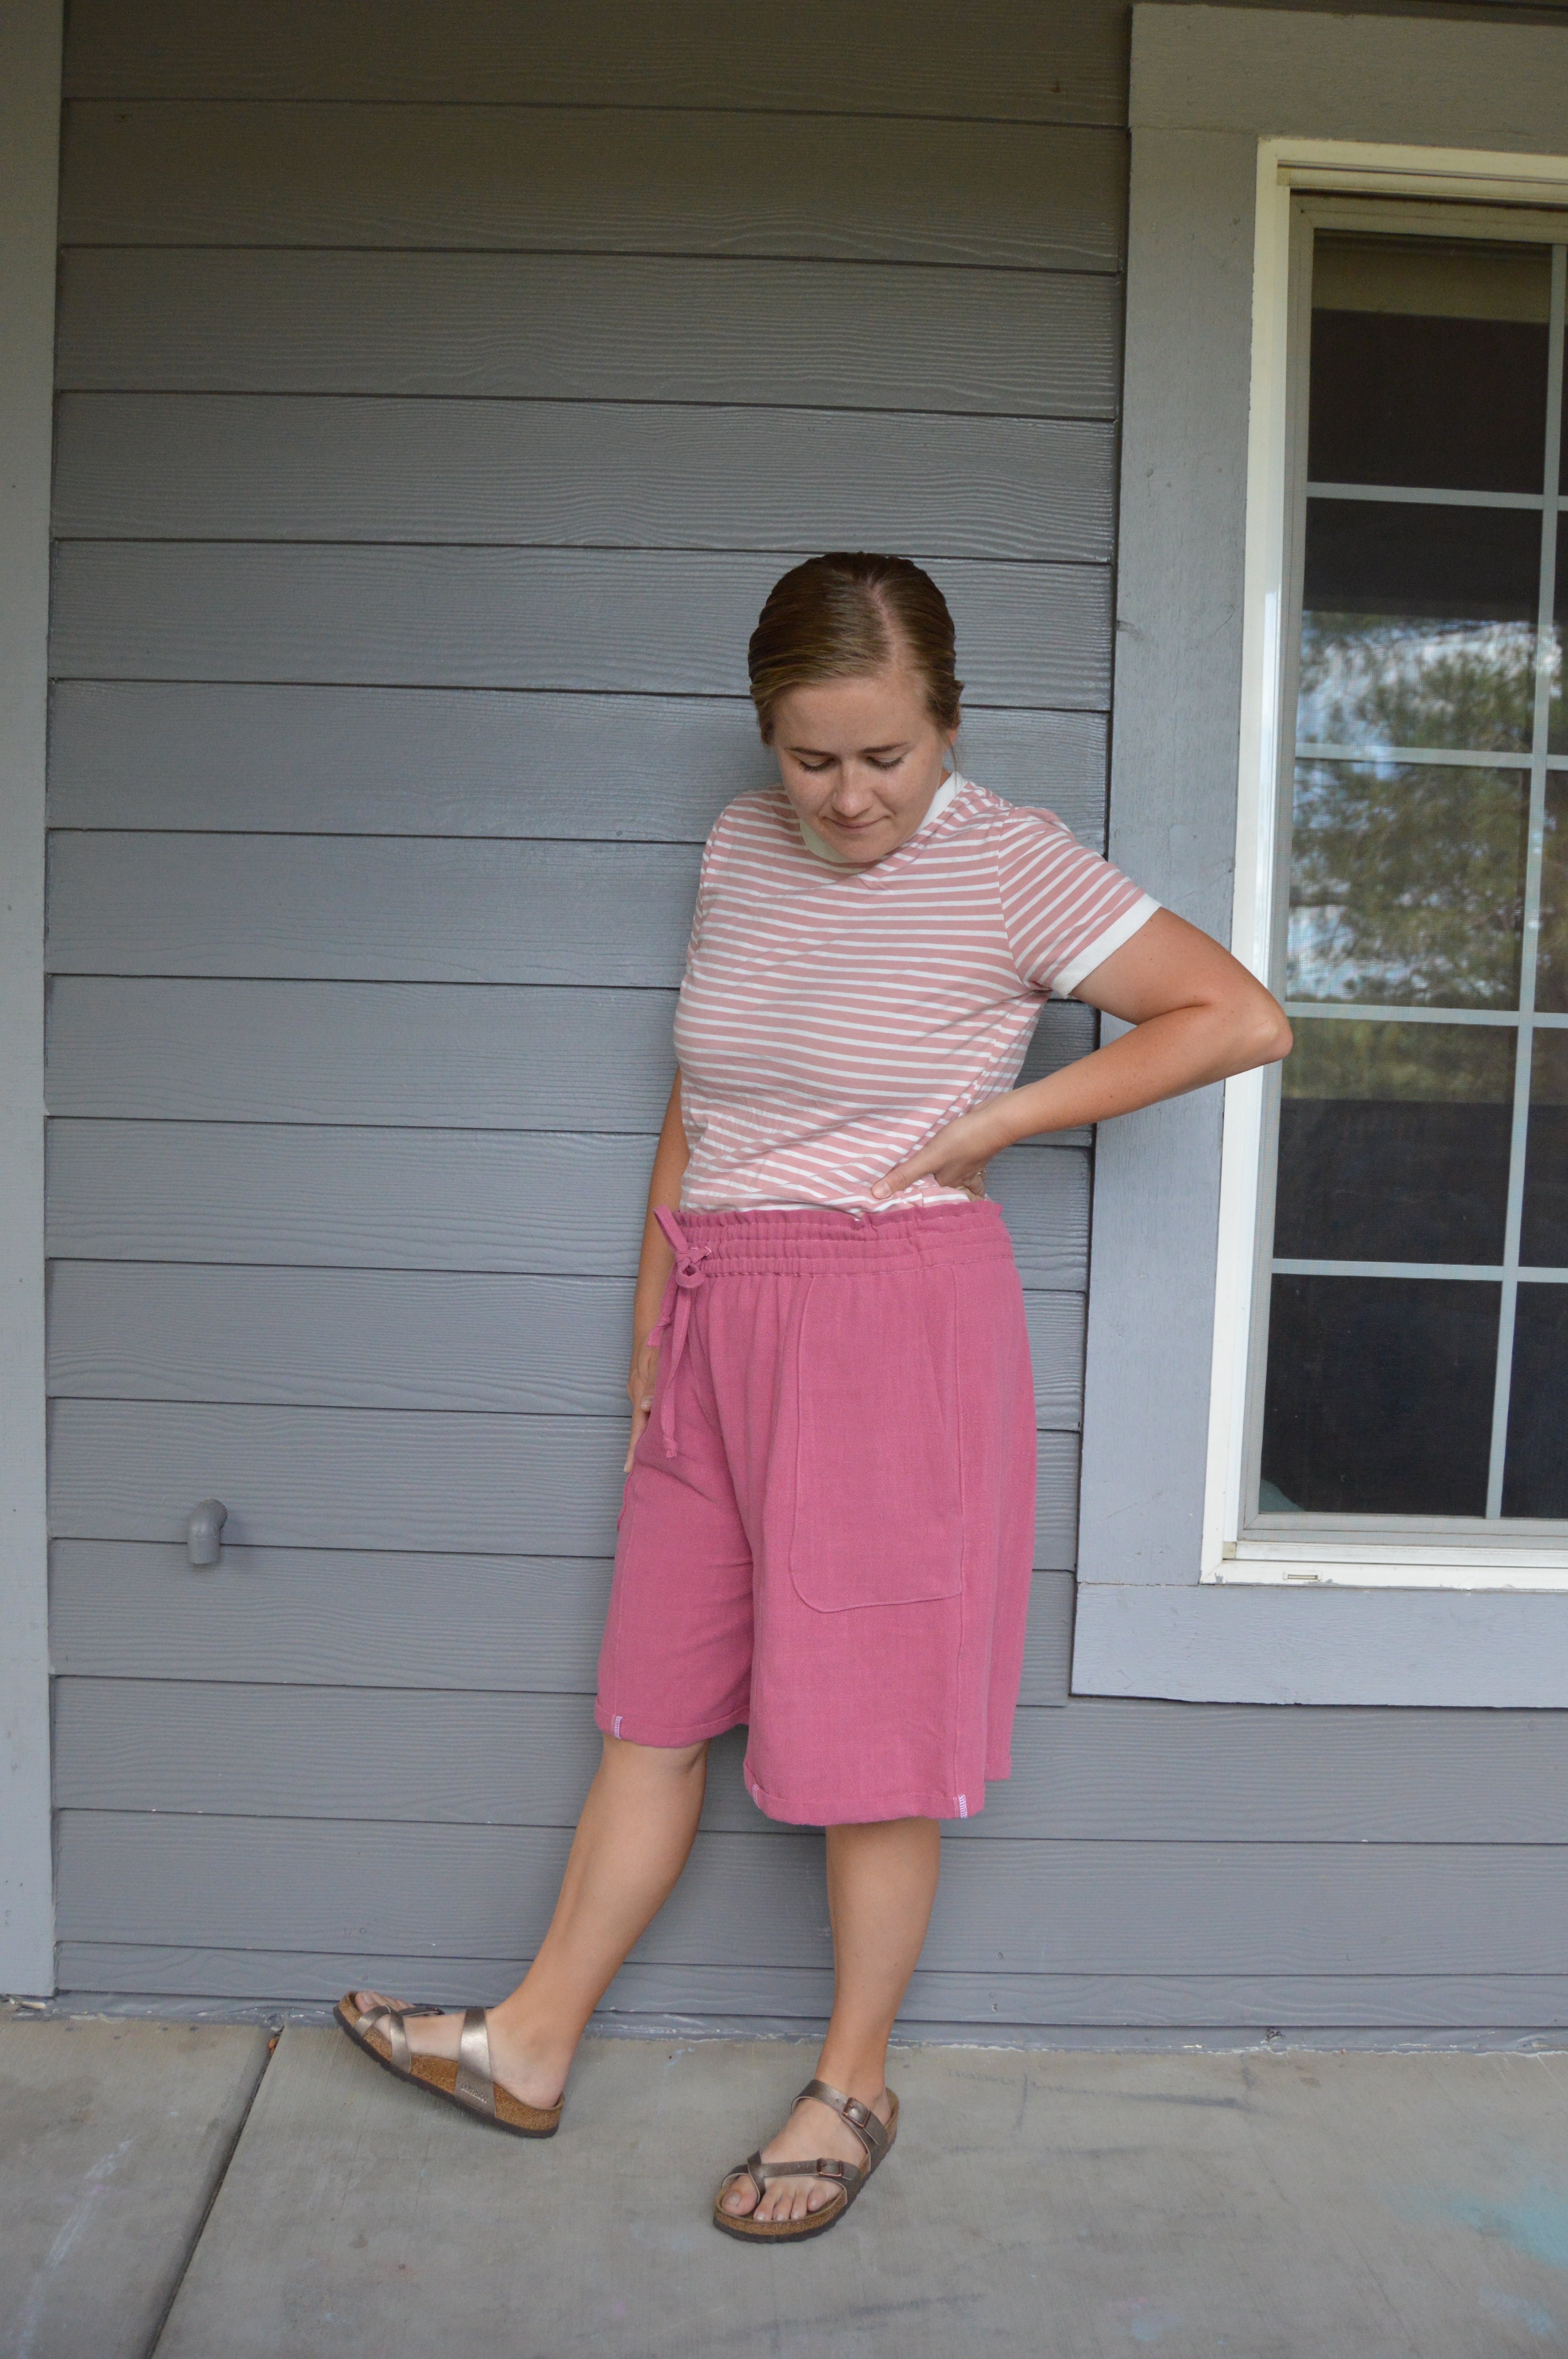
First up let’s talk about the fabric I used. I bought this viscose linen noil from Blackbird last year around Christmas because they were having this huge sale. When I got my box of fabric and was showing it off to Ben he said, “Oh, I can tell you got the good stuff!” And it is! This fabric (and all the other fabric in that order) is just lovely. This viscose linen (I can’t remember the percentage of each) is so soft, it doesn’t wrinkle easily and it just has that beautiful washed look to it. I really love it. A month or so ago I was about ready to turn this fabric into a midi skirt but when I went to get it out of my stash I knew that it was way too heavy to turn into a skirt. It’s not hugely thick or anything but it’s, as we often say about people, very solid! Turning the fabric into shorts seemed like an appropriate application.

I bought 2 yards-oh, excuse me, meters!-of fabric and since I lengthened mine so significantly (I added in 5 inches) I did use most of my fabric, although I do have enough left that it could turn into a tank top or sleeves or something. The legs are cut in different sections so you’re cutting more than one piece for each leg. If you’re making the pattern the intended length, the reason for the required yardage is just the tie because the tie is all one piece. I was allotting space for the tie pattern piece as I cut but then it slipped my mind so I ended up having to cut the tie in two pieces anyway. To me it’s not a big deal because it’s encased so you can’t see the seam anyway. Also if you know how to join strips of fabric like a quilter (like how you make bias tape), you can make your tie like that and avoid creating a bulky seam.

The sewing process was a little bit tricky for me! First, the curved patch pocket seems to always give me at least a little bit of grief and this time was no different. I’ve definitely completed more polished looking patch pockets. These ones were a little wonky and I’m still a bit worried that the anchor into the side seam isn’t sturdy enough. Time will tell! My biggest issue with these shorts was the rise. The rise was so alarmingly long that as I sorted through my cut fabric piles I was certain I’d cut this incorrectly-that’d I’d lengthened the rise instead of the leg on accident! But I hadn’t, the rise was just pretty long. I still sewed it up since it was too late to alter the pattern piece and it looked extra long but maybe this was would be fine for me? But once sewn up it was still a ridiculously long rise for me. Then ensued a lengthy battle of sewing, trying on and unpicking that was tedious and frustrating. I got the rise where I wanted it but then had a pool of fabric in the crotchal region that was quite unsettling. I had to trim and resew and try on who knows how many times but I did finally, finally get that extra waterfall of fabric gone and the rise in a respectable place. Of course, this would have been 100 times easier if I’d adjusted the rise on the pattern piece before cutting into my fabric but woulda, coulda, shoulda, you know? Someday I may be more committed to muslining…

One thing that I really love, and is definitely my favorite part of the shorts, is the waistband. It’s constructed differently than any other waistband I’ve sewn and I think it’s very effective as well as really cute. The style is a paper bag waist but the part sticking up at the top is pretty itty bitty. My previous test of this style was the Tully Pants and that had a pretty hefty top that I wasn’t sure I was able to pull off. This one’s more subtle so I feel a lot more confident wearing it around. As for the elastic, the instructions have you create your channels, of which there are three. And then you feed 3/8″ elastic through the top and bottom channels and your tie through the middle channel. For me, this resulted in a very cramped hand but also very even channels (I wasn’t stretching and finagling as I sewed) and a very secure and comfortable waistband. In all the elastic waist pants I’ve sewn previously, I use a 1 1/2″ or 2″ elastic and the drawstring ends up being purely for decoration. Here, it feels like each part is doing a job and, I don’t know, I just really love it. Can I put this on all the pants?

The shorts come with facings for the hem which I chose not to use. I wanted these to have a folded up look, so I just did that: folded them up and hand-tacked them in place. Unfortunately, I never make an effort to match my serger thread to my garments (unless the garments happen to be black or white) so the white serger thread really shines here, but not in an attractive or happy way. I’ve also felt like the shorts (and myself) would benefit from being an inch or two shorter. So I may just unpick the hem, hem it like normal and then do the fold-y, hem-y trick again but this time without displaying my serger thread. I know! Very fancy of me!
I’ve worn these shorts a couple of times now and I really do like them (minus the serger thread. That’s for sure the worst part for me). They’re fun and a little bit quirky but I feel like they are a step in the right direction for me and feeling excited about my me-made clothes again. They may need some easy fixes but they’re good. Aside from trying their free tee pattern, this was my first time paying for a Deer and Doe pattern and it was a good experience. The instructions were clear and easy to follow. The rise didn’t work great for me, but everything else seemed to be well drafted. I could definitely see myself trying out the skirt version of this pattern. I very much like the original short pattern. The length of it doesn’t fit into my every day life, but I’d definitely be interested in making a version of them for beach/swimwear. And I think my version here could use some tweaking but I think I could come up with a pair of shorts I’d really love that’s maybe a bit more versatile than this iteration, with some small changes. Overall, I really like these shorts.
Pattern: Deer and Doe Goji Shorts/Skirt pattern
Size: 42
Alterations: Lengthened by 5 inches. Omitted hem facings. Adjusted rise.
Fabric: Viscose linen noil from Blackbird Fabrics
Cost: Fabric: 2 meters for $23; Pattern: $12
Would I make this again?: Yes, but I’ll adjust the rise first!

