
")

‘Tis the season for sweaters, so I made a couple.
And I’ve gotta say that I really love how they both turned out! No new concepts here and I used some very nice fabrics so, all in all, it was an easy win!

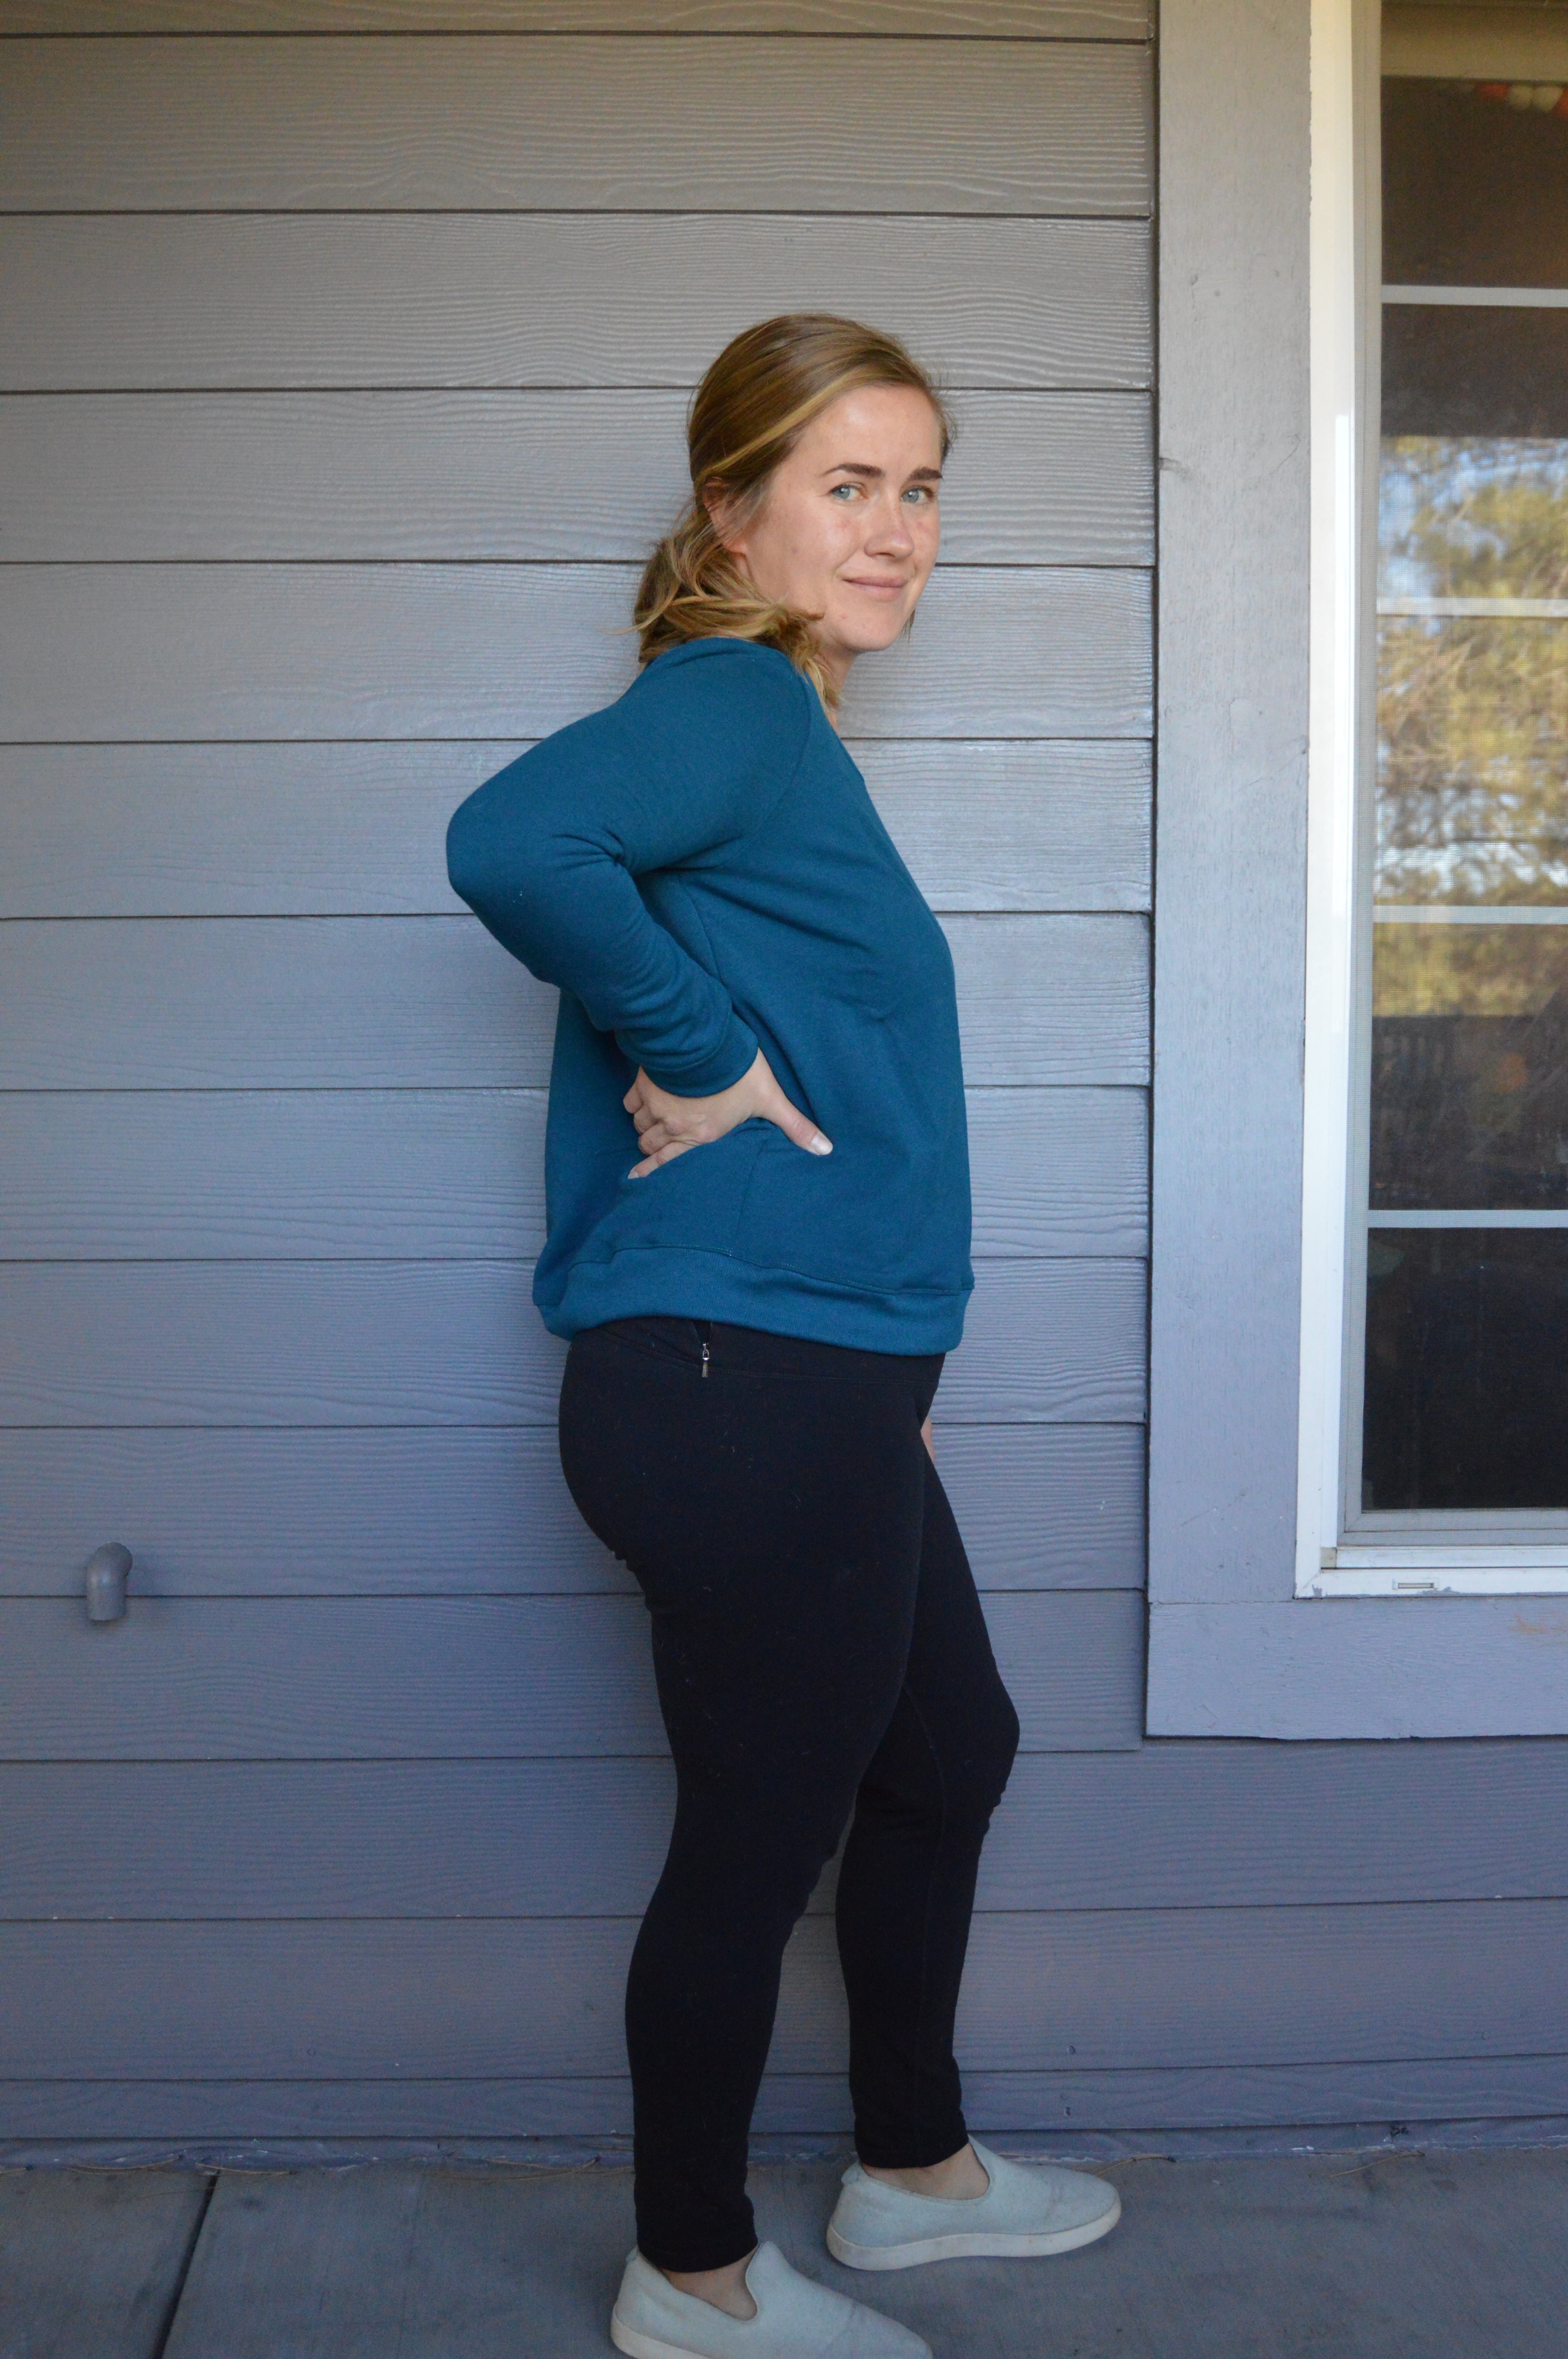
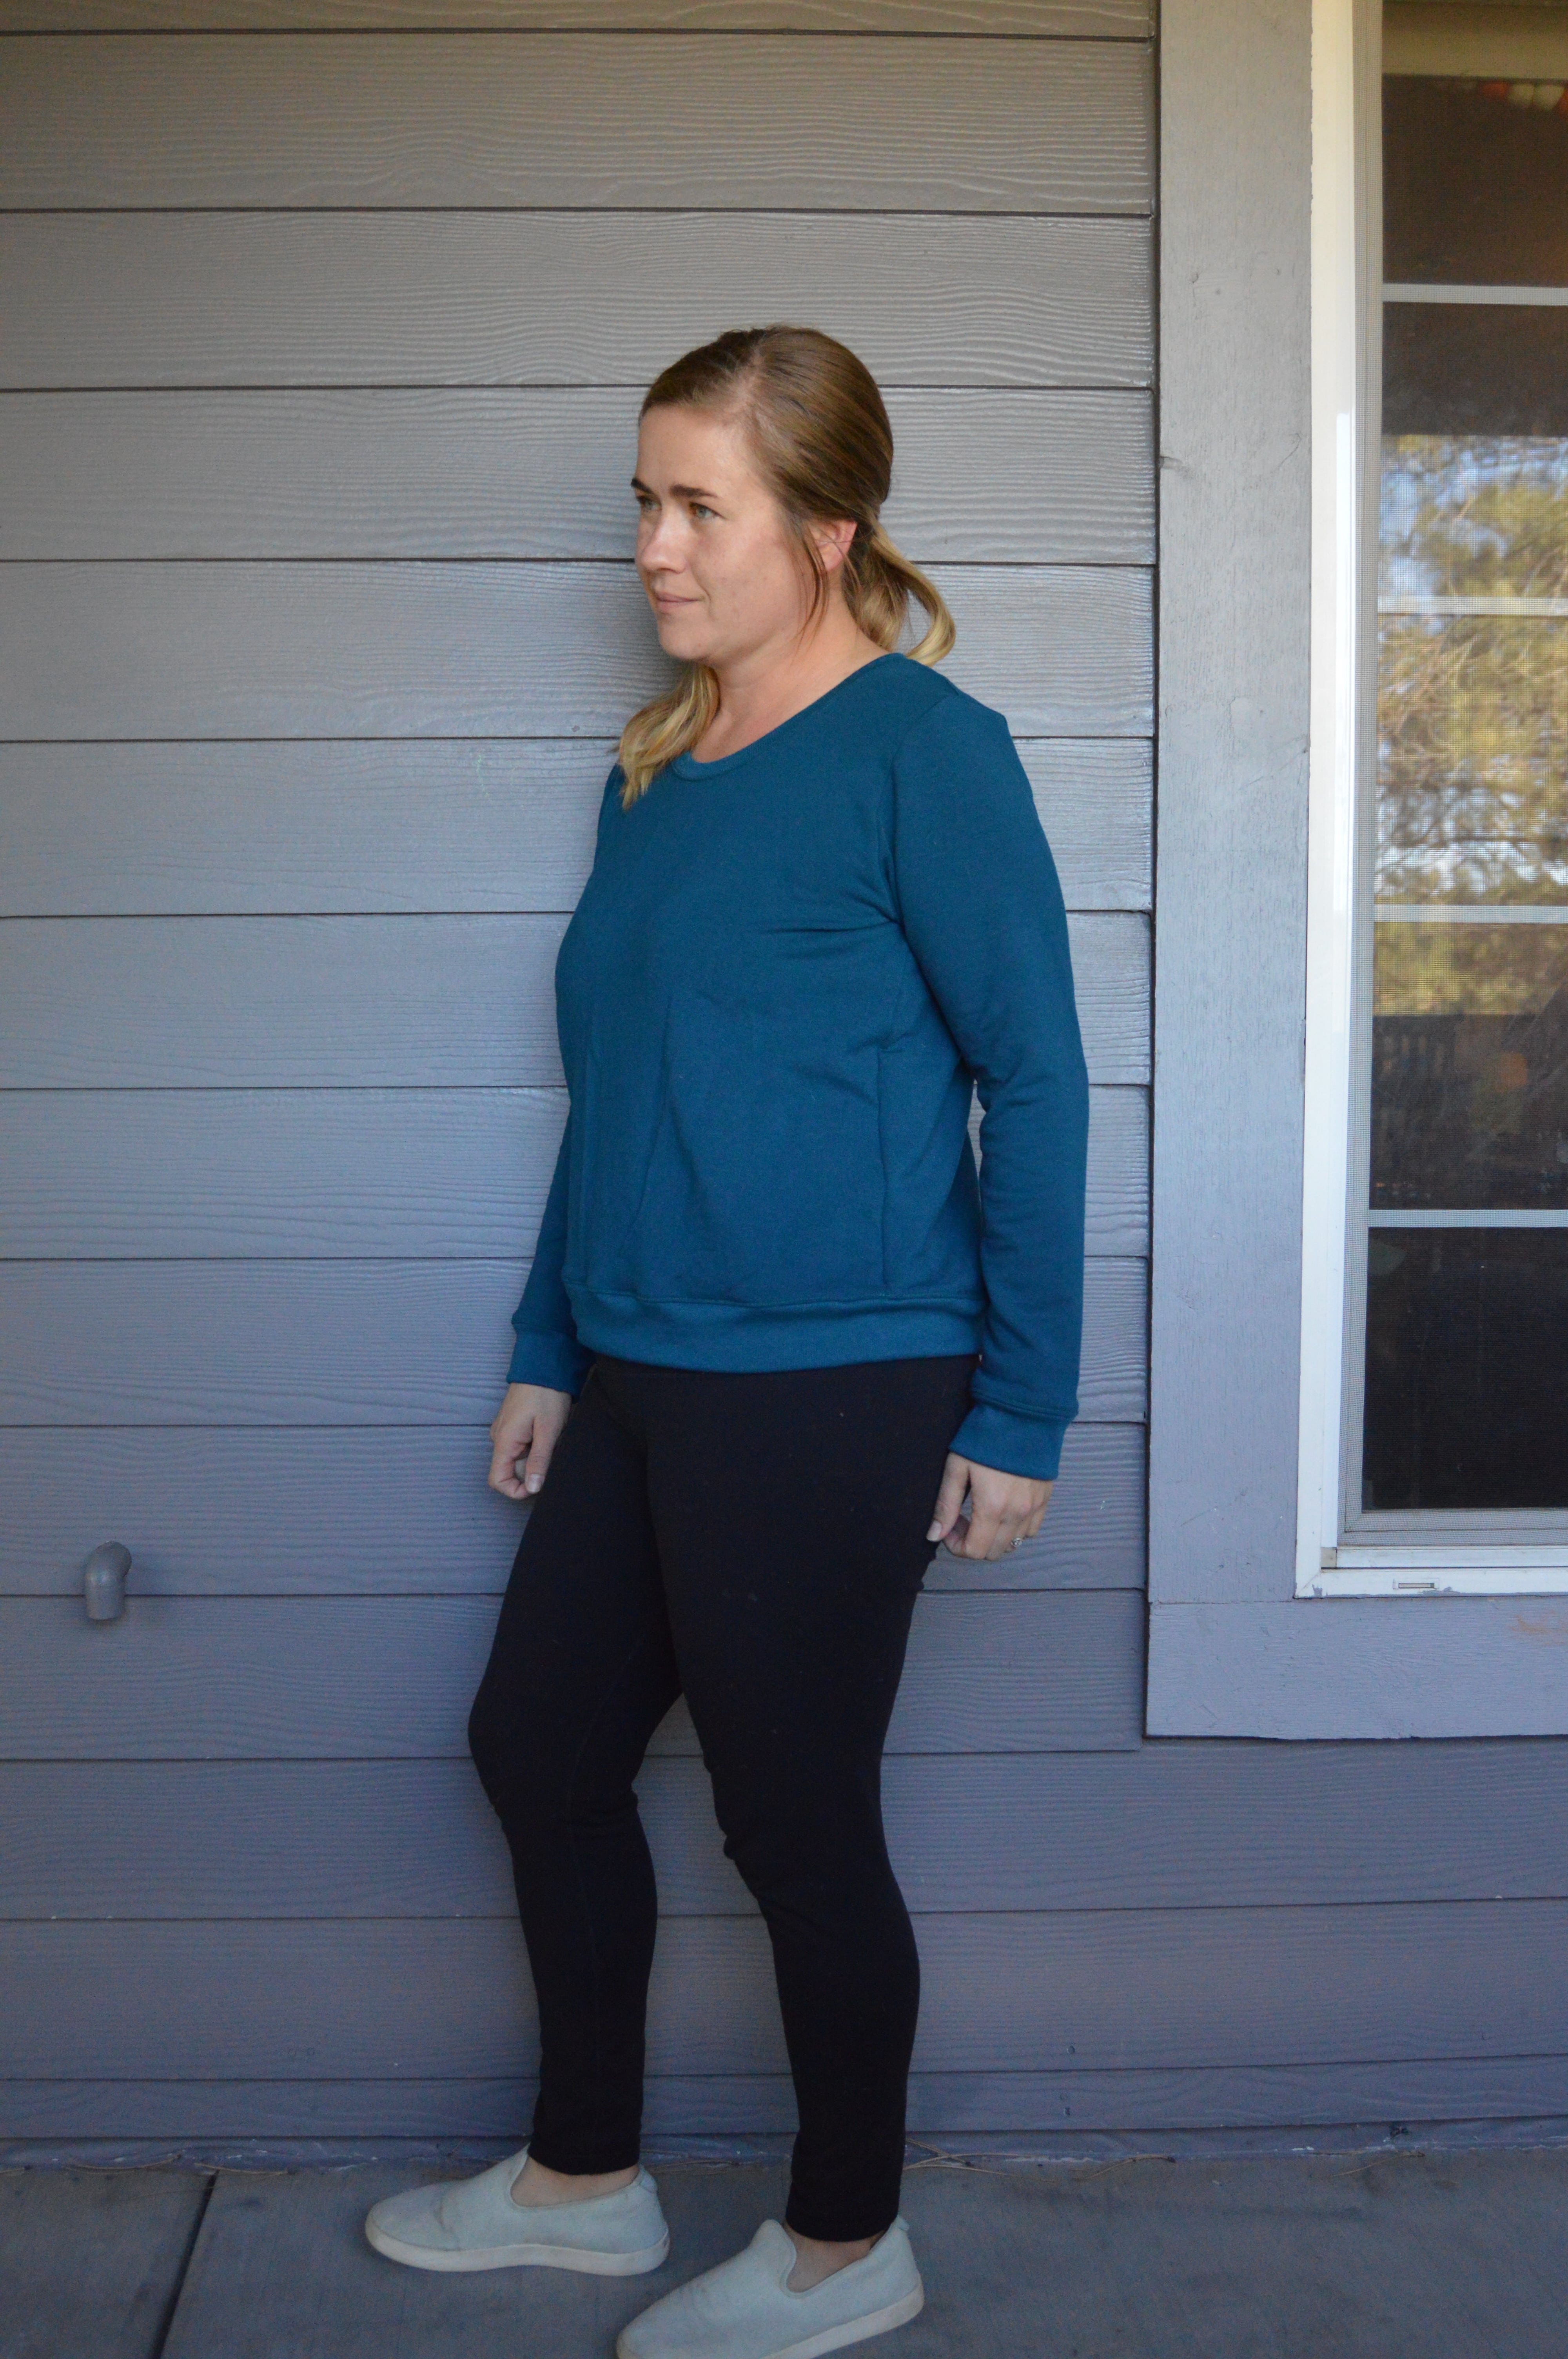
First I made this blue sweater to test out my pattern hacking to make sure it would work before moving on to the yellow stuff that felt like higher stakes. I bought this particular fabric a year ago, around this time actually, from Blackbird Fabrics when they were having an awesome sale on anything in their shop that had viscose in it, so I snagged some lovely fabrics at great prices. In fact, as I was unboxing, Ben came in and said, “Ooh, I can tell you got the good stuff!” And it was all really nice fabric. This one is fleece backed cotton and bamboo sweater knit and I really treated myself by also getting the coordinating ribbing.

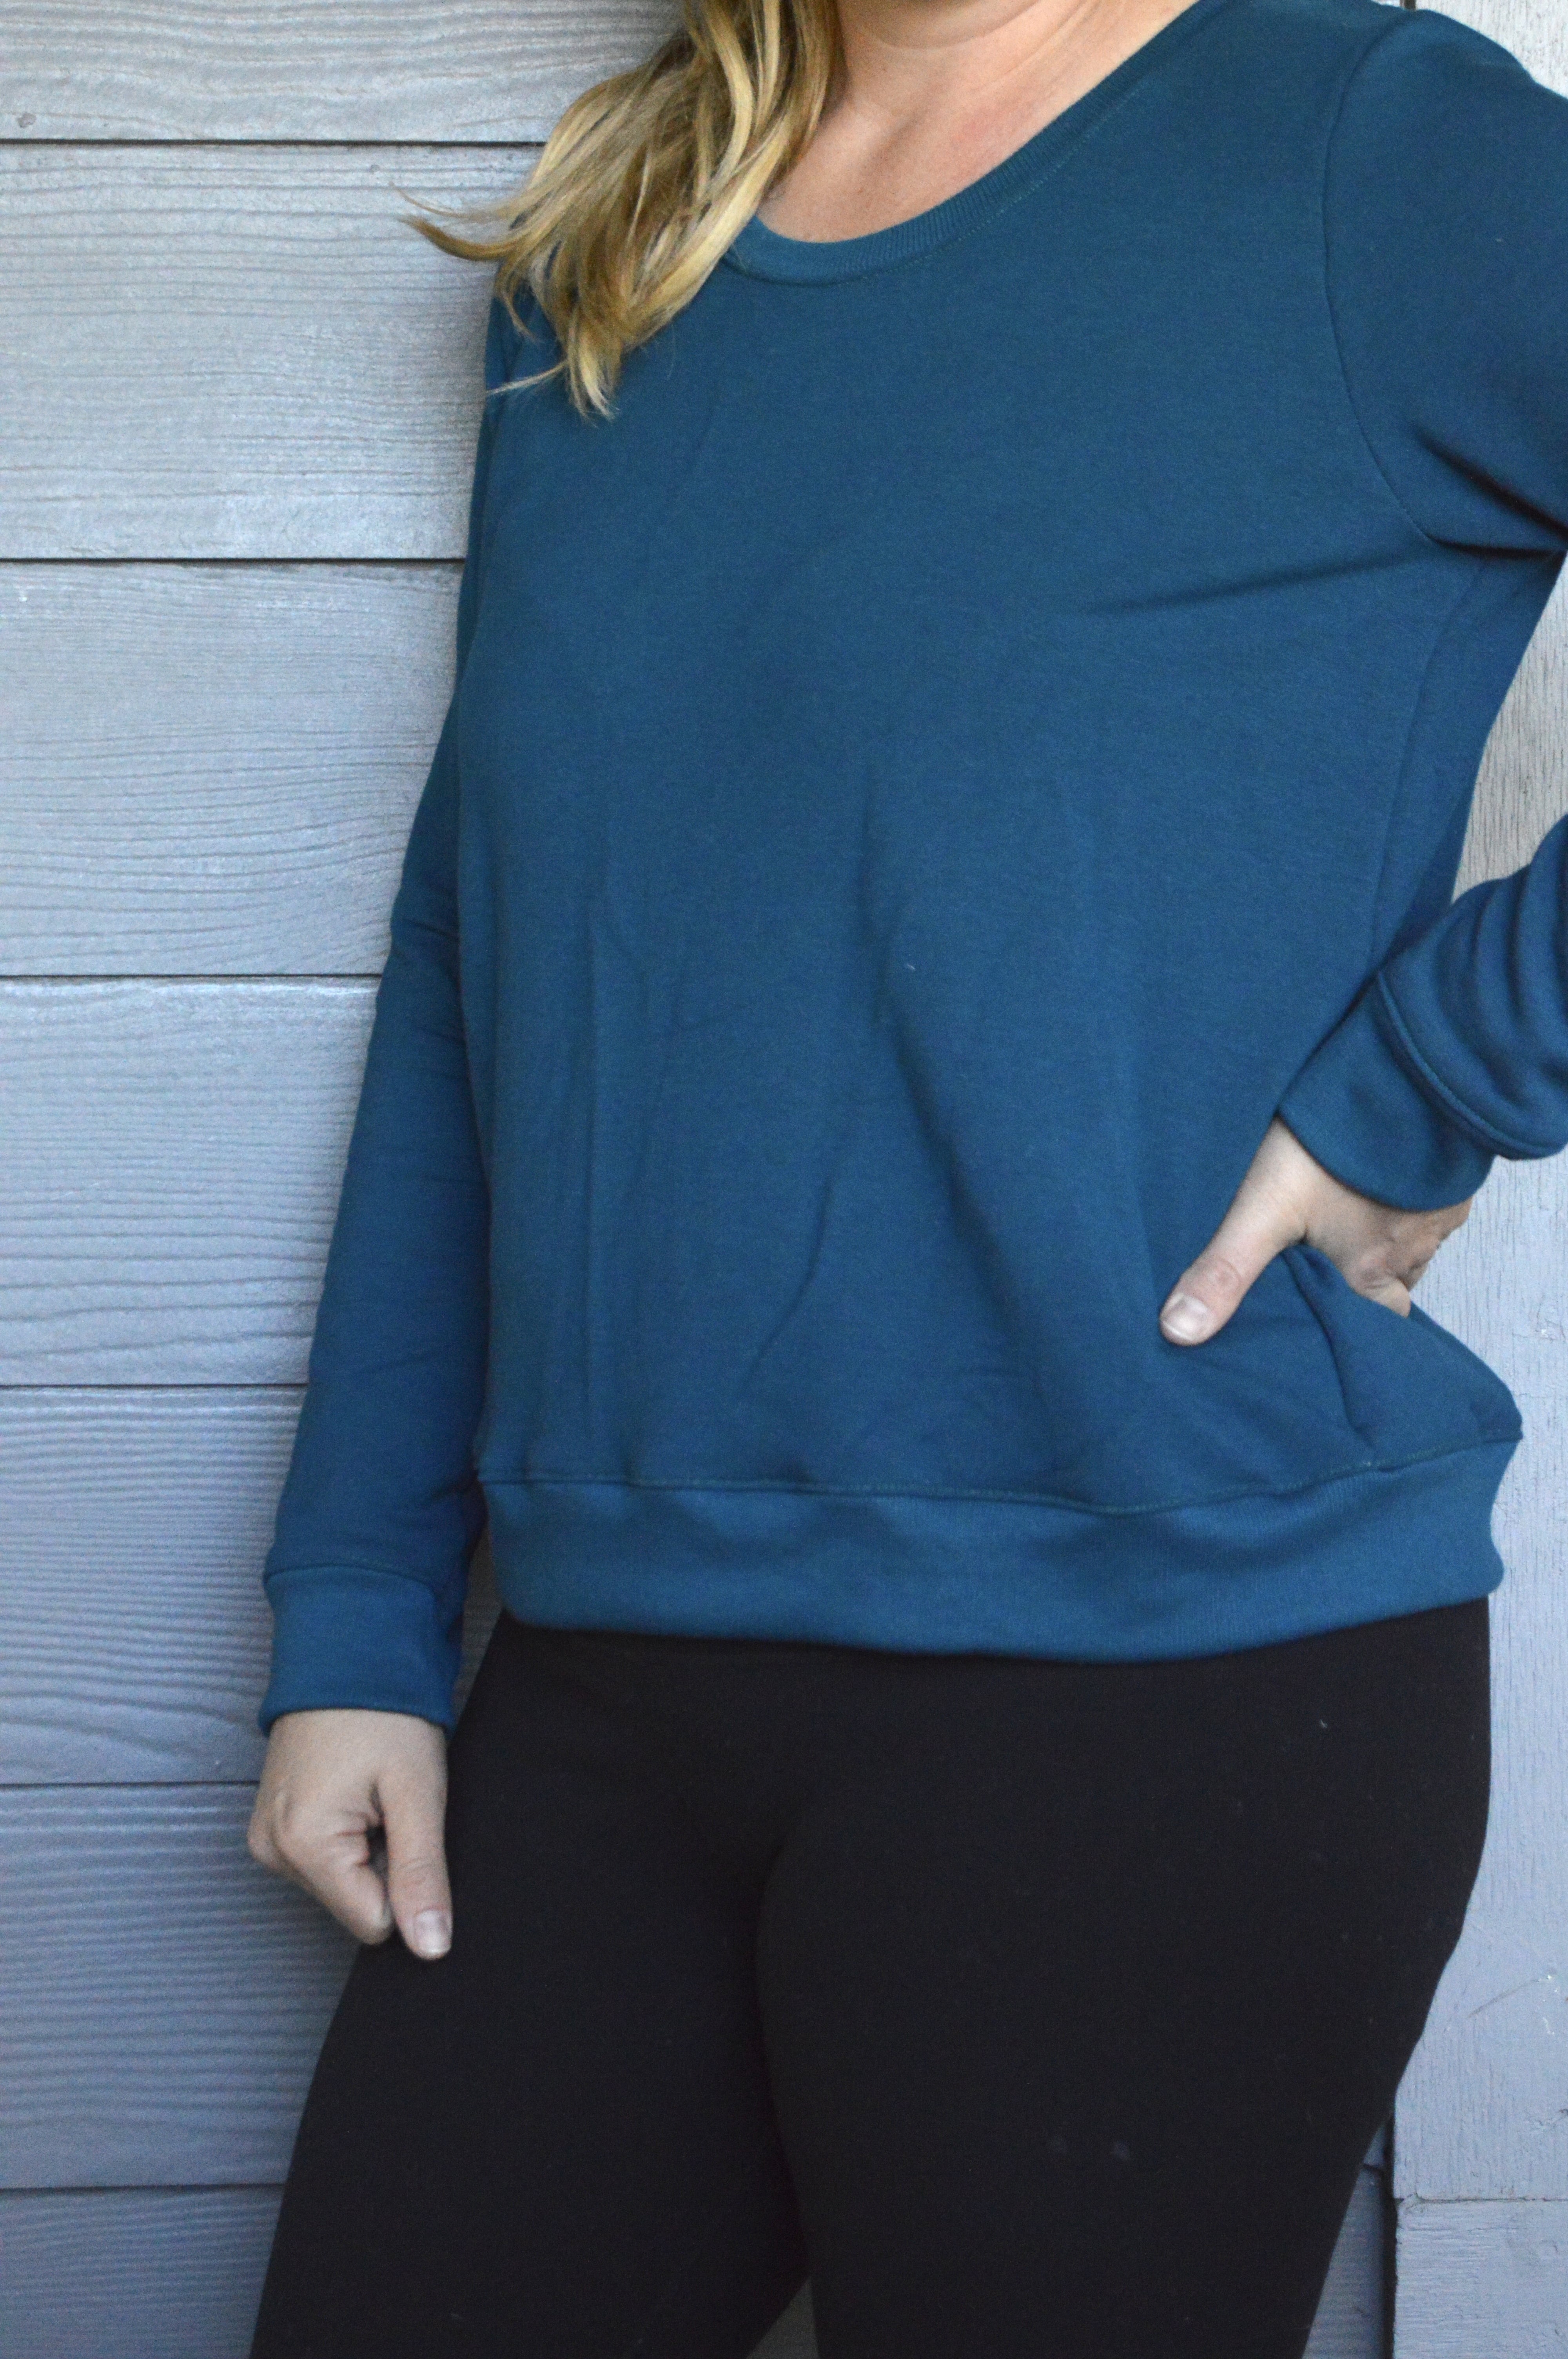
Eh? Doesn’t that ribbing just look awesome and more professional?
I typically just use self fabric for cuffs and waistbands and I don’t even think twice about it but I’ve gotta say that using ribbing definitely upped my game here. It looks so nice! I bought small quantities so I didn’t have a ton of it in the first place. What I have left over hardly takes up any space and I don’t think I’ll regret having a selection of scrap ribbing on hand!
I was worried the fabric would be too hot because I’ve run into that with fleece backed knits before but this feels a bit lighter-weight than the norm plus it’s probably got more breathability thanks to the natural fibers. I’ve discovered that it’s very comfortable whether I’m outside in colder weather or inside the heated comfort of my home.
I mentioned I hacked a pattern to make my sweaters and if you’ve been reading along for any length of time you can probably guess which pattern I used. Yep! The Union St. Tee!
I was willing to buy a pattern but didn’t want to spend a lot of money. I looked all over and had a hard time finding a pattern that fit what I was wanting. I just wanted a basic sweatshirt-no poofy sleeves or geometric piecing. I didn’t want a drop shoulder or a raglan sleeve. Basic. That’s all I wanted. And I found a couple patterns that might’ve worked but then I found a free pattern and decided to use that. I downloaded it and printed it out. But as I started taping the pattern pieces together, I noticed a couple of red flags. The sleeves were cut on the fold and there was a shared pattern piece for front and back. I can see where those kinds of features would be permissible (like when you’re sewing for a kid who doesn’t care a whole lot about fit) but I knew that I would be unhappy with the end result. I didn’t even finish taping the pieces together, just put the stack of papers into our craft bin. By this point I was done spending energy finding a pattern that might or might not work out and instead I just pulled out my trusty Union pattern.

It’s true that this was not a sure substitute but I also knew that even if it didn’t turn out great that it would at least turn out fine and I’d probably wear it either way. So a gamble but not a very big one by any means.
I tweaked just a couple things on the pattern. First was to remove length from the front/back (which, I will note, have different pattern pieces thankfully) and the sleeves (not cut on the fold, more points to be awarded). Removing two inches of length is my standard adjustment when making the Union, but I wanted this to be a little more cropped (thought definitely not cropped cropped, no belly showing tops for me, thanks) and I had to account for the length that would be added back in with the ribbing so from the back and front bodice pieces I removed 5 inches of length. From the sleeves I removed 3 inches.
The Union isn’t meant to be fitted (although you can size down if that’s the look you’re going for) but it is shaped nicely. I didn’t want the weight of the fabric to turn it into something more fitted so I graded the side seams to be more straight than curved. I also made my seam allowance scant in case that 1/16 of an inch made all the difference in this fitting me or not, ha! I also cut the neck somewhere between the scoop and crew neck lines. I’ve mentioned I abhor fabric sitting too closely to my neck so it behooves me to scootch that line down just a touch. I think this is more flattering on me anyway.
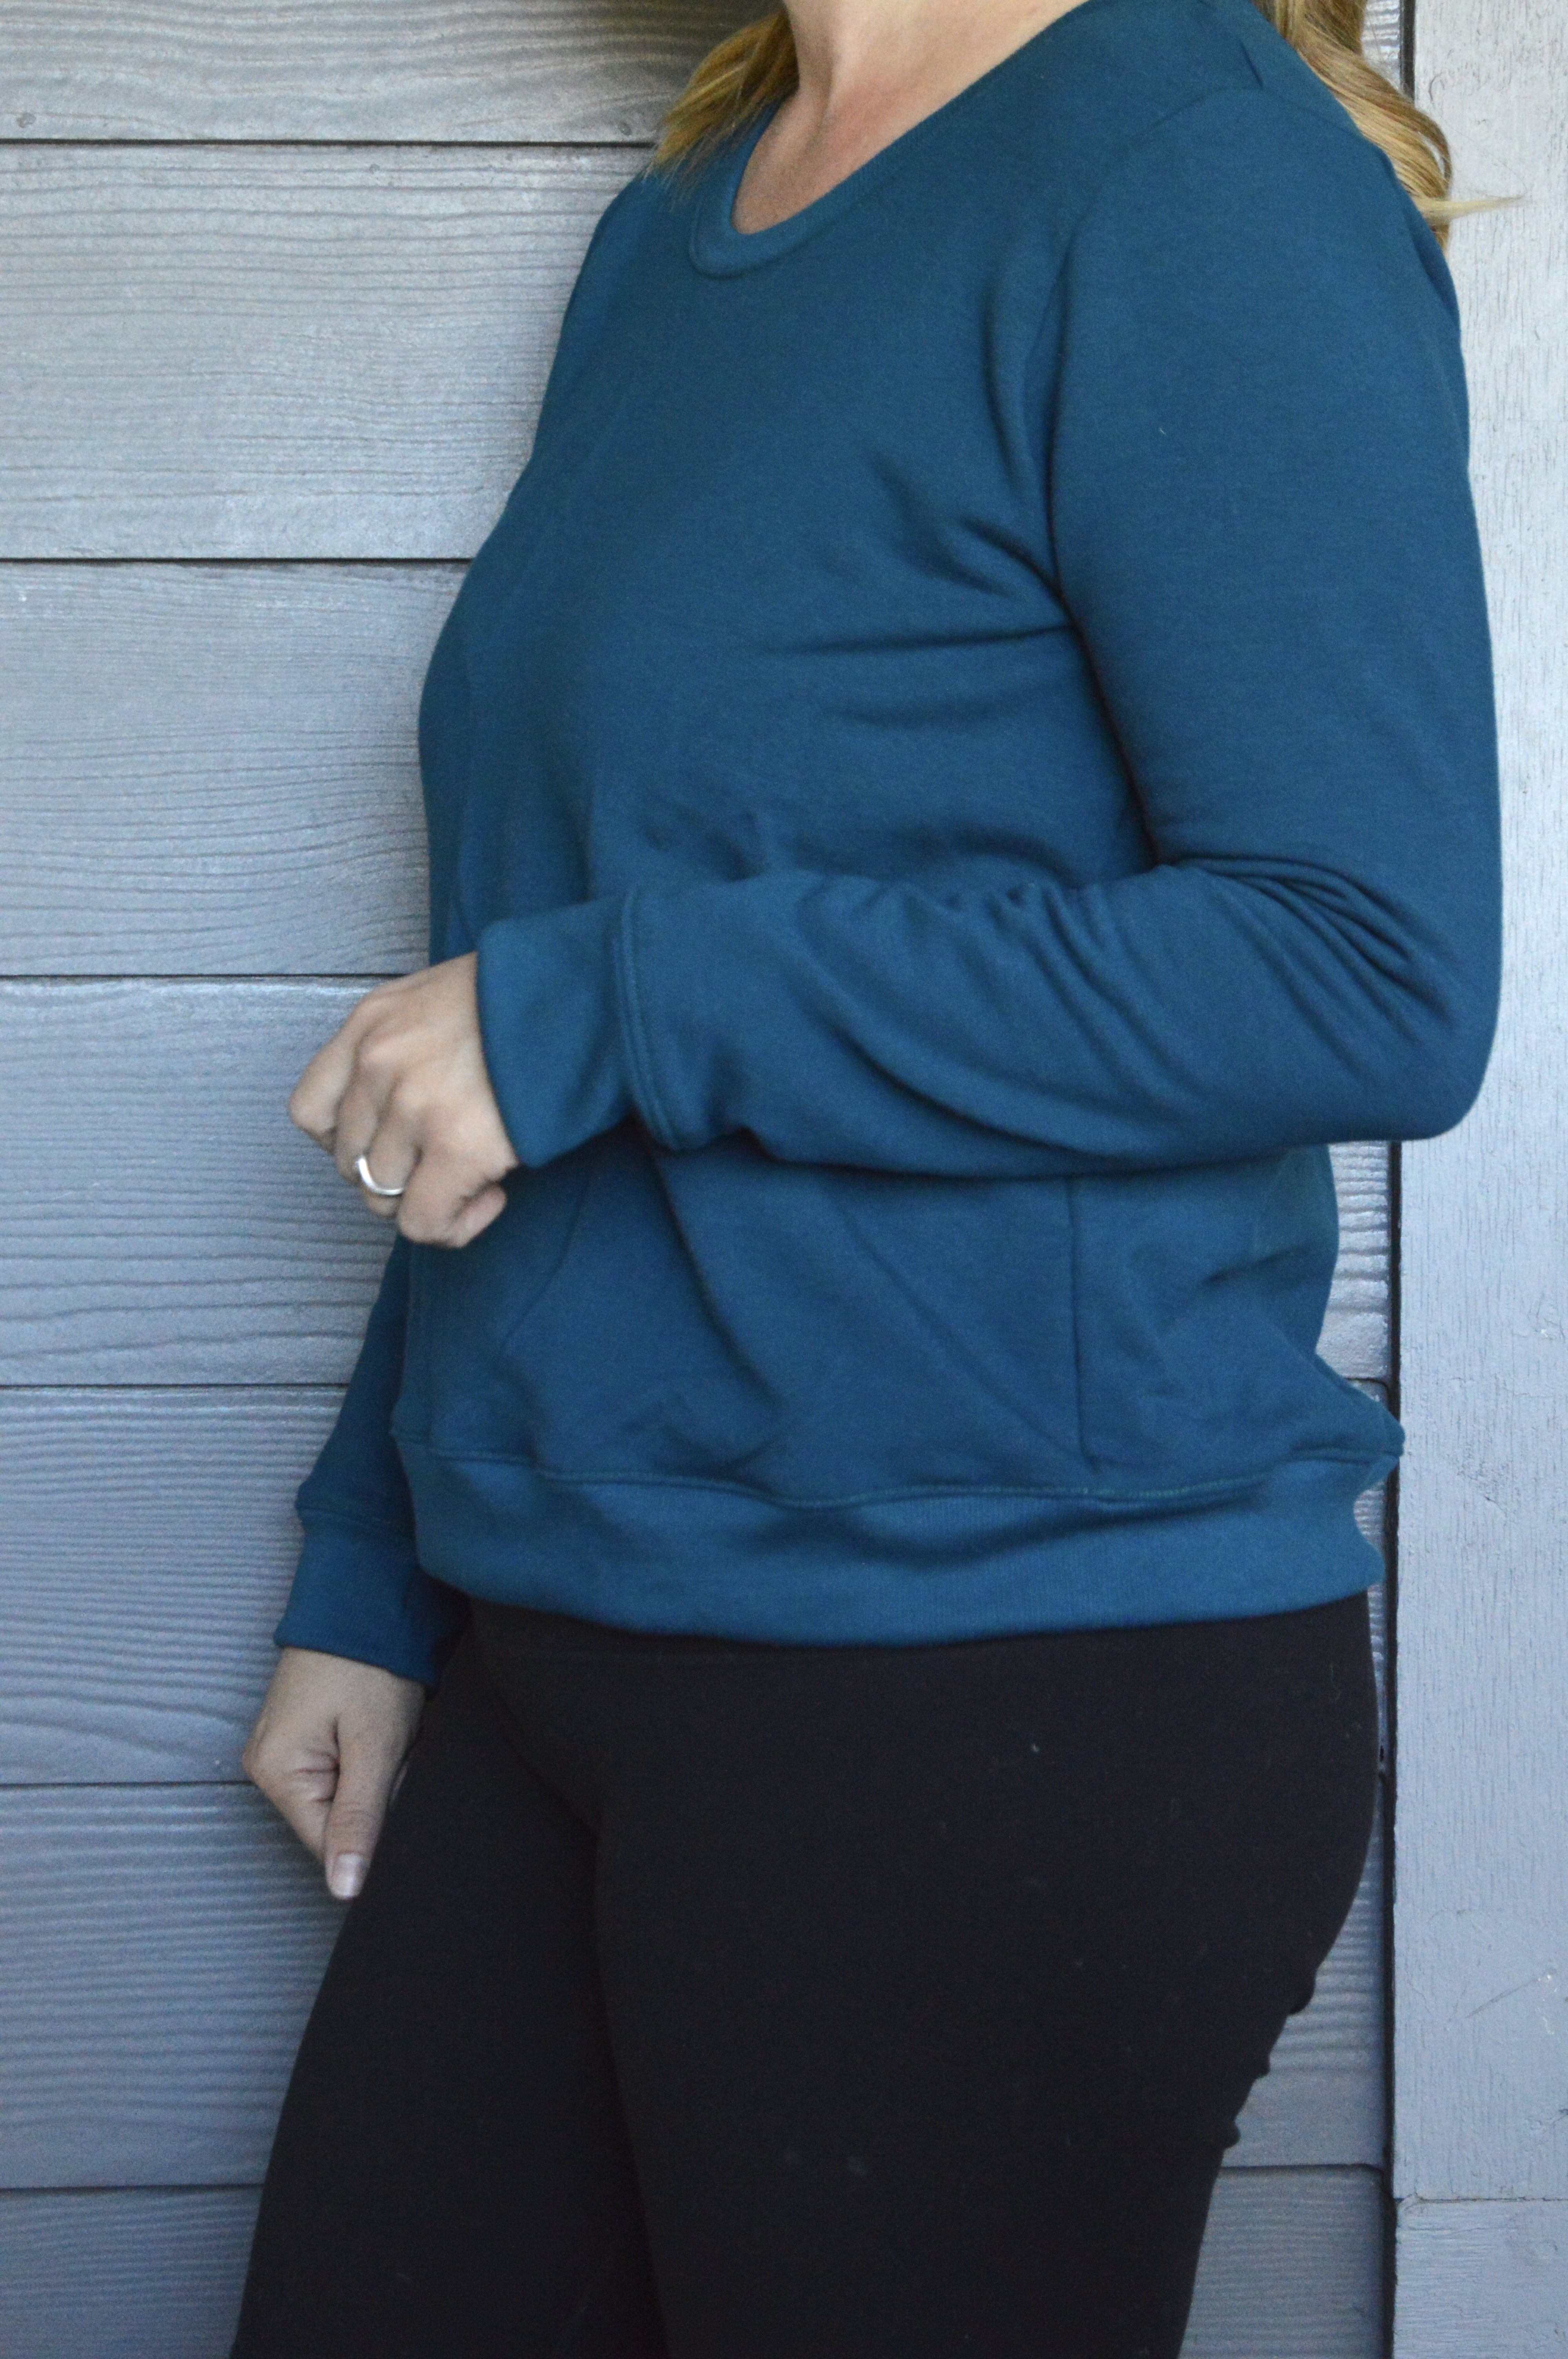
Then I just had to figure out measurements for my cuffs and waistband piece. The ribbing for this blue number was tubular (made in a tube and also very cool), so I kept it that way for attaching to the waist. I’d say it went well! For the cuffs (and the waist on the yellow sweater), I just measured the circumference of the opening and multiplied that by .85. I don’t know when or where but years ago I heard that that was the proper number to use for calculating neckband length. I had absolutely no idea if that would be the appropriate ratio here but I also had to start somewhere and this seemed okay. There is a bit of waviness at that waist/waistband seam and I’m sure tweaking that number would help get rid of the wave effect. I’ll let you know if I figure it out. (Also, I feel I ought to mention that that .85 number works sometimes but relies on other factors, like stretch percentage, to be effective so, again, it’s a starting point but not the end all be all if you’re drafting your own stuff).
Anyhow, the Union hack worked well! 10/10 would sweater hack again!

Once I knew that the pattern would transfer over well to sweater purposes, I felt ready to chop my way into this lovely fabric. I actually kind of hodge-podged fabric together for this sweater and I’m very glad (and more than a little relieved) that it turned out!

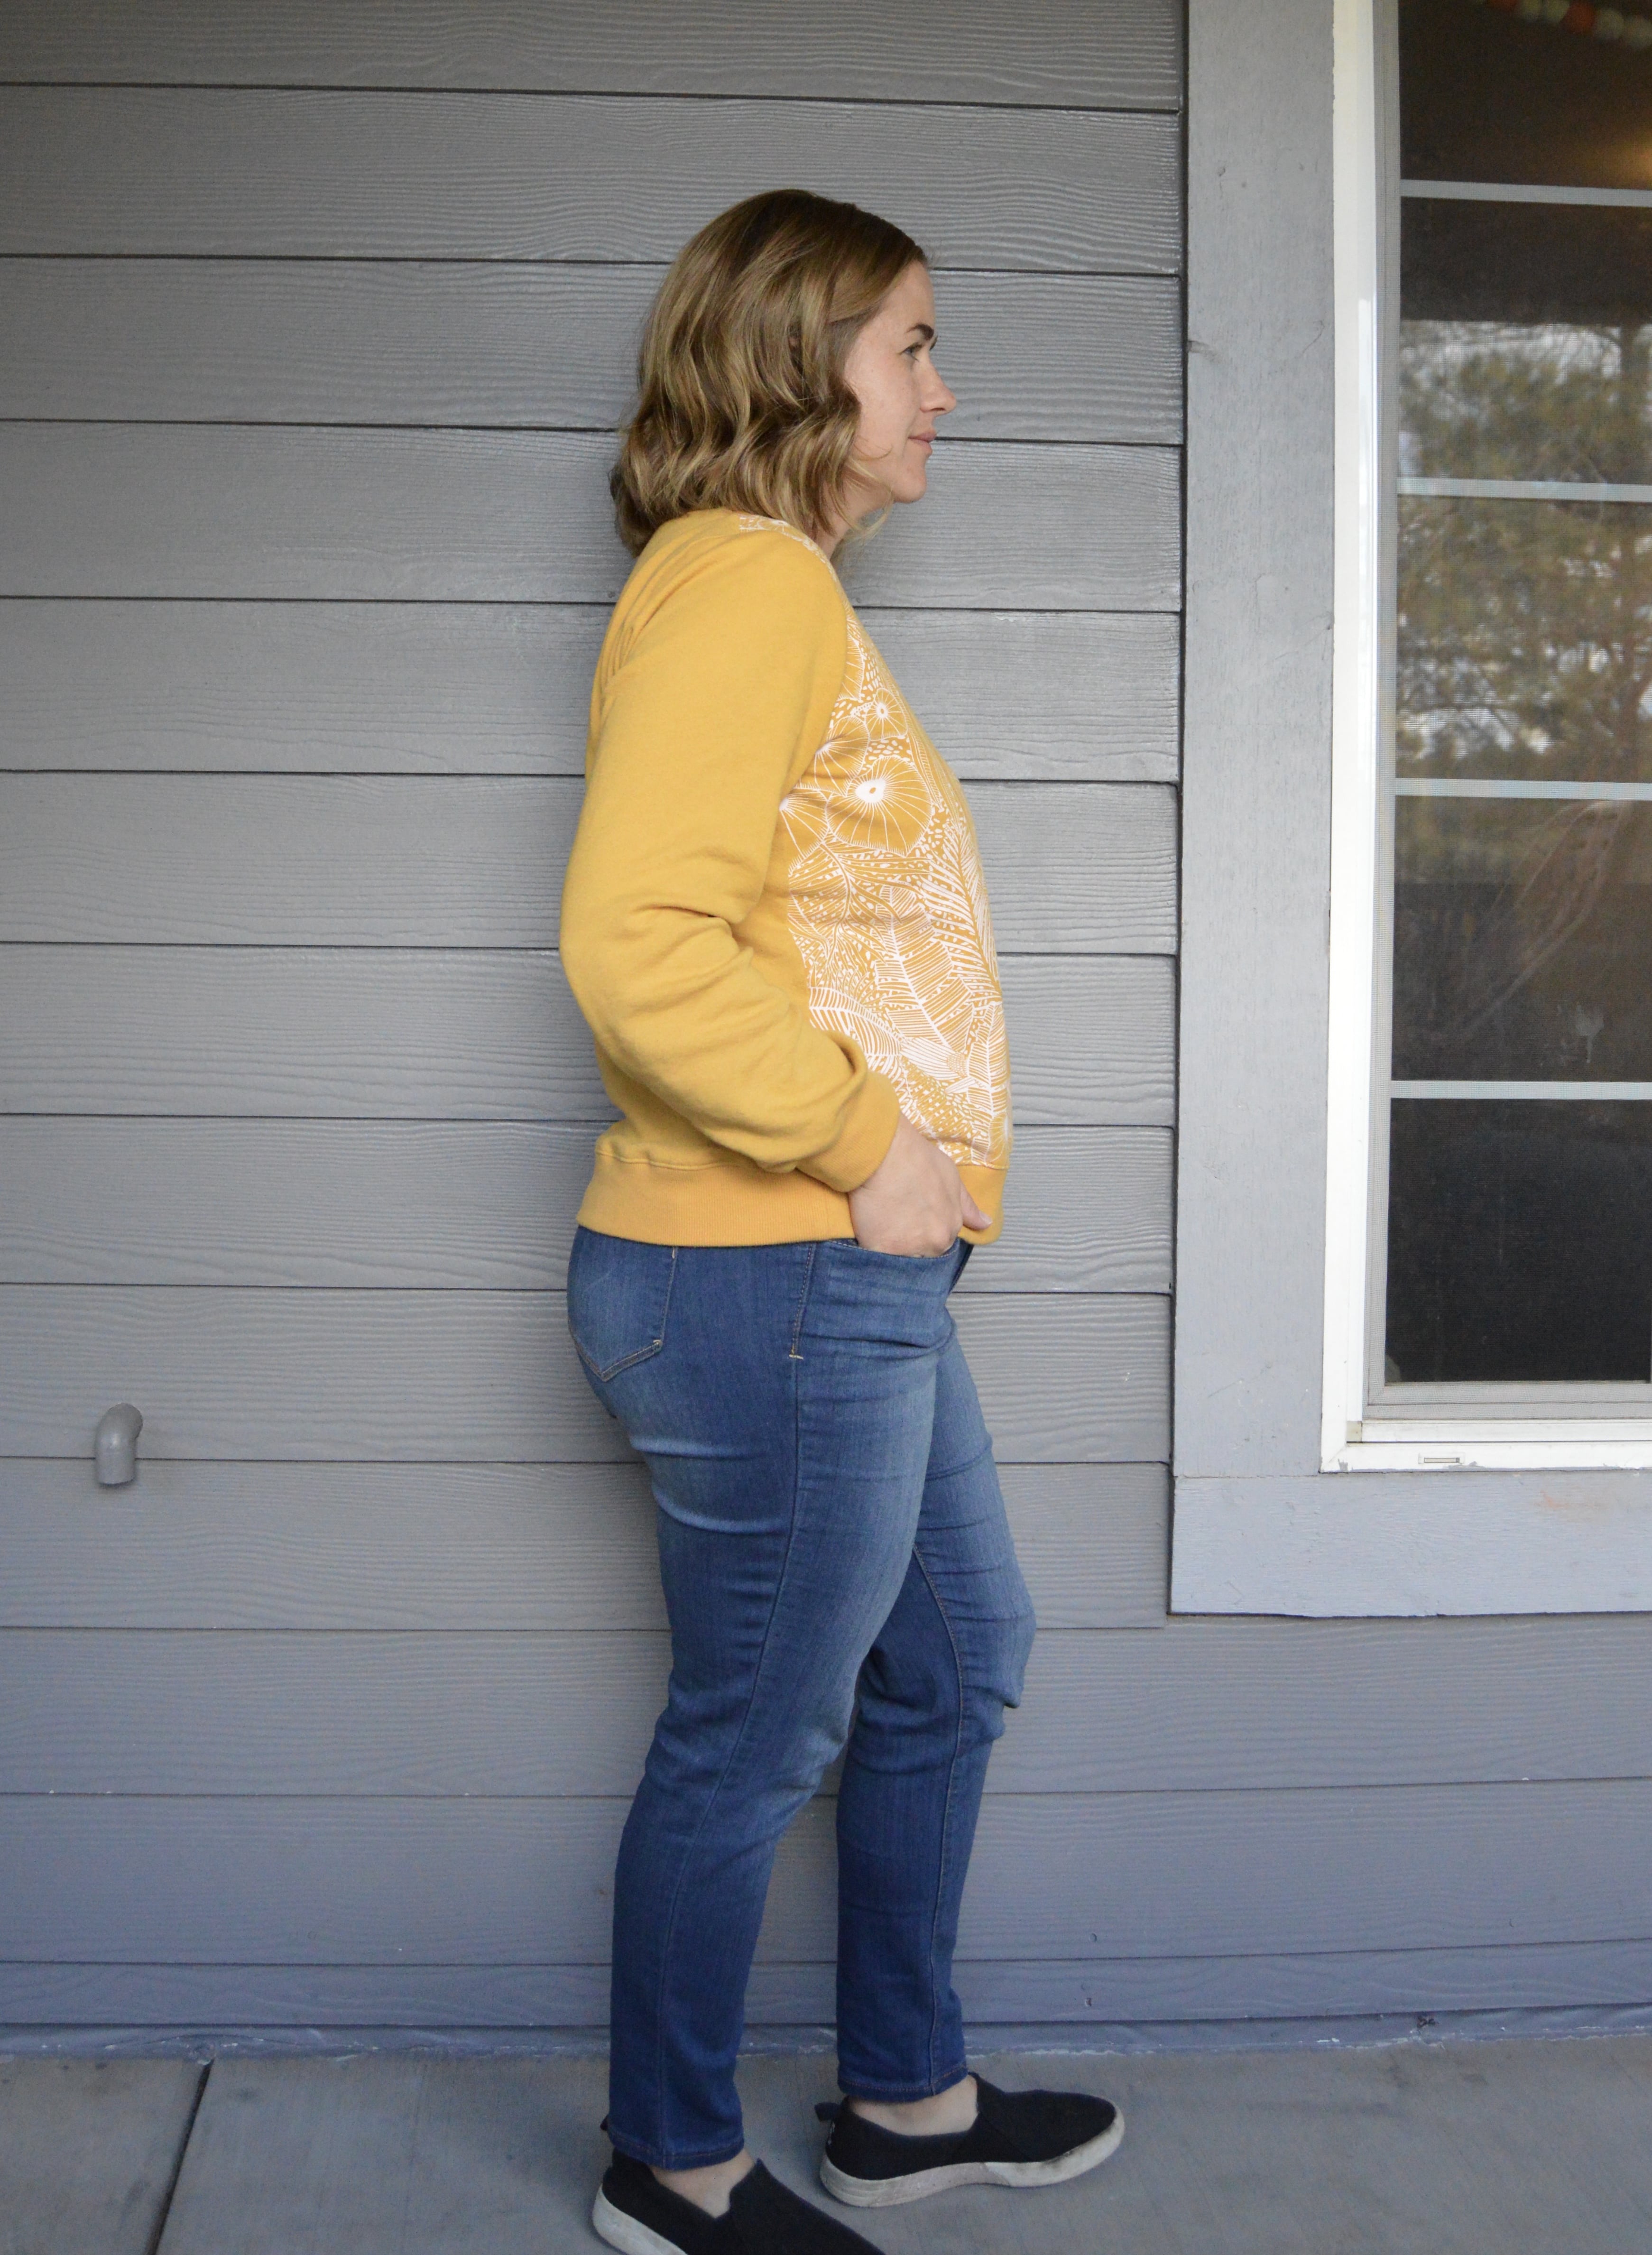
The motif/patterned fabric is See You at Six french terry that I bought from Stylemaker Fabrics. I don’t know what it is but I am very drawn to the See You at Six aesthetic and often drool over the patterns on their gorgeous fabric. But, as far as fabric goes, they are on the pricier end of things so usually I just admire. But around my birthday, they had a length of this french terry in their remnant bin. It was 7/8ths of a yard for $18. I thought about getting that plus another yard of the same fabric off the bolt but a yard of the coordinating solid french terry was $22/yd. At the same time I had been shopping for fabric at ISee Fabrics. They had a solid french terry, also in mustard that was only $8/yd. I had no idea whether “the mustards would match,” as the saying goes (just kidding, nobody says that) but I decided to take a chance. I bought 1.5 yards of the ISee french terry, plus that remnant and 1/3 yard ribbing from Stylemaker (I had no idea you could order less than a yard from them but you can! Click the drop down menu under “Yardage” and scroll down. At the bottom you can select “Less than a yard.” I know, very exciting!).

Luckily, the mustard colors are very, very similar! I’d say the ISee fabric mustard is just the slightest bit more muted with brown undertones but they are seriously very close. However, the french terries are wildly different. The Isee fabric (on the left above) has a looser weave with bigger loops. The See You at Six (right) is very tightly woven with small loops. They are both opaque and have a good amount of stretch. They are also both very soft. The See You at Six feels slightly thicker and more plush and it has a better recovery. It almost feels like it has spandex, though the product listing only lists cotton as a substrate. The See You at Six is obviously higher quality (and priced accordingly) but they are both nice fabrics and I’d buy them both again!
The See You at Six fabric had a pink undertone coming through the white that stayed put even after washing. I’m sure it’s meant to brighten the white in some way. It was almost obnoxious in how blatantly pinkish it looked but sitting next to the bright white printer paper of the pattern probably didn’t do it any favors. Now that the top is finished, I hardly notice the pinkishness at all and I’m grateful it feels like that feature has cooled down its audacity a bit and become less noticeable.
And hey! Did you notice I got a haircut somewhere in between taking these pictures? I chopped it to the point of my postpartum regrowth so that I don’t have to look at it any more! The hairdresser made it look so cute (what you’re seeing in these pics) and I thought I loved it, but I’ve been unsuccessful at making it look cute myself so I’m not sure it was a good move, but oh well, it’ll grow out.
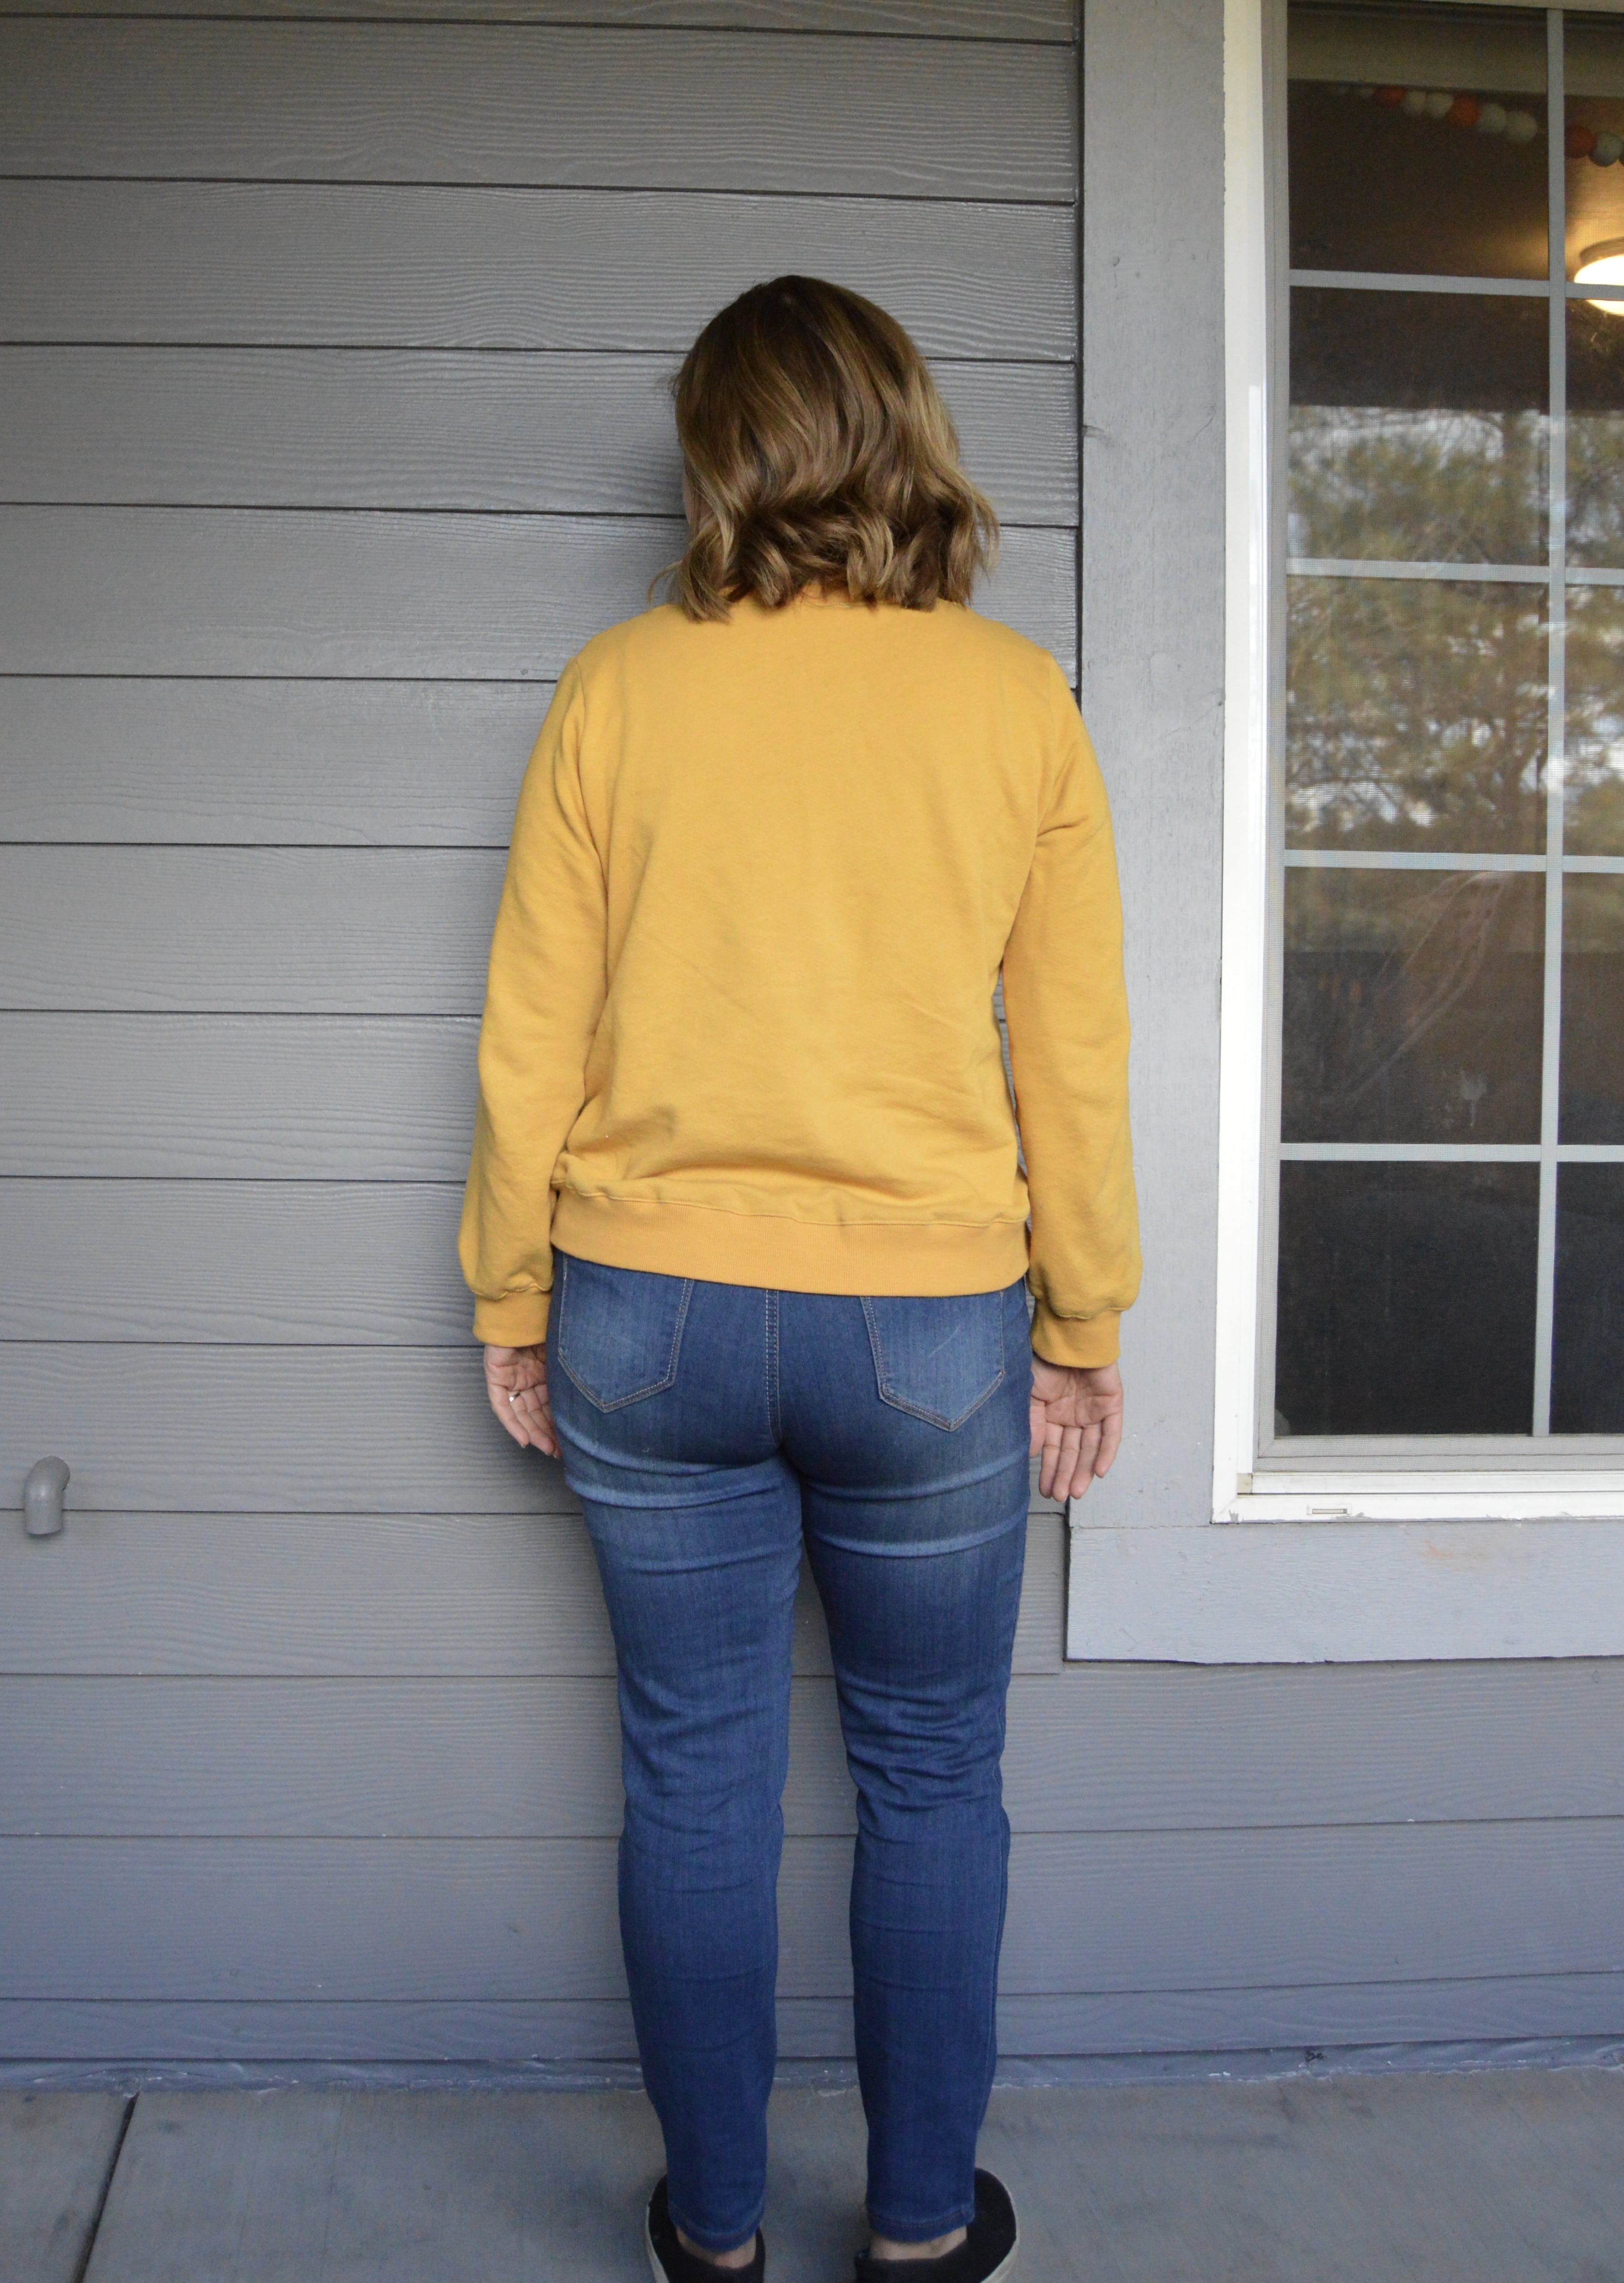
I made this sweatshirt with the same hacks as the previous sweatshirt with the one exception of adding a little bit of volume to the sleeves. It’s a small change but one I like!
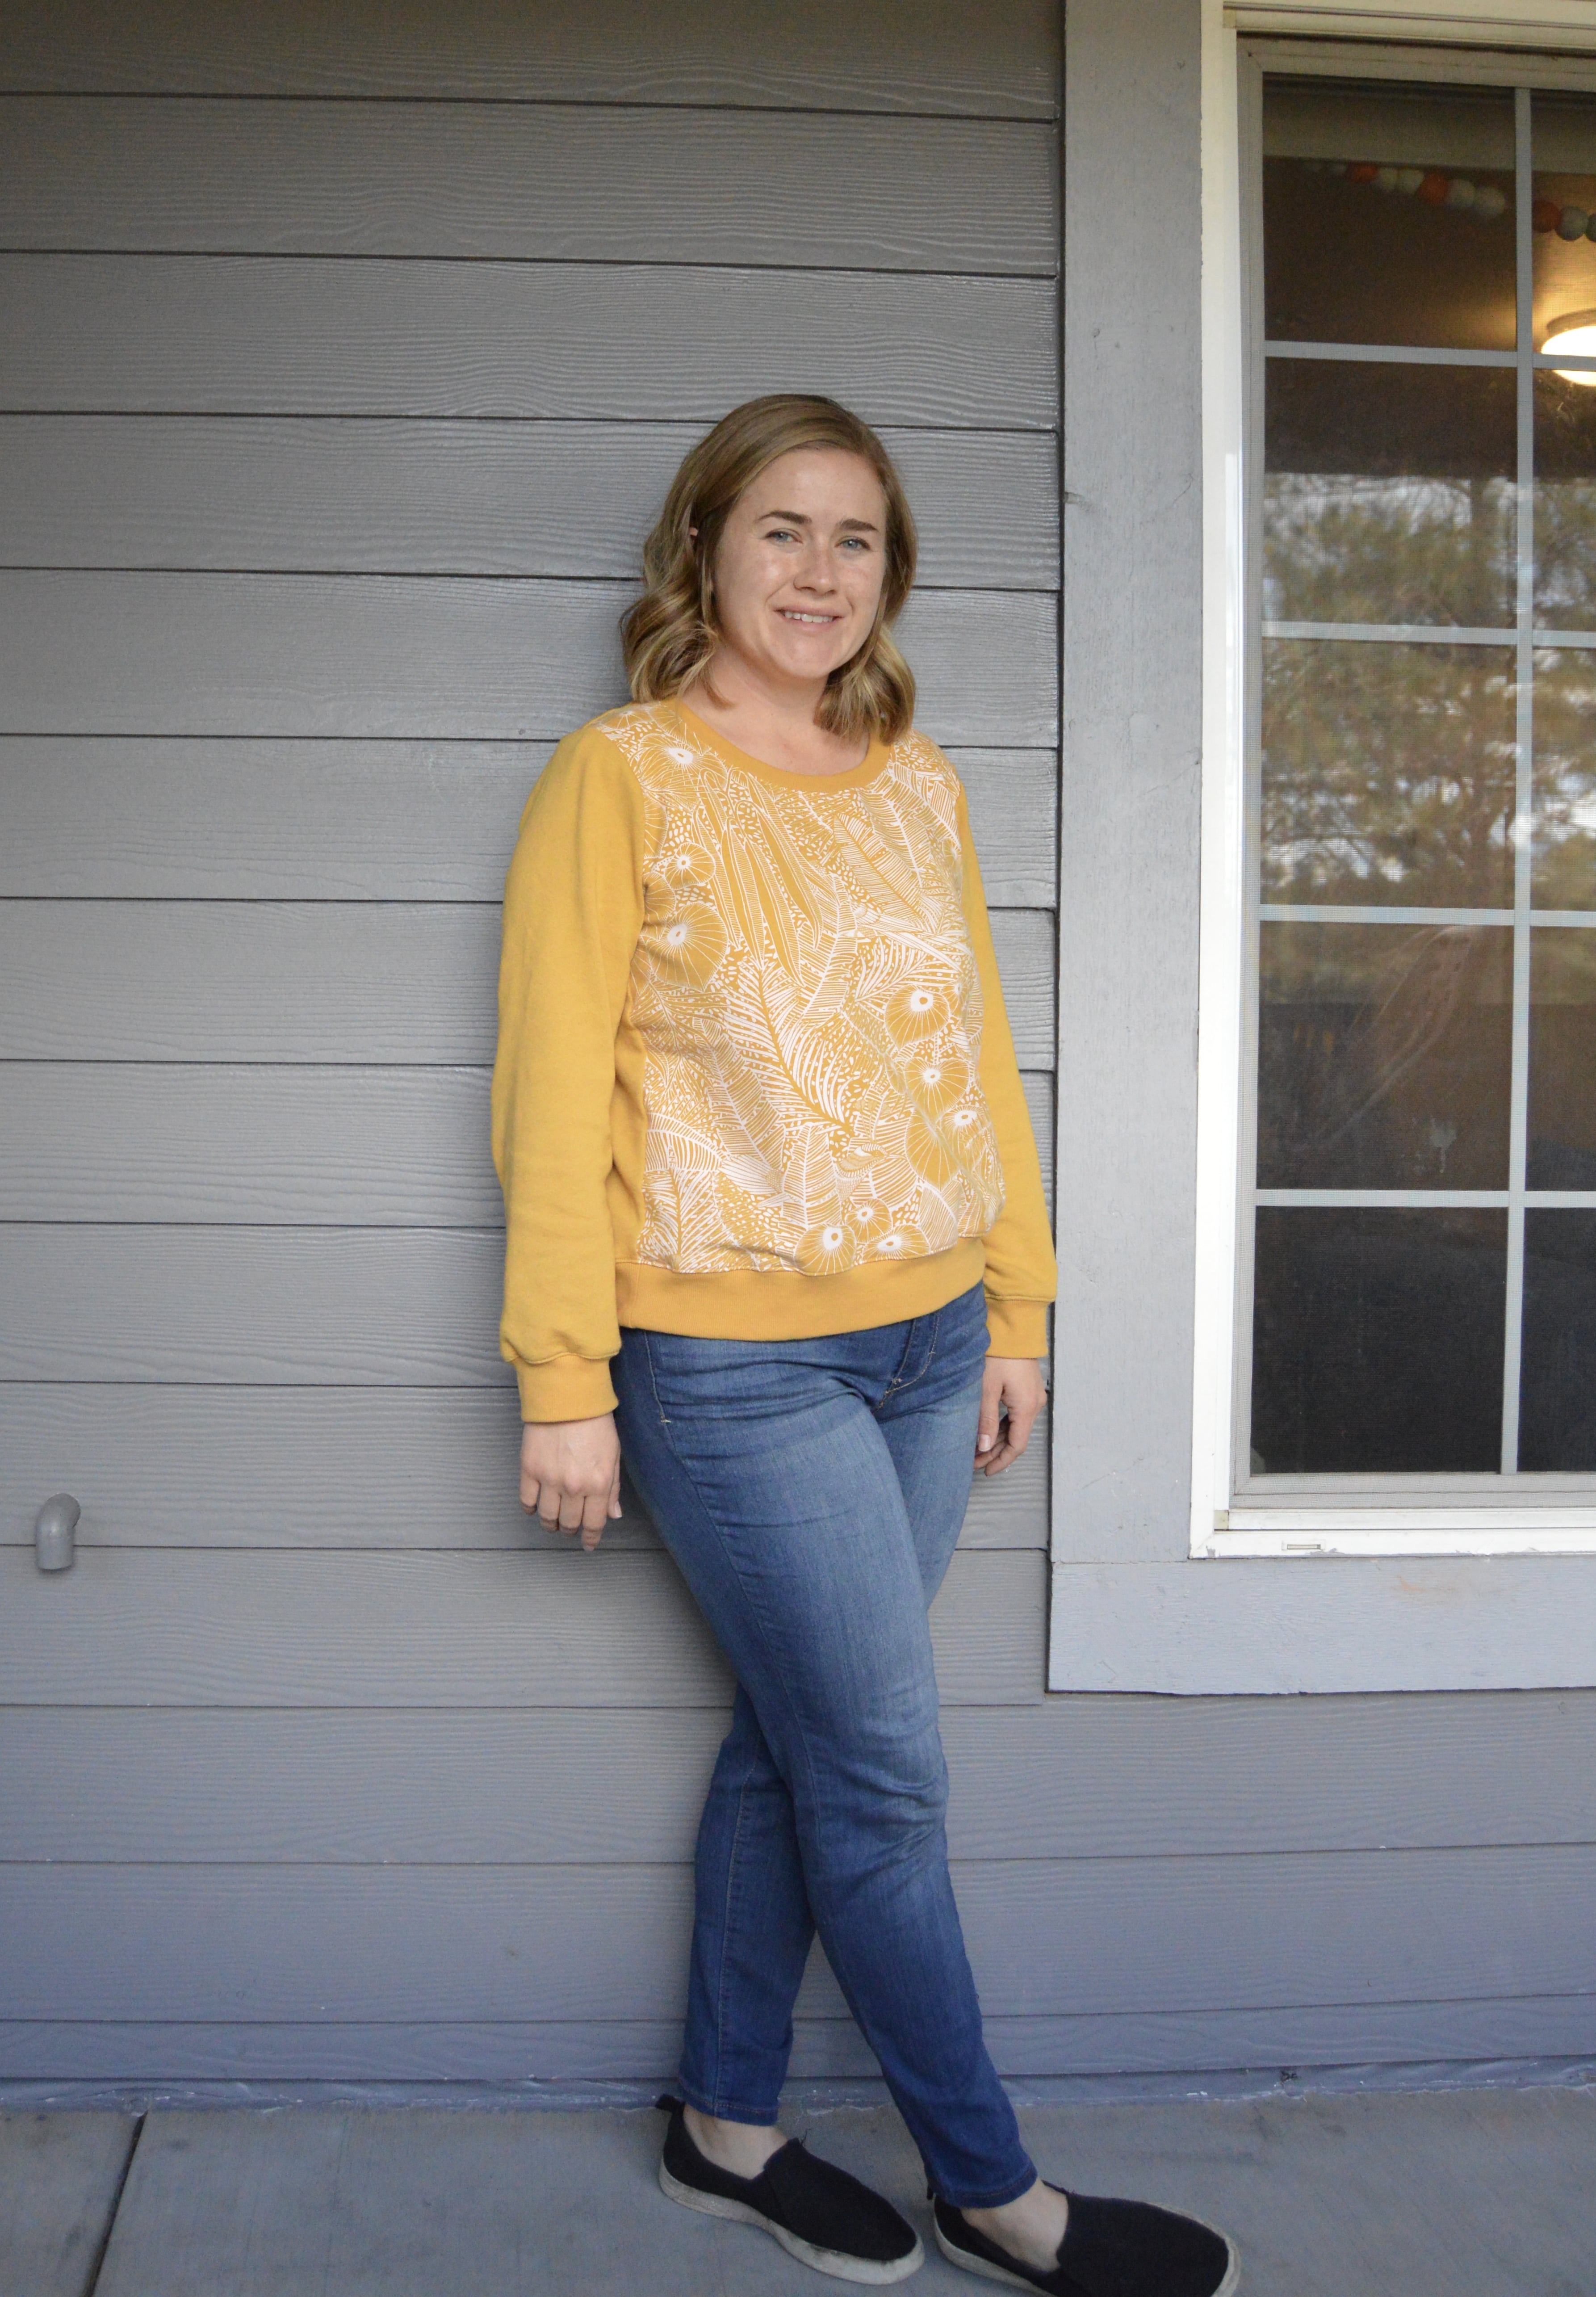
I love how this sweater turned out! I feel like this is on par with the vibe I want to be making with most my makes! It’s really cute and has gotten a lot of compliments too. Since I only used the See You at Six fabric to cut out my front bodice, I still have a solid chunk of it left. We may be seeing it somewhere in the future!
Pattern: Union St. Tee from Hey June Handmade
Size: M
Alterations: Sweater Hack! Details above
Fabric/Cost: 2 meters bamboo and cotton stretch fleece $25, 1/2 meter coordinating ribbing $5 (Blackbird)
7/8ths yd remnant See You at Six french terry $18, 1/3 yard mustard ribbing $6 (StyleMaker), 1.5 yds mustard french terry $12 (ISee Fabrics)
Would I make this hack again?: Yes!

2 thoughts on “A Couple Sweatshirts (Union St. Tee Sweatshirt Hack)”