


After my inadvertent month-long sewing hiatus, I finally got myself back to the peddle and sewed up this top! It was on a whim and incredibly slapdash and so I kept my expectations nice and low which meant I was positively delighted when I ended up very much liking my make!

I bought this pattern 2 years ago-right after I had my baby. I traced it out immediately and intended to make it right away which obviously never happened. I finally rolled the traced pattern up and stored it away but the pattern has remained in my mind as one I would be happy to make as well as one that would fit in with my lifestyle and easy/comfy taste in clothes. So on a random Saturday a few weeks ago, I pulled the pattern out, grabbed some leftover fabric from my stash and cut it out without thinking too hard about it.

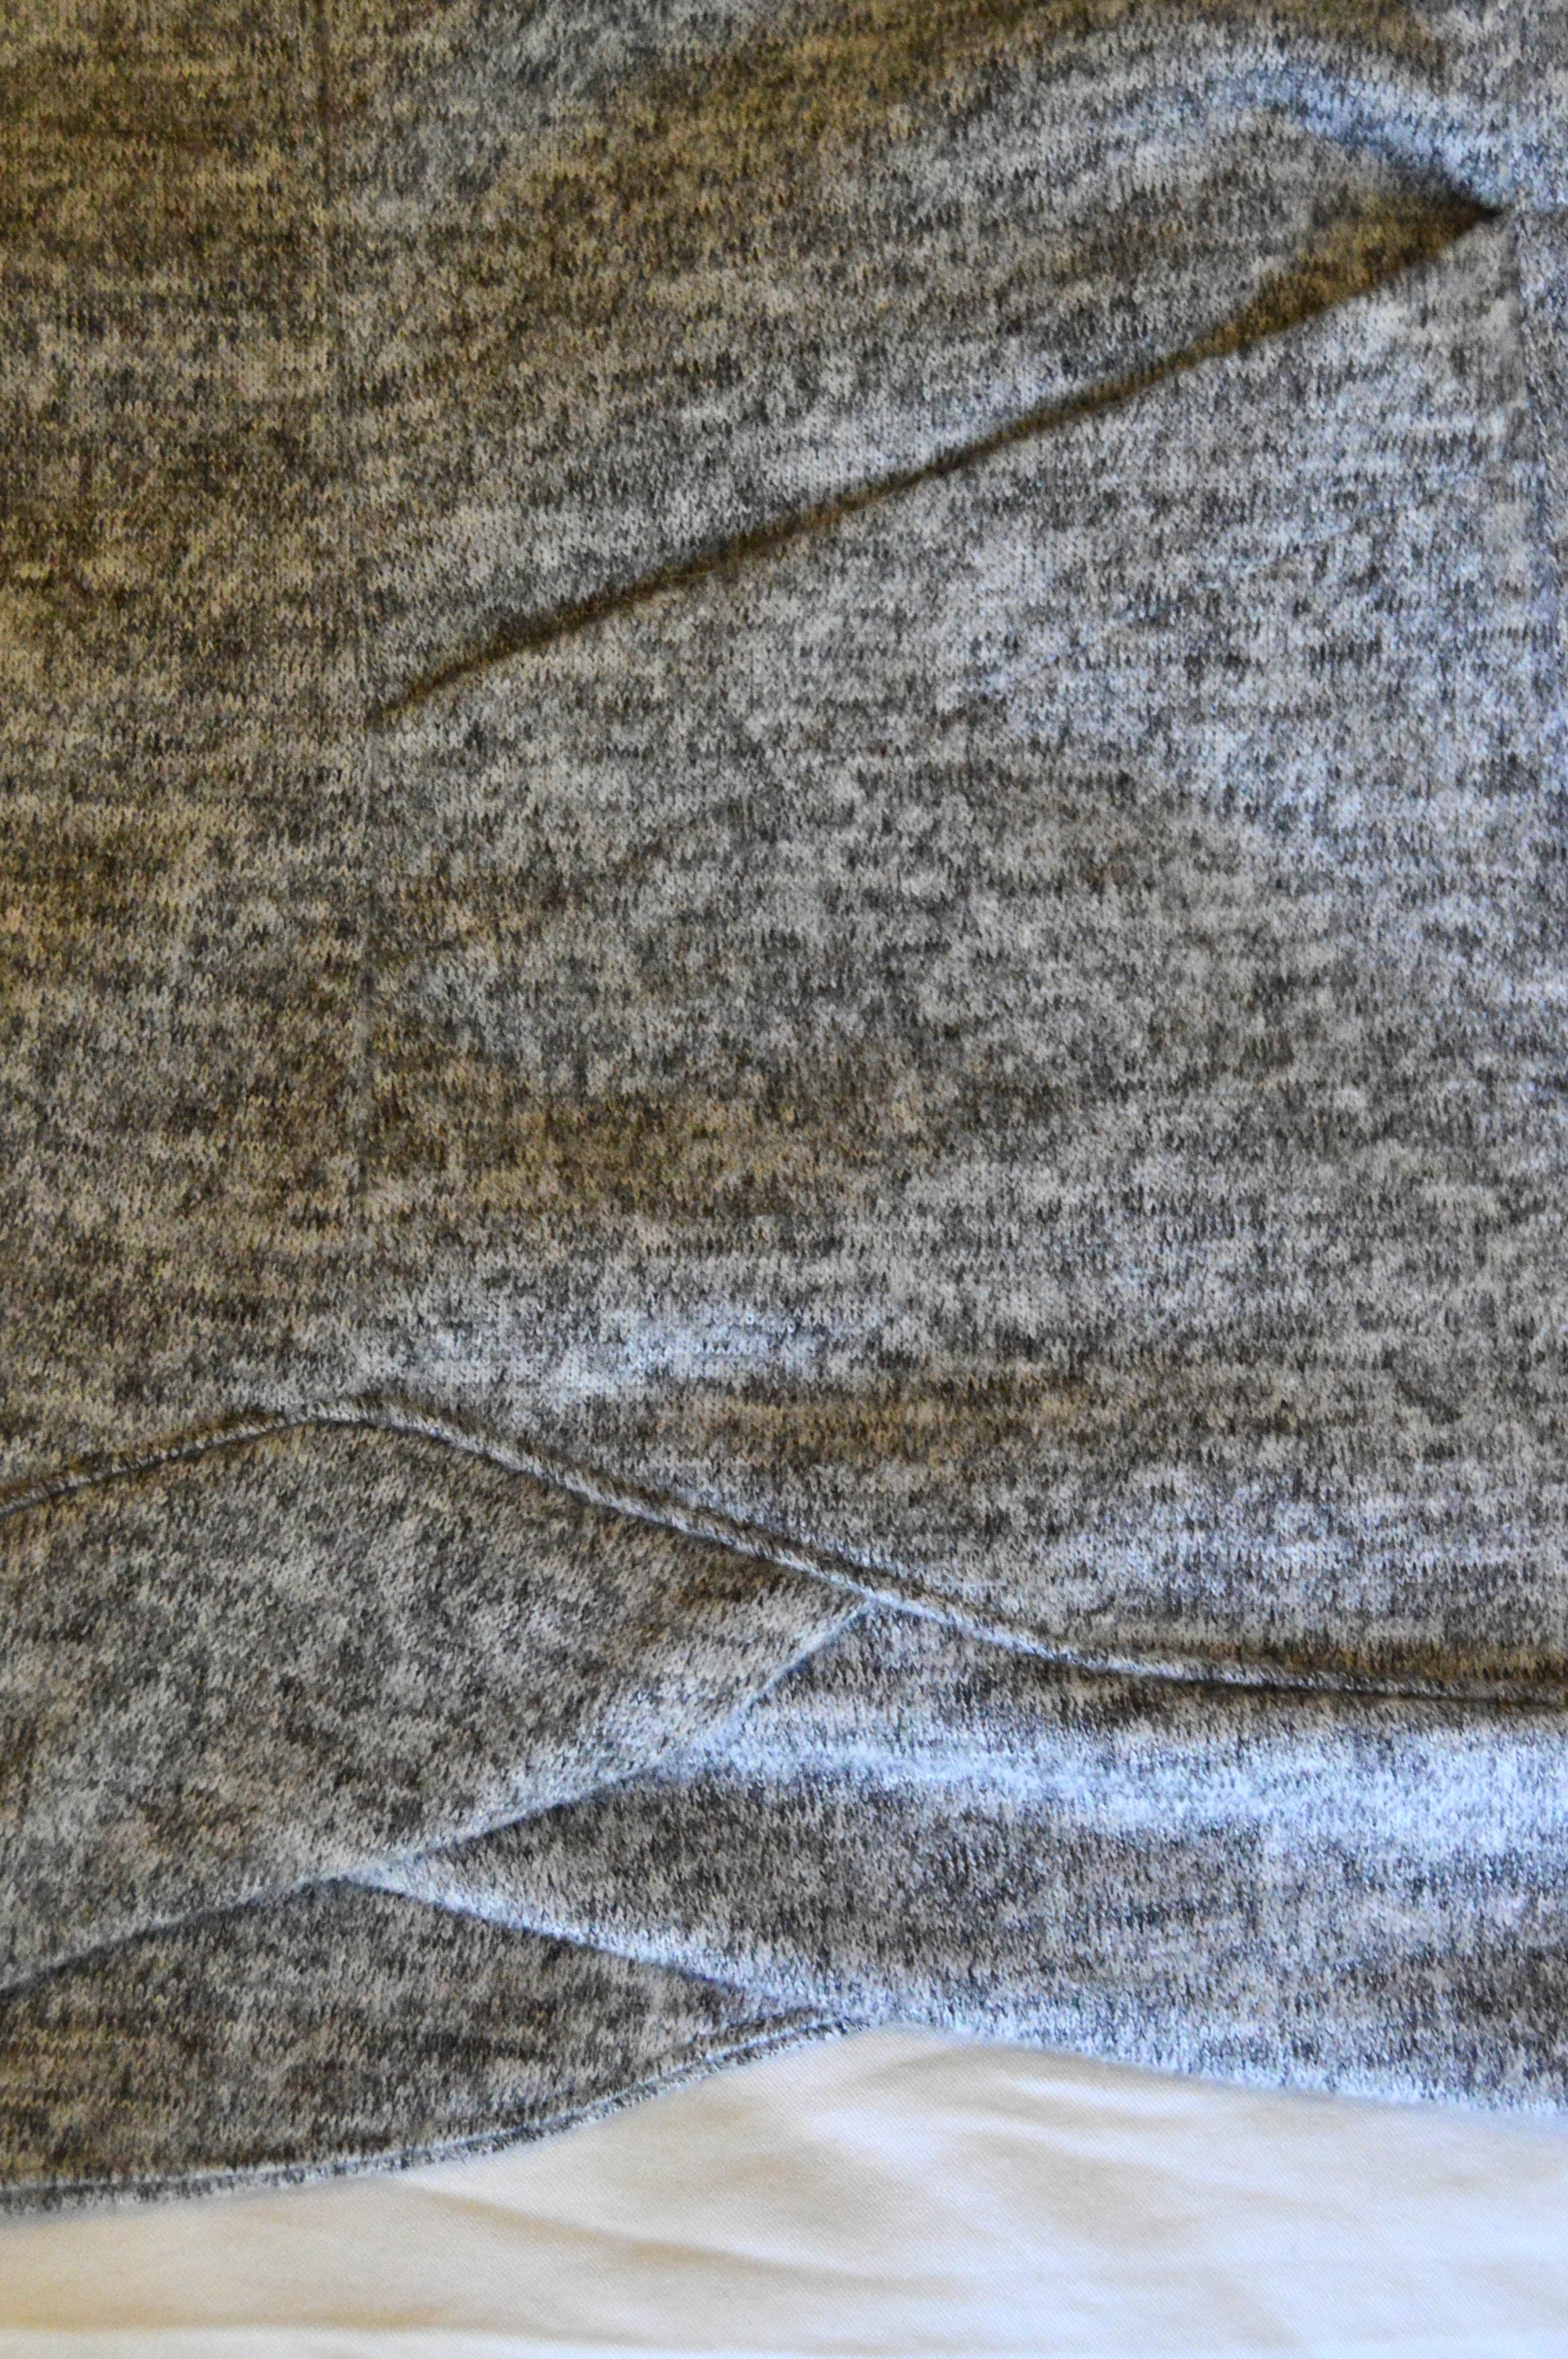
Now before we get any further, I wanted to share a picture of the pattern envelope so you could actually see the style lines on the sweater. My fabric does a splendid job at completely camouflaging all the seams, which is a pity because there are a lot of them. But as we go forward, you can pretend you can see all those lovely features even though they are, sadly, more invisible than visible.

The fabric is some sort of polyester stretch knit–much like a hacci, actually. It very well might contain more than just polyester but it does have the brushed top and the knitted back we see with hacci sweater knits. I bought the fabric years ago at Hobby Lobby. I went in to get fabric for Christmas jammies, and lucked out with this fabric, which was being sold at a stupidlow price, something like $3/yard. I bought the rest of the bolt getting 5-6 yards of fabric for only $15. I used it to make sweaters and leggings for Ben and myself and still had a solid amount of fabric leftover-maybe not quite 2 yards-but close.
I never thought to pair this fabric with this pattern, though, because I really wanted something with more structure to make this sweater (and rightly so, I’ll talk more about it later), but in the moment I just decided to go for it knowing that I’d end up with something at least halfway decent and if I didn’t want it, it could be gifted or thrifted.

Before I cut out any fabric, I made a couple of small adjustments to the pattern. First, I did a forward shoulder adjustment. Since realizing this is an adjustment I need, I started wondering if that was the reason I have, so far in my life, absolutely hated turtlenecks. Were they so stinking uncomfortable because they were not only high up on my neck, but also pulling back on my neck? It seemed likely. So I made that adjustment feeling pretty confident I wouldn’t regret it (and I don’t!). I also adjusted the pattern by chopping off length. I was tempted to chop 4 inches off the bodice but wimped out and only chopped off 2 inches-thankfully! This feels just the right length for me. However, I didn’t edit my sleeve chop and so did fully shorten my sleeve by 4 inches…and 2 inches would have been better! I had to alter this while sewing, after trying the top on, by adding cuffs to the sleeve. I didn’t have enough leftover fabric to use the pattern’s cuffs so I just made up my own.

The sewing of this pattern was surprisingly difficult in my opinion! The envelope classifies the pattern as “Easy” and I would disagree! For something as basic as a sweater, this was surprisingly involved. Listen, I am a firm believer in letting your heart lead you to a pattern you like and that the sheer desire of creating it will help you to (relative) success but I would not put this pattern in the hands of a beginner!
To start, the bodice is comprised of 6 pattern pieces! One of those pieces (the side front piece), is essentially a U shape-but a U that has 90 degree angles! Ha! Like, what the?! Not only that, but there is a LOT of topstitching going on. On most things that require topstitching (I’m thinking jeans or placketed shirts) you’re working with a fairly stable fabric. Thankfully, this fabric gave me no issues while topstitching, but topstitching knit fabric can be pretty tricky to get right.
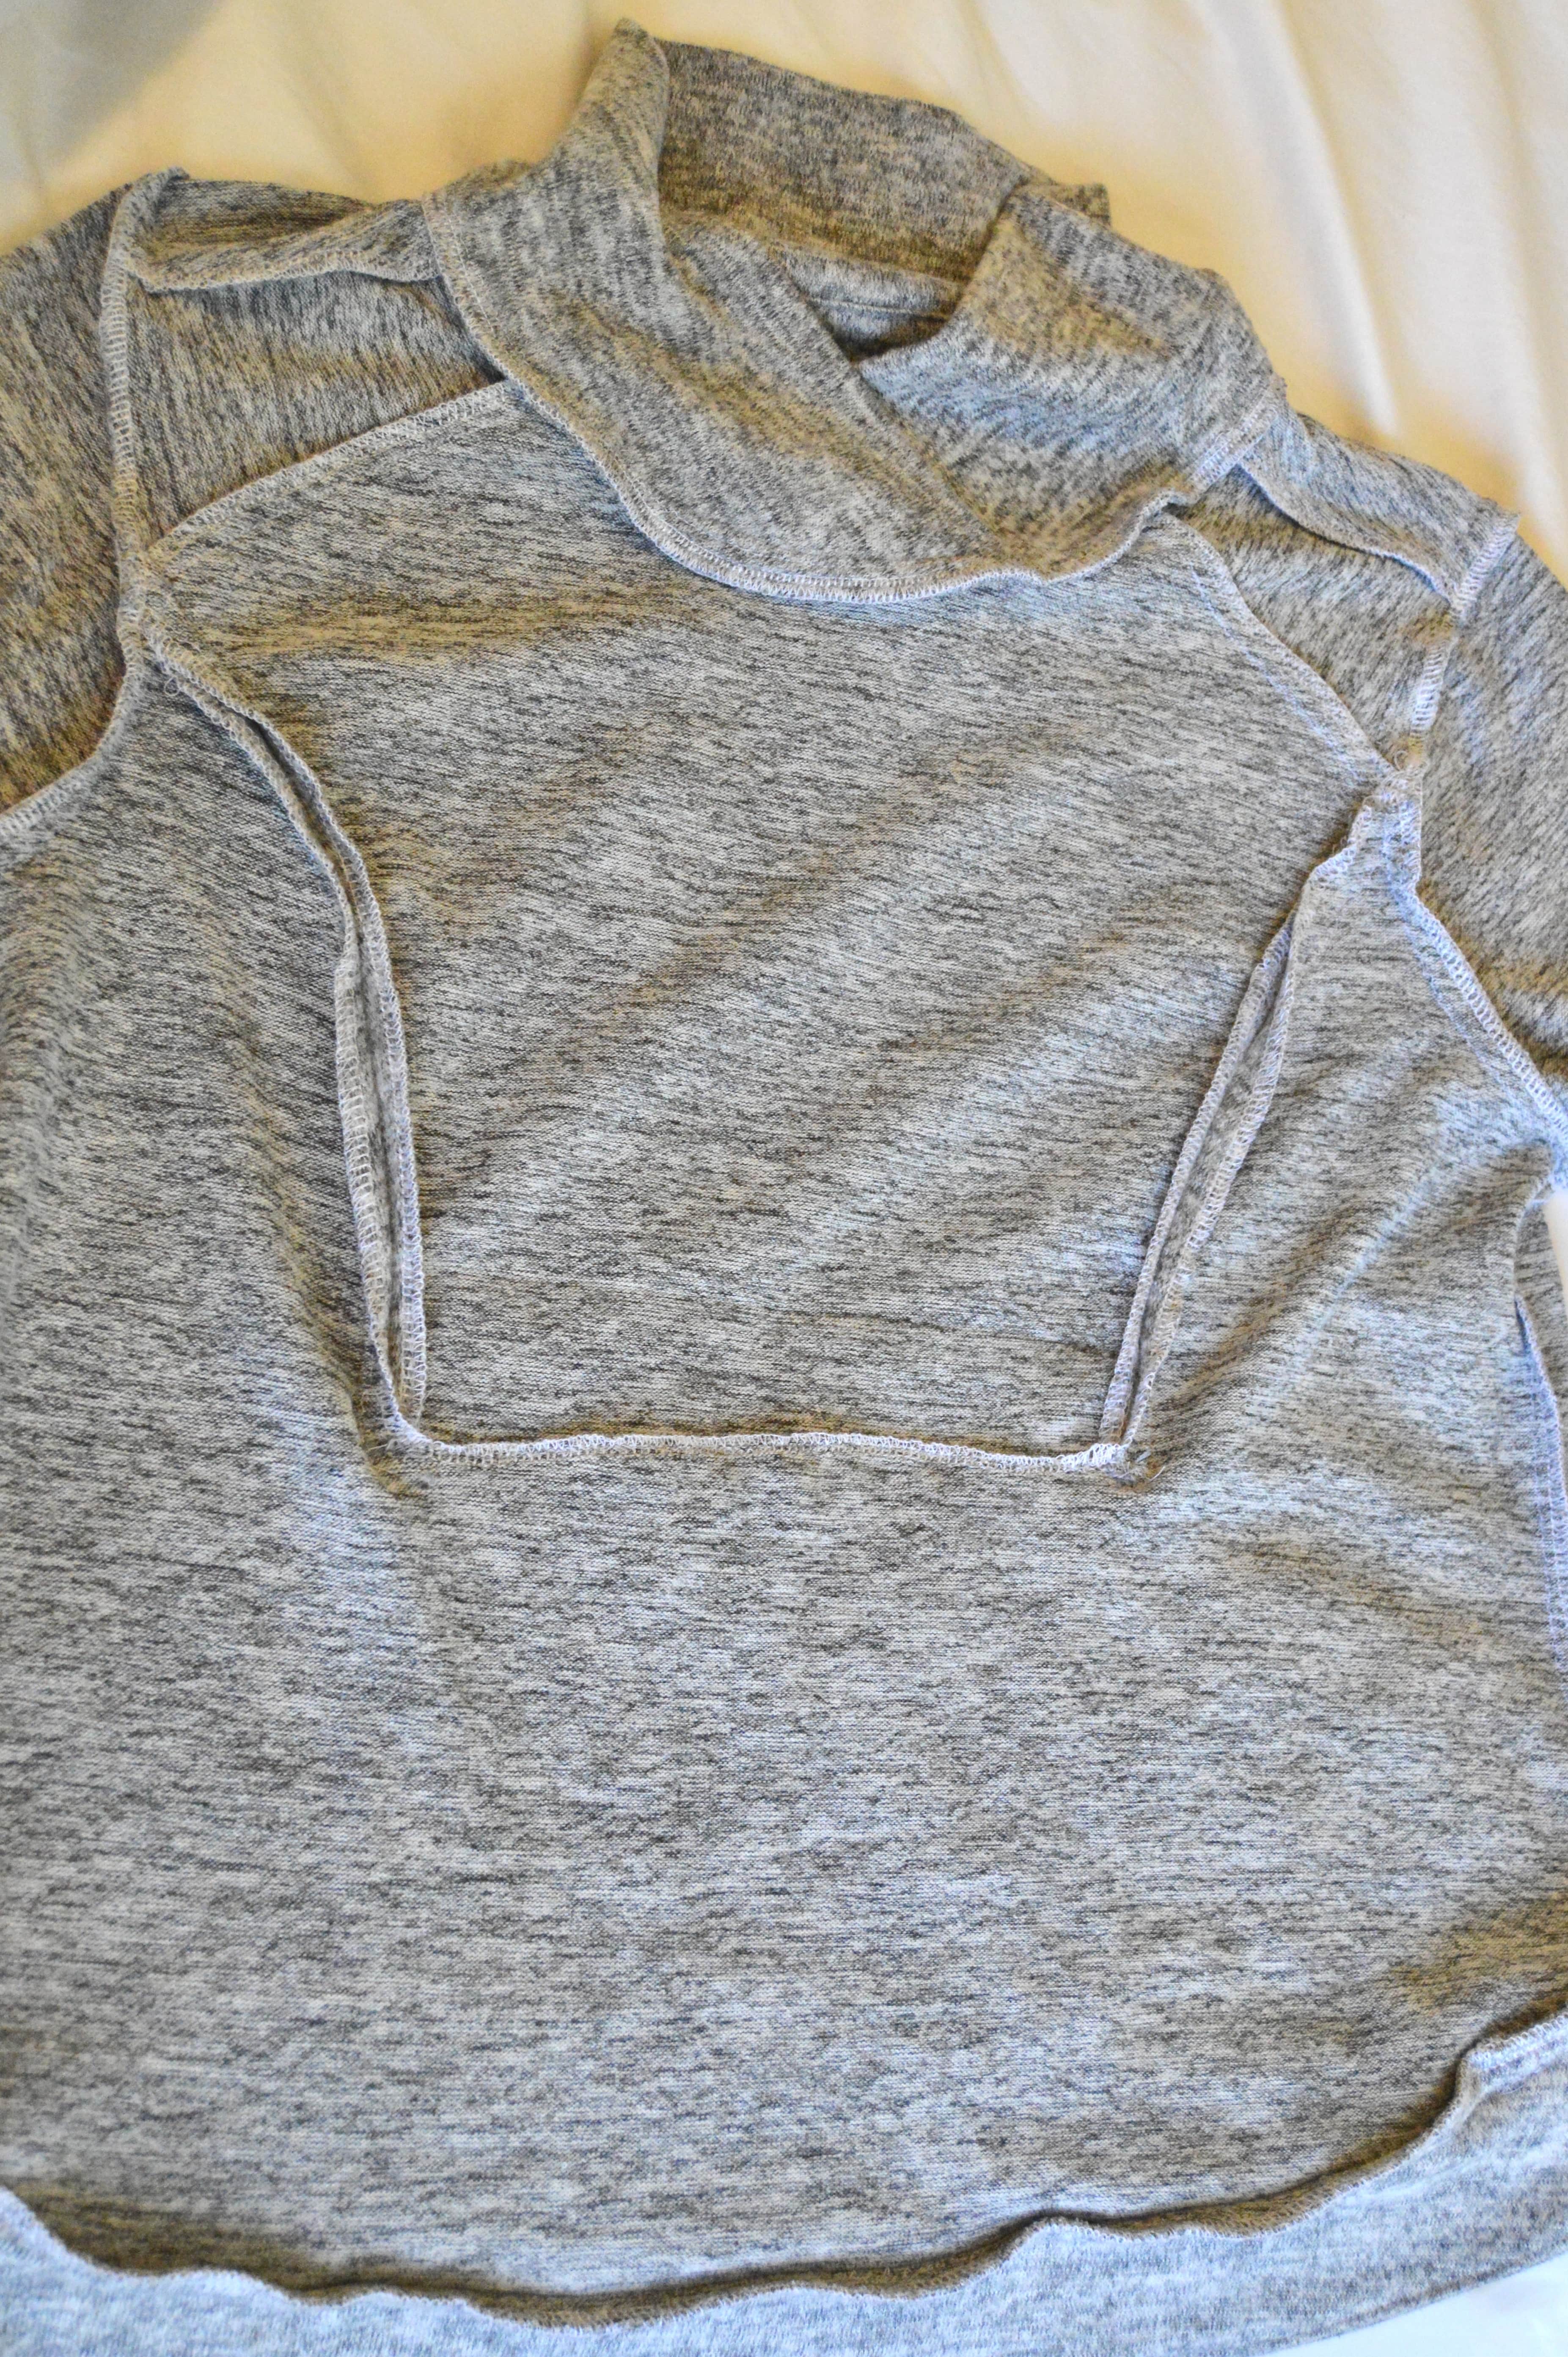
Here’s a picture of the insides, including that funky right-angled, U shaped pattern piece.
I’m sure a part of my problem is that I was assuming things about the pattern. The pattern pretty clearly has pockets and I assumed that it was two separate pockets. But no-the pockets combine into one kangaroo-style pocket. I think I had a harder time understanding the reasoning behind some of the construction steps because of my assumptions. When I finally realized the goal was just one pocket, it was an aha lightbulb type moment. The kangaroo pocket is good and all, but I think the next time I sew this pattern up, I will adjust it so that it just has 2 separate pockets. The way to make this happen is to just take the bottom part out of the U, giving you two pattern pieces. This would seriously help in the ease of making the pattern (though, I guess at that point you’d be working with 7 pattern pieces instead of the 6, but seriously the construction would be SO much easier and wouldn’t include any “reinforcing” or “pivoting” and two pockets is better than one, right?). Anyway, just my two cents.

The other tricky thing-and something to consider when picking fabric-is that there are parts of the pattern where you are sewing through 5 layers of fabric. It’s never for more than a few inches, but it happens in 3 (I think?) different places so it is important to note.
Aside from the crazy front bodice, the rest of the pullover comes together relatively easily. I was worried that the neckband would be difficult, but it totally wasn’t! You just fold the pattern piece in half, overlap it a bit while placing it around the collar and that’s it! The collar would do well with something a bit more structured, but even with my more drapey knit, it still manages to fall and lay in a nice way.
I was also worried a bit about the hem, but surprisingly, it’s one of my favorite features on this top. The instructions say to cut 4 lower band pattern pieces. You then have to sew them together and understitch but the end result looks quite nice and is more than just your usual rectangle. I really love the look.
And, like I mentioned above, I ended up adding cuffs to the sleeves since I was overenthusiastic about shortening the pattern piece. I wouldn’t say I dislike hemming but I would say that it was a treat to not have to do any hemming on this project!

We were having very nice weather when I made this top so I suspected it’d be awhile before I would be able to wear it out and about but the weather has since gone up and down (we’ve had a couple nights of below freezing) so I’ve actually worn it several times now and I really do like how it turned out. It’s very comfortable and the fit is just right for me (I can wear it alone or as a layer). I like that it’s more interesting than your average sweater and that it has an athletic vibe to it.
My one gripe is predicable and also something I can live with for now: the fabric. I knew it when I started and wasn’t proven wrong: the fabric hides much of the hard work that went into this project. I think the pullover would do well with something that has more structure as well. For now, I will absolutely wear and enjoy this sweater but I would LOVE to give myself another try with another fabric. I’ll need to be careful considering the overlapping layers but I think it’d do well with a nice, solid and smooth sweater knit. I think a matching rib knit for the lower band would look great, and, of course, it has plenty of options for contrasting combinations. All in all it was a good and interesting make and one I’d be excited to make up again.

Pattern: McCall’s 7874, view B
Size: Medium
Adjustments: Forward should adjustment (1/2 inch); sleeves shortened by 4 inches (too much!); bodice shortened by 2 inches (just right:)
Fabric: a poly hacci-like knit from Hobby Lobby
Cost: pattern on sale $2; fabric and thread from stash
Would I make this pattern again?: For sure! Hopefully sooner rather than later!


2 thoughts on “McCall’s 7874: Athletic Pullover”