


I made a quilt! I don’t make quilts very often, but the process of making this quilt was peaceful and soothing and had me wanting to sign up to make more!

For a few years now, my mom and sister and I have been sharing sewing challenges. Basically, someone presents a sewing project and then we all make it (but like Ron Swanson said, we make it “in each of our individual houses, alone” but just because we live far away from each other!). You can find our other projects here and here.
The challenge this time was to make one of the patterns from Then Came June, which is a cute little company that does quilt patterns. Here’s what my mom and sister made:

My mom made the Goldie Quilt pattern.

And my sister made the Nova Star Quilt pattern.
There’s no need to beat around the bush here, they are definitely way more talented than I am when it comes to quilting! I felt it especially with this project! I had to call them up a bunch to ask questions and they were very patient with me.
They were also incredibly patient with how long it took me to make this project! I didn’t even buy fabric until almost a year after the challenge was given. Sooooo I really took my sweet time. Once I had the fabric, though, I did feel motivated to get it all pieced so that I could take it to my mom during spring break for her to quilt.

I’ve made exactly enough quilts to know that I’m not very good at it, so I really tried to be careful while making this by following the directions, lining things up and using pins. Since the quilt is constructed by blocks that only vary by color, once I got the hang of things, the process was very easy. When I make clothes, I feel like I have to pay attention. I can’t settle into a task because it doesn’t last very long before I have to focus on the next task. Sewing these squares, I was able to, at least in part, turn my brain off and just sew! The repetitive task was so comforting. I loved it! In the last couple years, I typically don’t sew at night because my brain power at that hour isn’t conducive to mindful making. But I found I could handle this! So I spent many nights with a show or podcast playing in the background while I worked on this quilt. Ah, contentedness.

I ran into a few minor snags as well as opportunities for whining.
First the whining which I suspect many people can relate to and we can all agree that it’s first world problems: I just do not have the space I wish I had for sewing! I thought that I could start the quilt and continue making clothes on the side but I found that I just didn’t have the space to store all the works in progress. I typically keep all the things I’m working on sitting on my ironing board but I found that beyond the cut-out quilt pieces and the finished quilt blocks, I didn’t have much room for anything else, especially if I wanted to have space to iron-which is kind of a necessity when quilting. I can’t spread out too much because I have a lovely toddler who likes to get into anything he can (so far, the ironing board is above his head so it has stayed mostly safe). I also found I wished I had a space where I could keep the cutting mat out permanently. Cutting the pieces out for the quilt took a long time! I had to do it in two sessions. And then once I started piecing everything together, I found that some of the blocks required trimming which meant I had to pull the cutting mat out every few steps of the process. Alas, I don’t have a spot to put a cutting mat permanently or a spot to safely store works in progress away from tiny, adorable, albeit sticky hands. So there’s my woe-is-me-but-I-know-on-the-whole-scheme-of-things-I’m-incredibly-blessed spiel.
As for the snags. I was having issues with a part of the block and felt frustrated by it, especially since it was necessitating more trimming. But upon a closer look of the instructions, I realized I had been using the wrong strip. It was only wrong by 1/4inch but it was messing with things in a serious way. I righted it from then on but didn’t correct any of the already incorrectly used pieces. Seemed to work out, though.
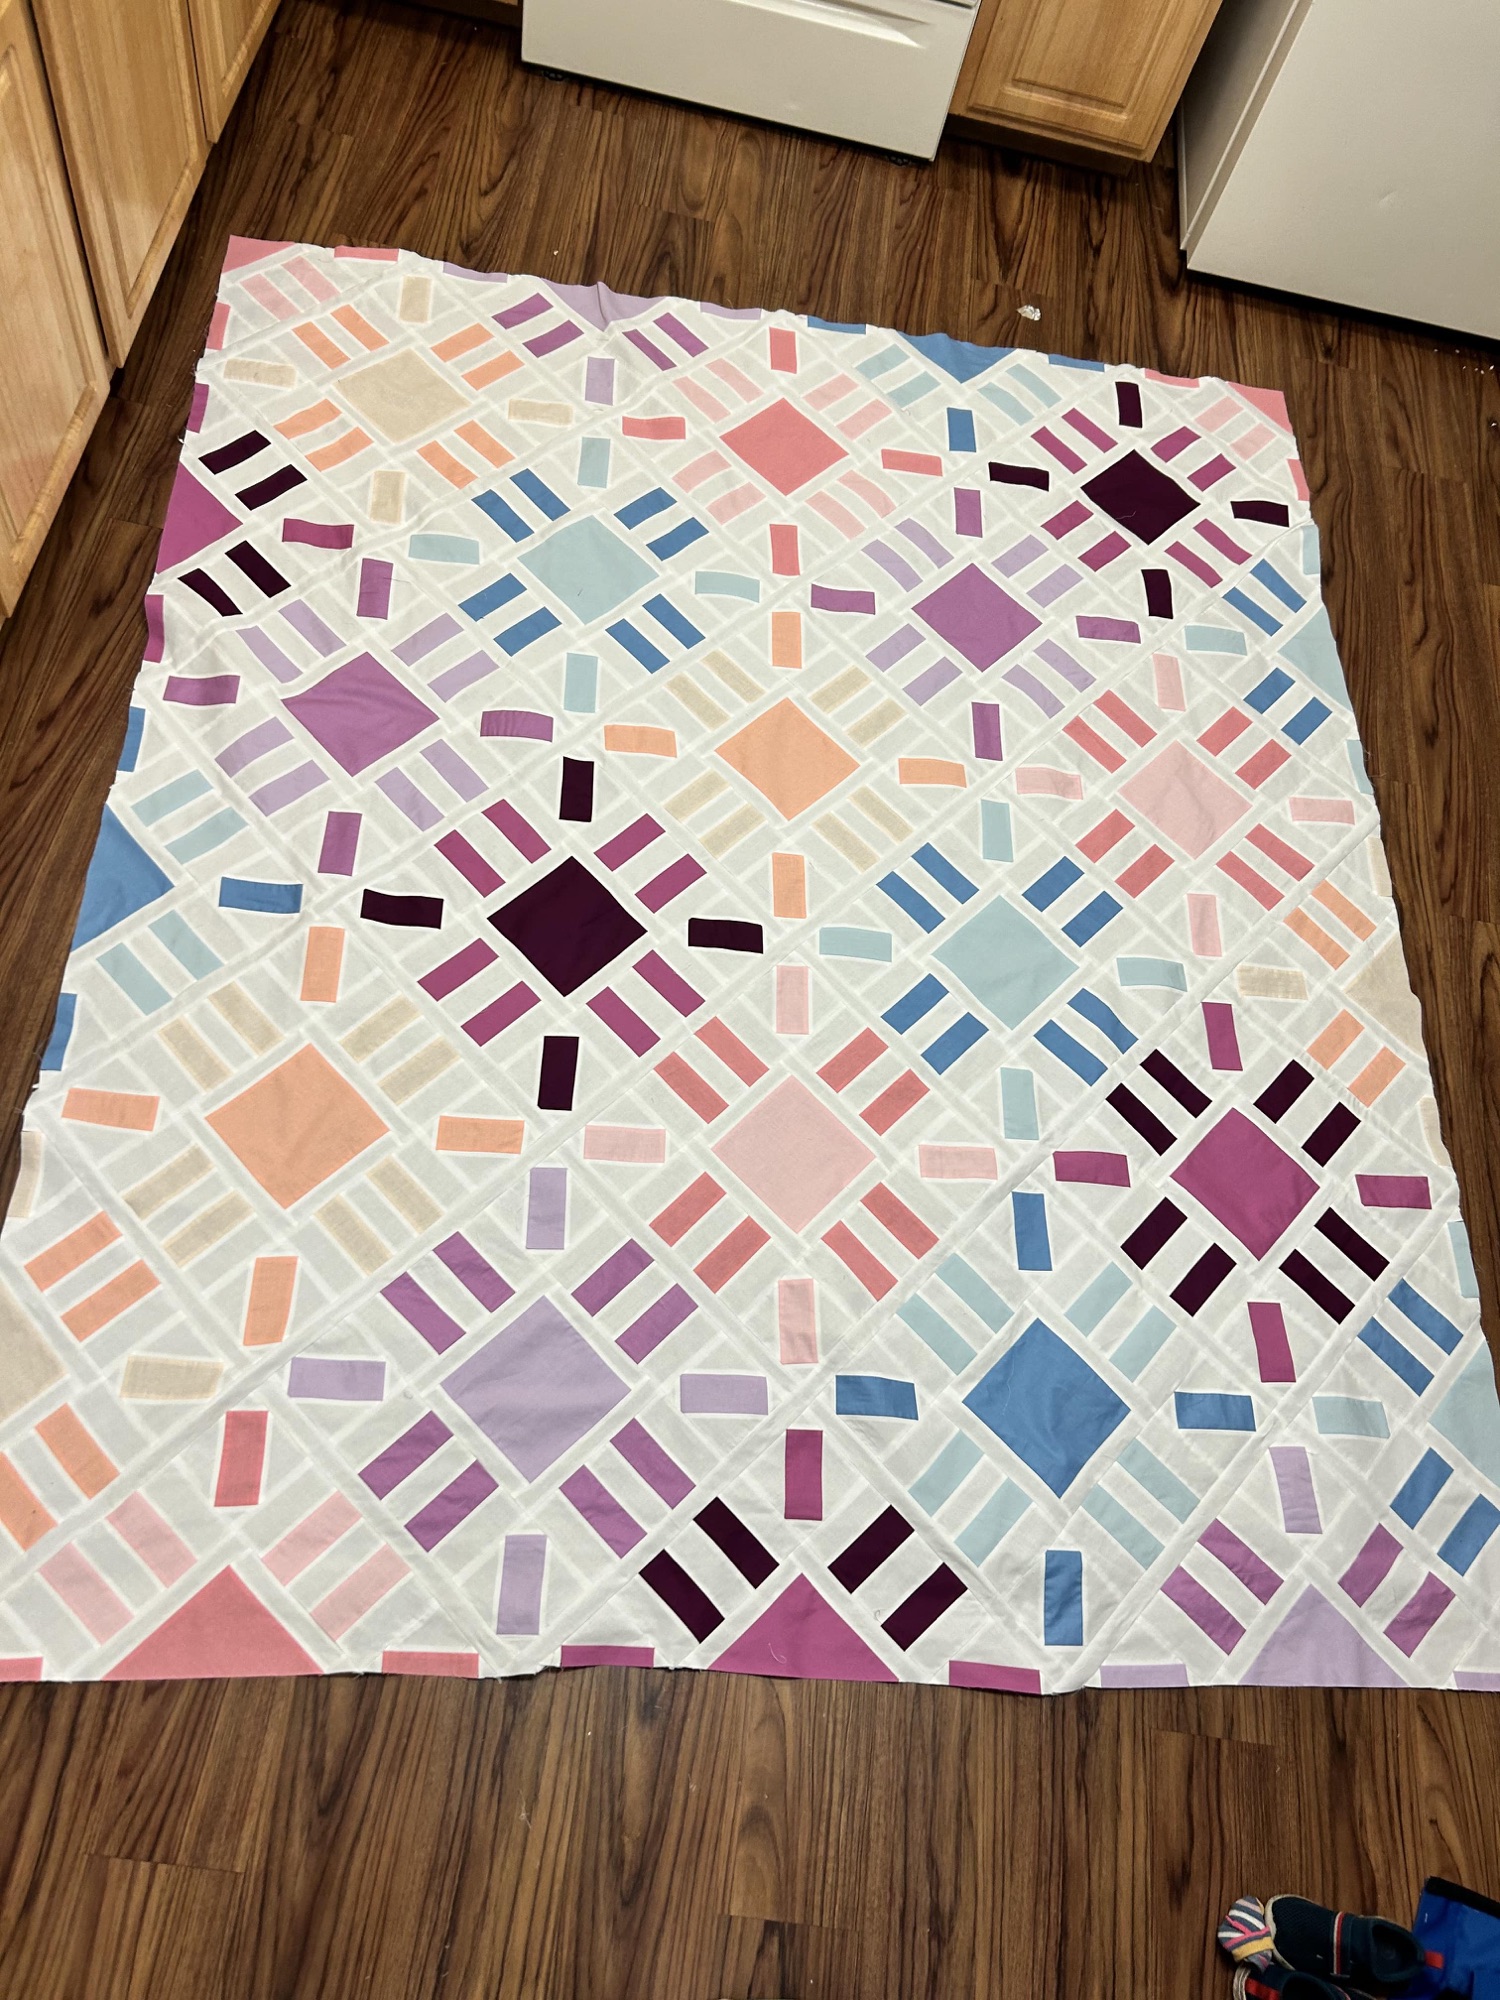
The other problem I ran into is just that I don’t think I am completely fluent in Quilt Pattern Instructions. To me, the instructions always seem vague and the terminology is unfamiliar. On the Sun Flare Quilt, I got confused at the instructions for the sashing. It seemed incomplete and I had to call my mom to make sense of things. She also felt the instructions were vague but we just went ahead with what seemed right.
I am lucky to have grown up around quilt making, so even if I haven’t made a ton of quilts personally, I have been around the process and know the steps, but I’m always surprised at how little information is given in quilt patterns for how to finish the quilt. The instructions walk you through the piecing process and then just say “okay then quilt and bind and then you’re done okay byeeeeee!” Thankfully we live in the age of YouTube but I always wonder what a complete newbie thinks when they read that. I know when we think of quilters we assume they’ve been doing it for hundreds of years, but not everyone here is a seasoned professional.

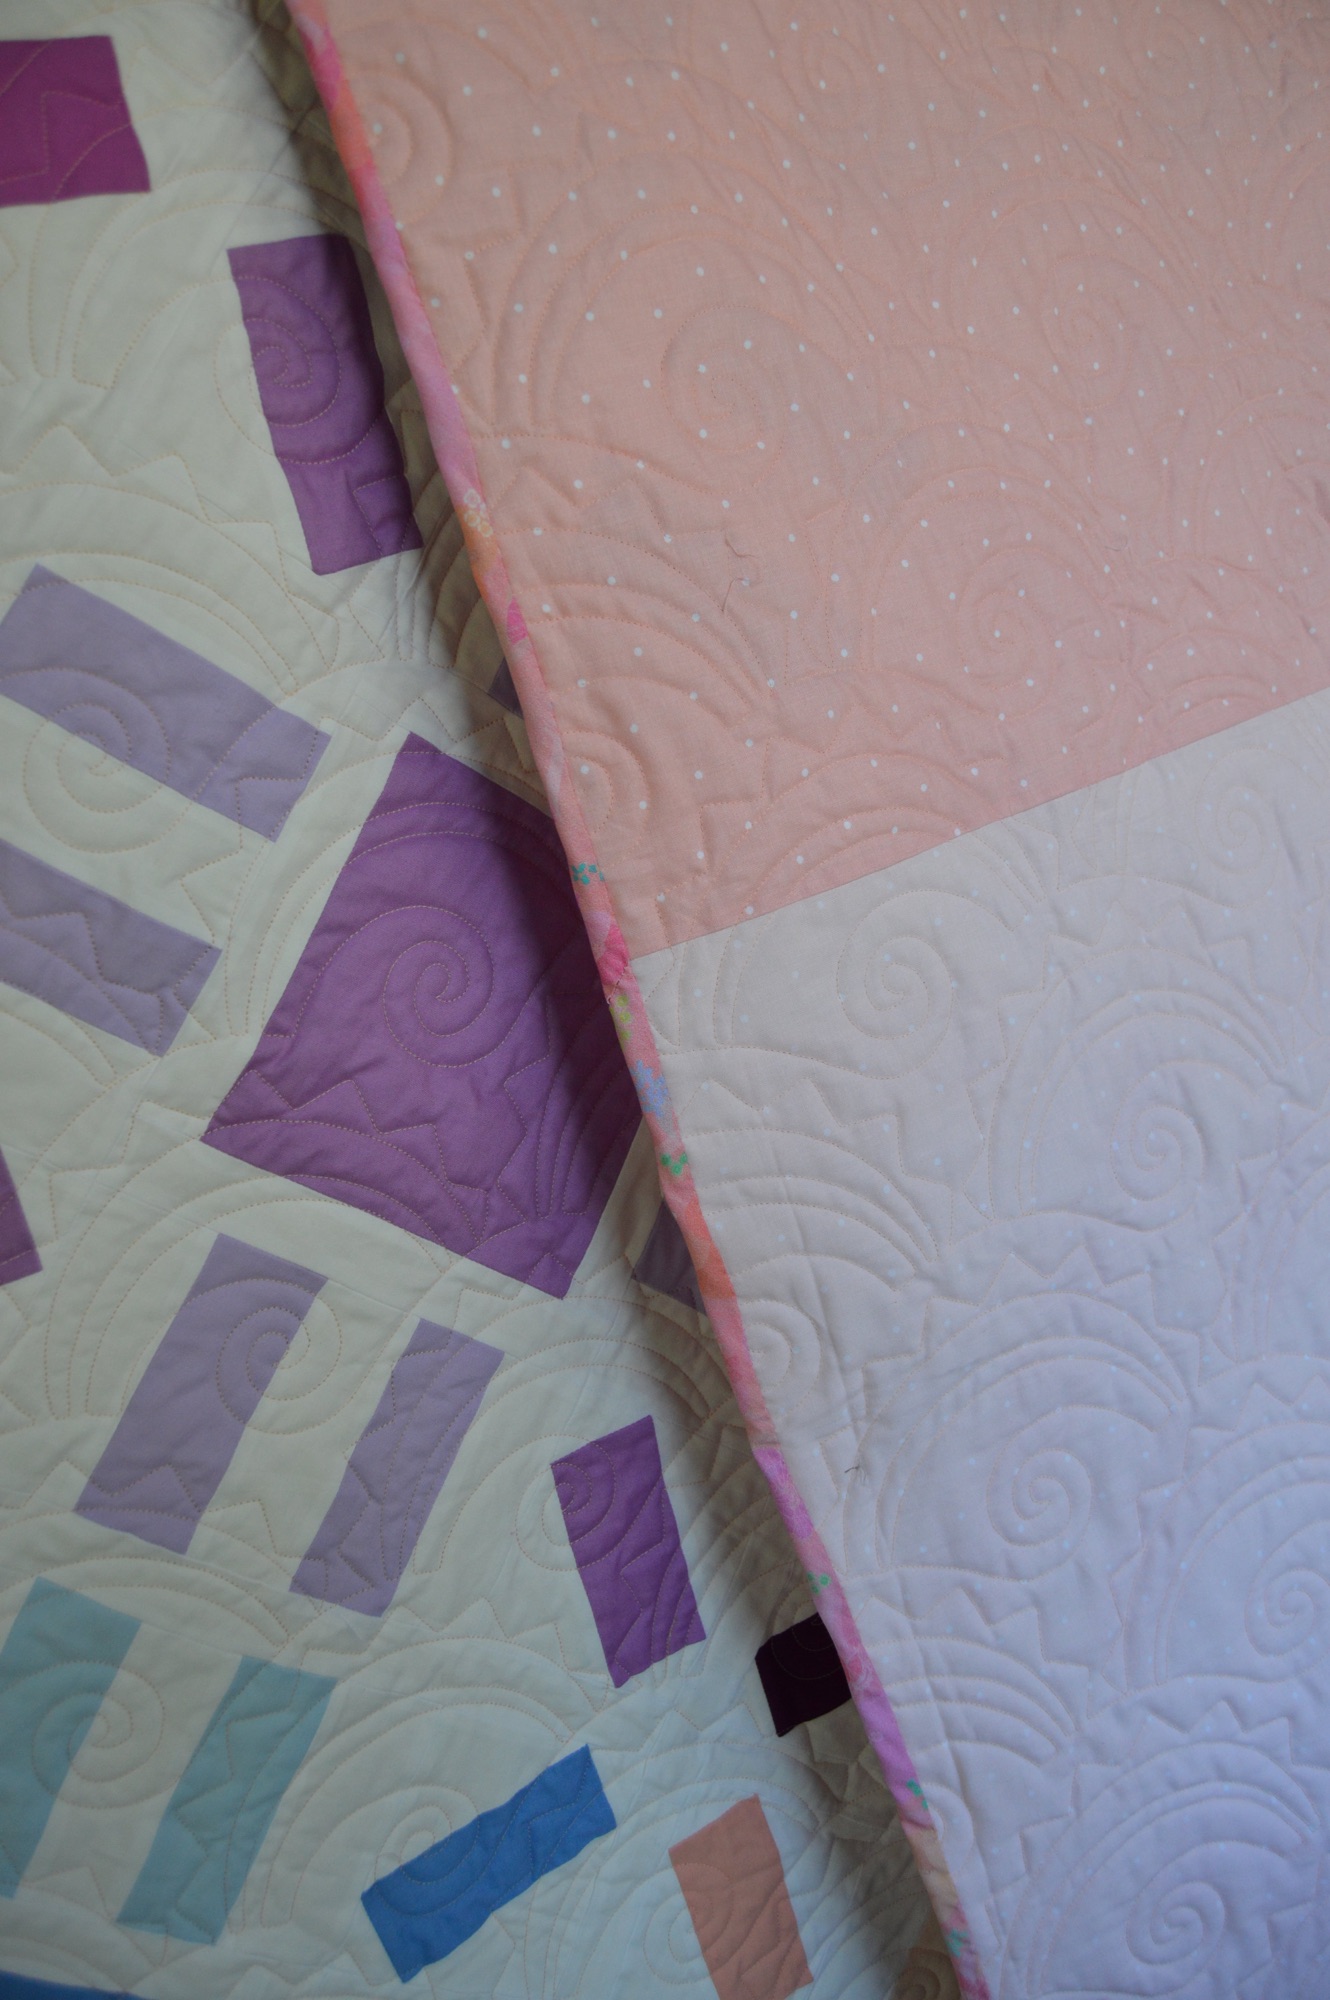
I wanted my vibe with this quilt to be “sunset-ish” so when picking my backing and binding, I tried to think accordingly. I pieced together an ombre effect for the backing.

And then I chose this quilt pattern for the quilting. I don’t remember the name of it but it looked like a sunset to me, so I was in! My mom did the edge to edge quilting on her computerized longarm machine (if you happen to live in the Springville, Utah area, here’s her info!). She also squared her quilt for me, which I don’t think she typically does for her customers, but I was very grateful because I think I would have really messed things up if it had been left up to me.
I truthfully have a hard time wrapping my brain around binding a quilt completely by machine so I did as is typical and sewed the binding onto the quilt front by machine and then spent a few nights finishing the binding to the back by hand. I’ve said it before and I’ll say it again, I enjoy hand sewing, so, while doing this took a lot of time, it was enjoyable.

I am too used to sewing clothes though, because I cut my binding on the bias which was absolutely and completely unnecessary and resulted in a pretty wavy binding. If it bothers me too much, I’ll remove the binding and redo it, but I really can’t see that happening so it will probably just stay wavy, people. And I’ll have to make note for next time because I can definitely see me making that mistake again in the future.
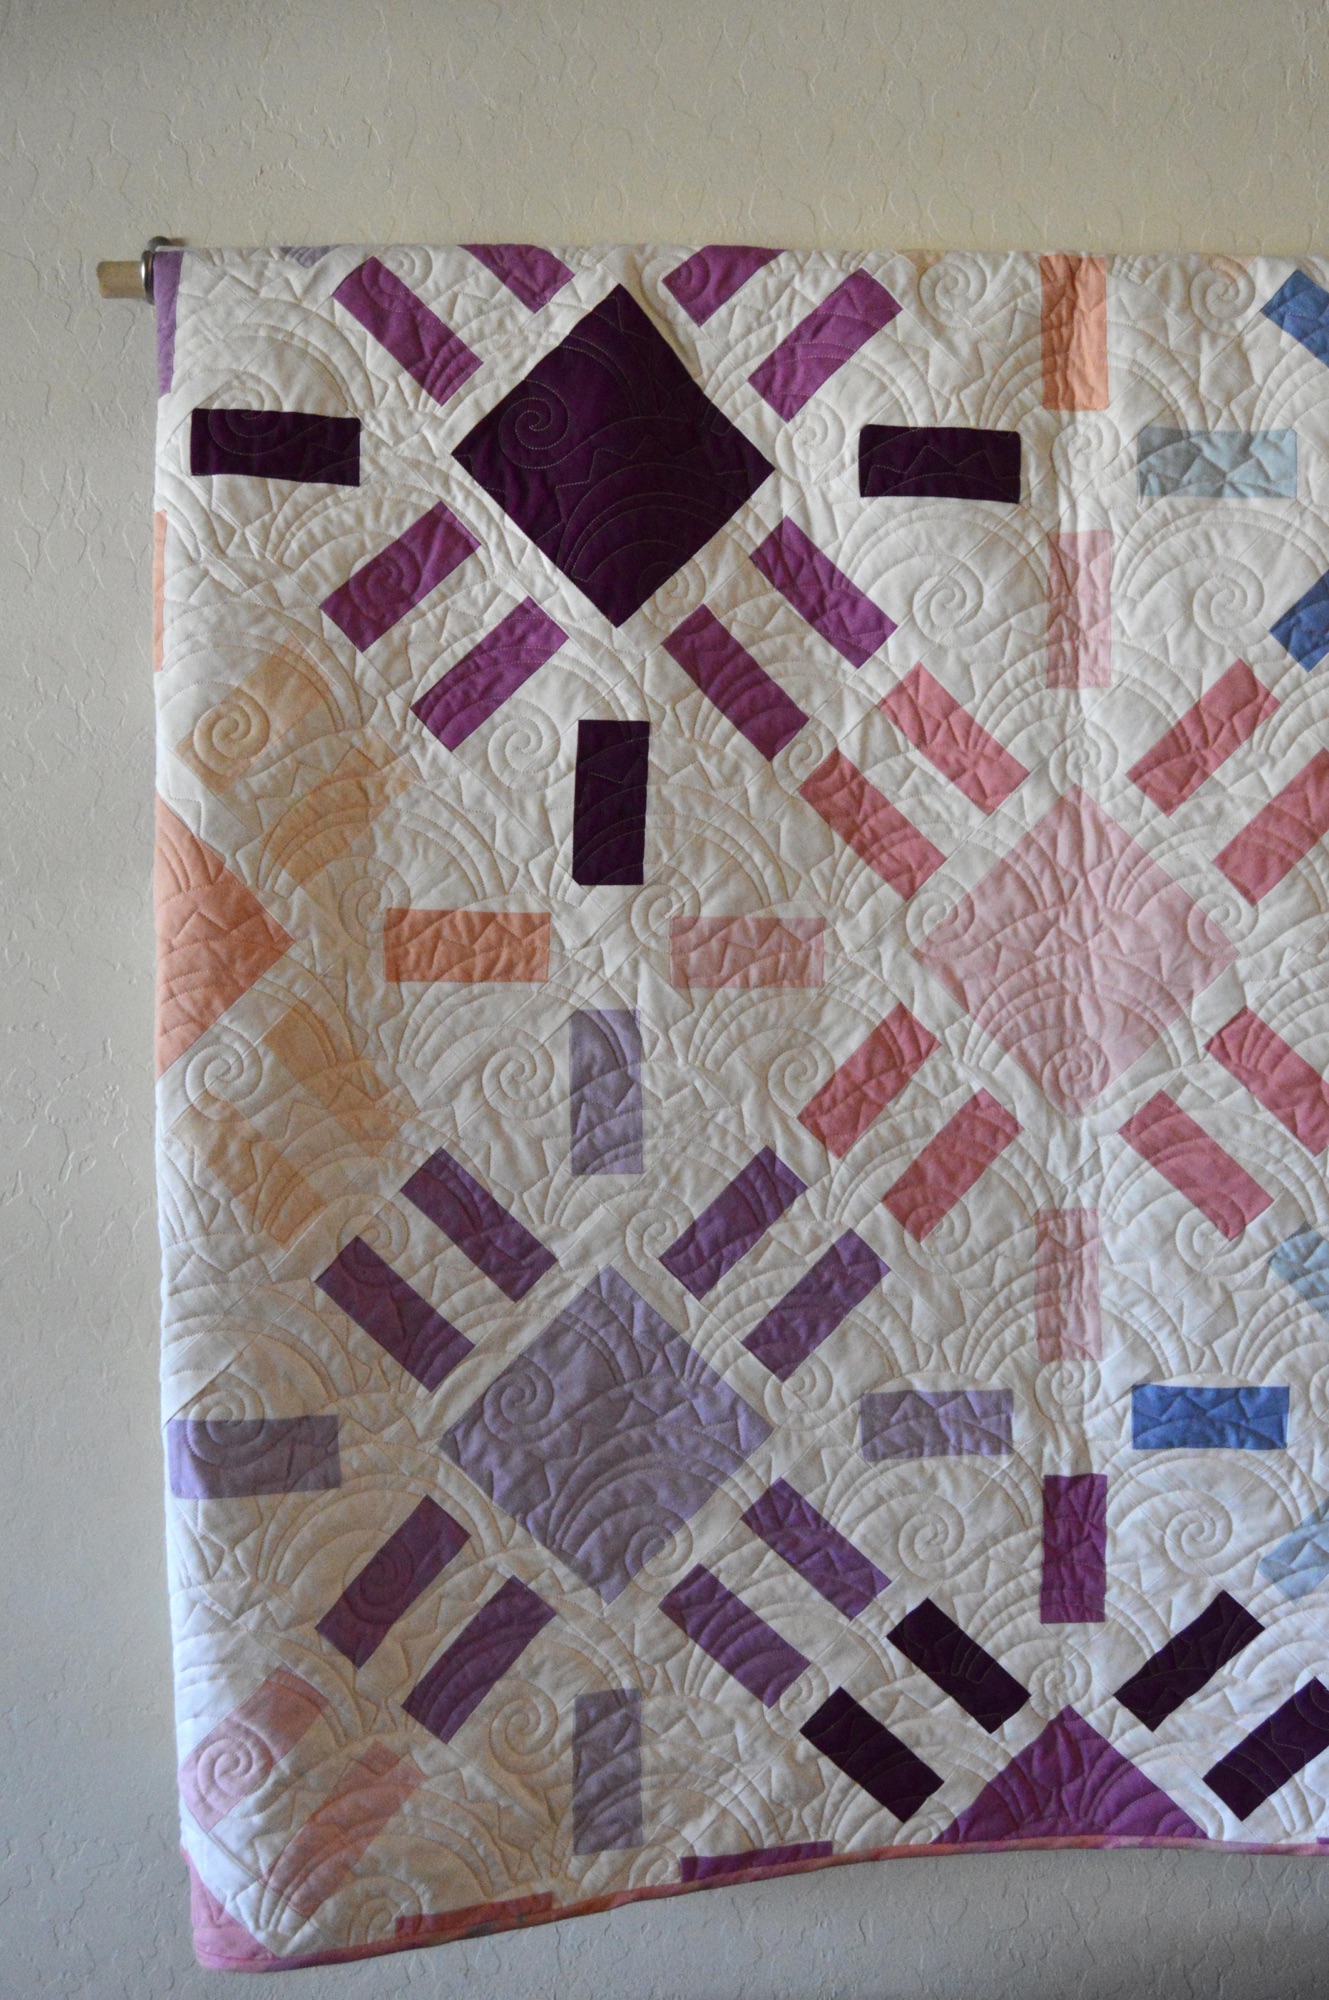
Anyhow, I had an almost-but not quite-exclusively lovely time making this quilt. It was a relief to be making something that didn’t need to “fit” or “suit” me once made, but could just be, even if it didn’t turn out perfect. I replaced the quilt that had been hanging on our wall with the now completed Sun Flare quilt and my girls agree that it’s an improvement. We love it! I just ordered a ridiculous amount of apparel fabric so I’ll need to work my way through some of that before finding another quilt but if you have any recommendations for quilt patterns or quilt pattern makers you particularly love, let me know!
*Throughout the process of making the quilt, I kept mistakenly referring to it as the “Sun Burst” quilt which is the wrong name! I may have inadvertently written Sun Burst somewhere in the text and if I have, I apologize!
Pattern: Sun Flare Quilt from Then Came June
Size: One size (large throw 71×84)
Adjustments: none
Fabric: Top and backing fabric from Hobby Lobby/Joann; binding from Cloth Plus
Cost: $45 for quilt top material; $25 for quilt back material; $10 for binding fabric
Would I make this pattern again?: I would!


Such a lovely quilt and aren’t you lucky to share this sewing interest with your mum and sister 💖
LikeLiked by 1 person
Thanks! And it’s true! We have a lot of fun sewing together, not to mention the sewing hand-me-downs I have access to thanks to them!
LikeLike