

I definitely don’t sew quilts very often, and I don’t really consider myself a quilter, BUT I have felt myself being more drawn to quilt-making lately! And, truth be told, I’m very much enjoying the occasional change of pace from sewing clothes! I like that the projects are longer and there’s less self-imposed pressure to finish. within a certain (quick!) timeframe. I like the comfort in the repetition, where I can turn my brain off doing the same task again and again. And, maybe best of all, I like that the finished project doesn’t have to fit or suit my body type. A quilt is a quilt is a quilt. It can turn out poorly and still serve its purpose! I’m not giving up sewing clothes by any means, but I think I AM going to squeeze in more quilt making.
At the beginning of the year, I was craving a nice, slow quilting project (not as slow as my English Paper Piecing, which is glacially paced and ongoing), but I also didn’t want to spend a lot of money. I was looking through a lot of free patterns but ended up stumbling onto The Sawtooth Sky quilt pattern by See Jamie Sew. It’s not free-but it seemed the perfect project for using with scraps, of which I have plenty.

So I had to buy the pattern ($13) and then the navy background fabric ($20) but otherwise just used what I had on hand. My quilting cotton stash pretty much all fits into a small tote, so I don’t have much but I’ve got to say that making this quilt seemed to do absolutely nothing to help in depleting the stash!
In any case, this was an excellent pattern to use for scrap fabric as the center of each star is meant to be fussy cut. The pattern is designed to be used specifically with Ruby Star Society’s “Ten Years of Magic” panel and the cover quilt is adorable with little bunnies and bears and roller skates hiding amongst the stars. I didn’t do any fussy cutting for mine, but I felt like the instructions were geared toward individual cutting (rather than bulk) and very scrap friendly.

Even without fussy cutting, cutting out the fabric took a ridiculously long time. I think I spent an hour or two every night for a week to get all the pieces cut out! Admittedly, I always feel a bit slow cutting out fabric for quilts. I wanted to make sure that each star’s inner fabric was color coordinated with its outer fabric. I also wanted to make sure I had each color across the star sizes. Anyway, all this is to say that some planning and organization would have gone a long way in saving time but…I didn’t.
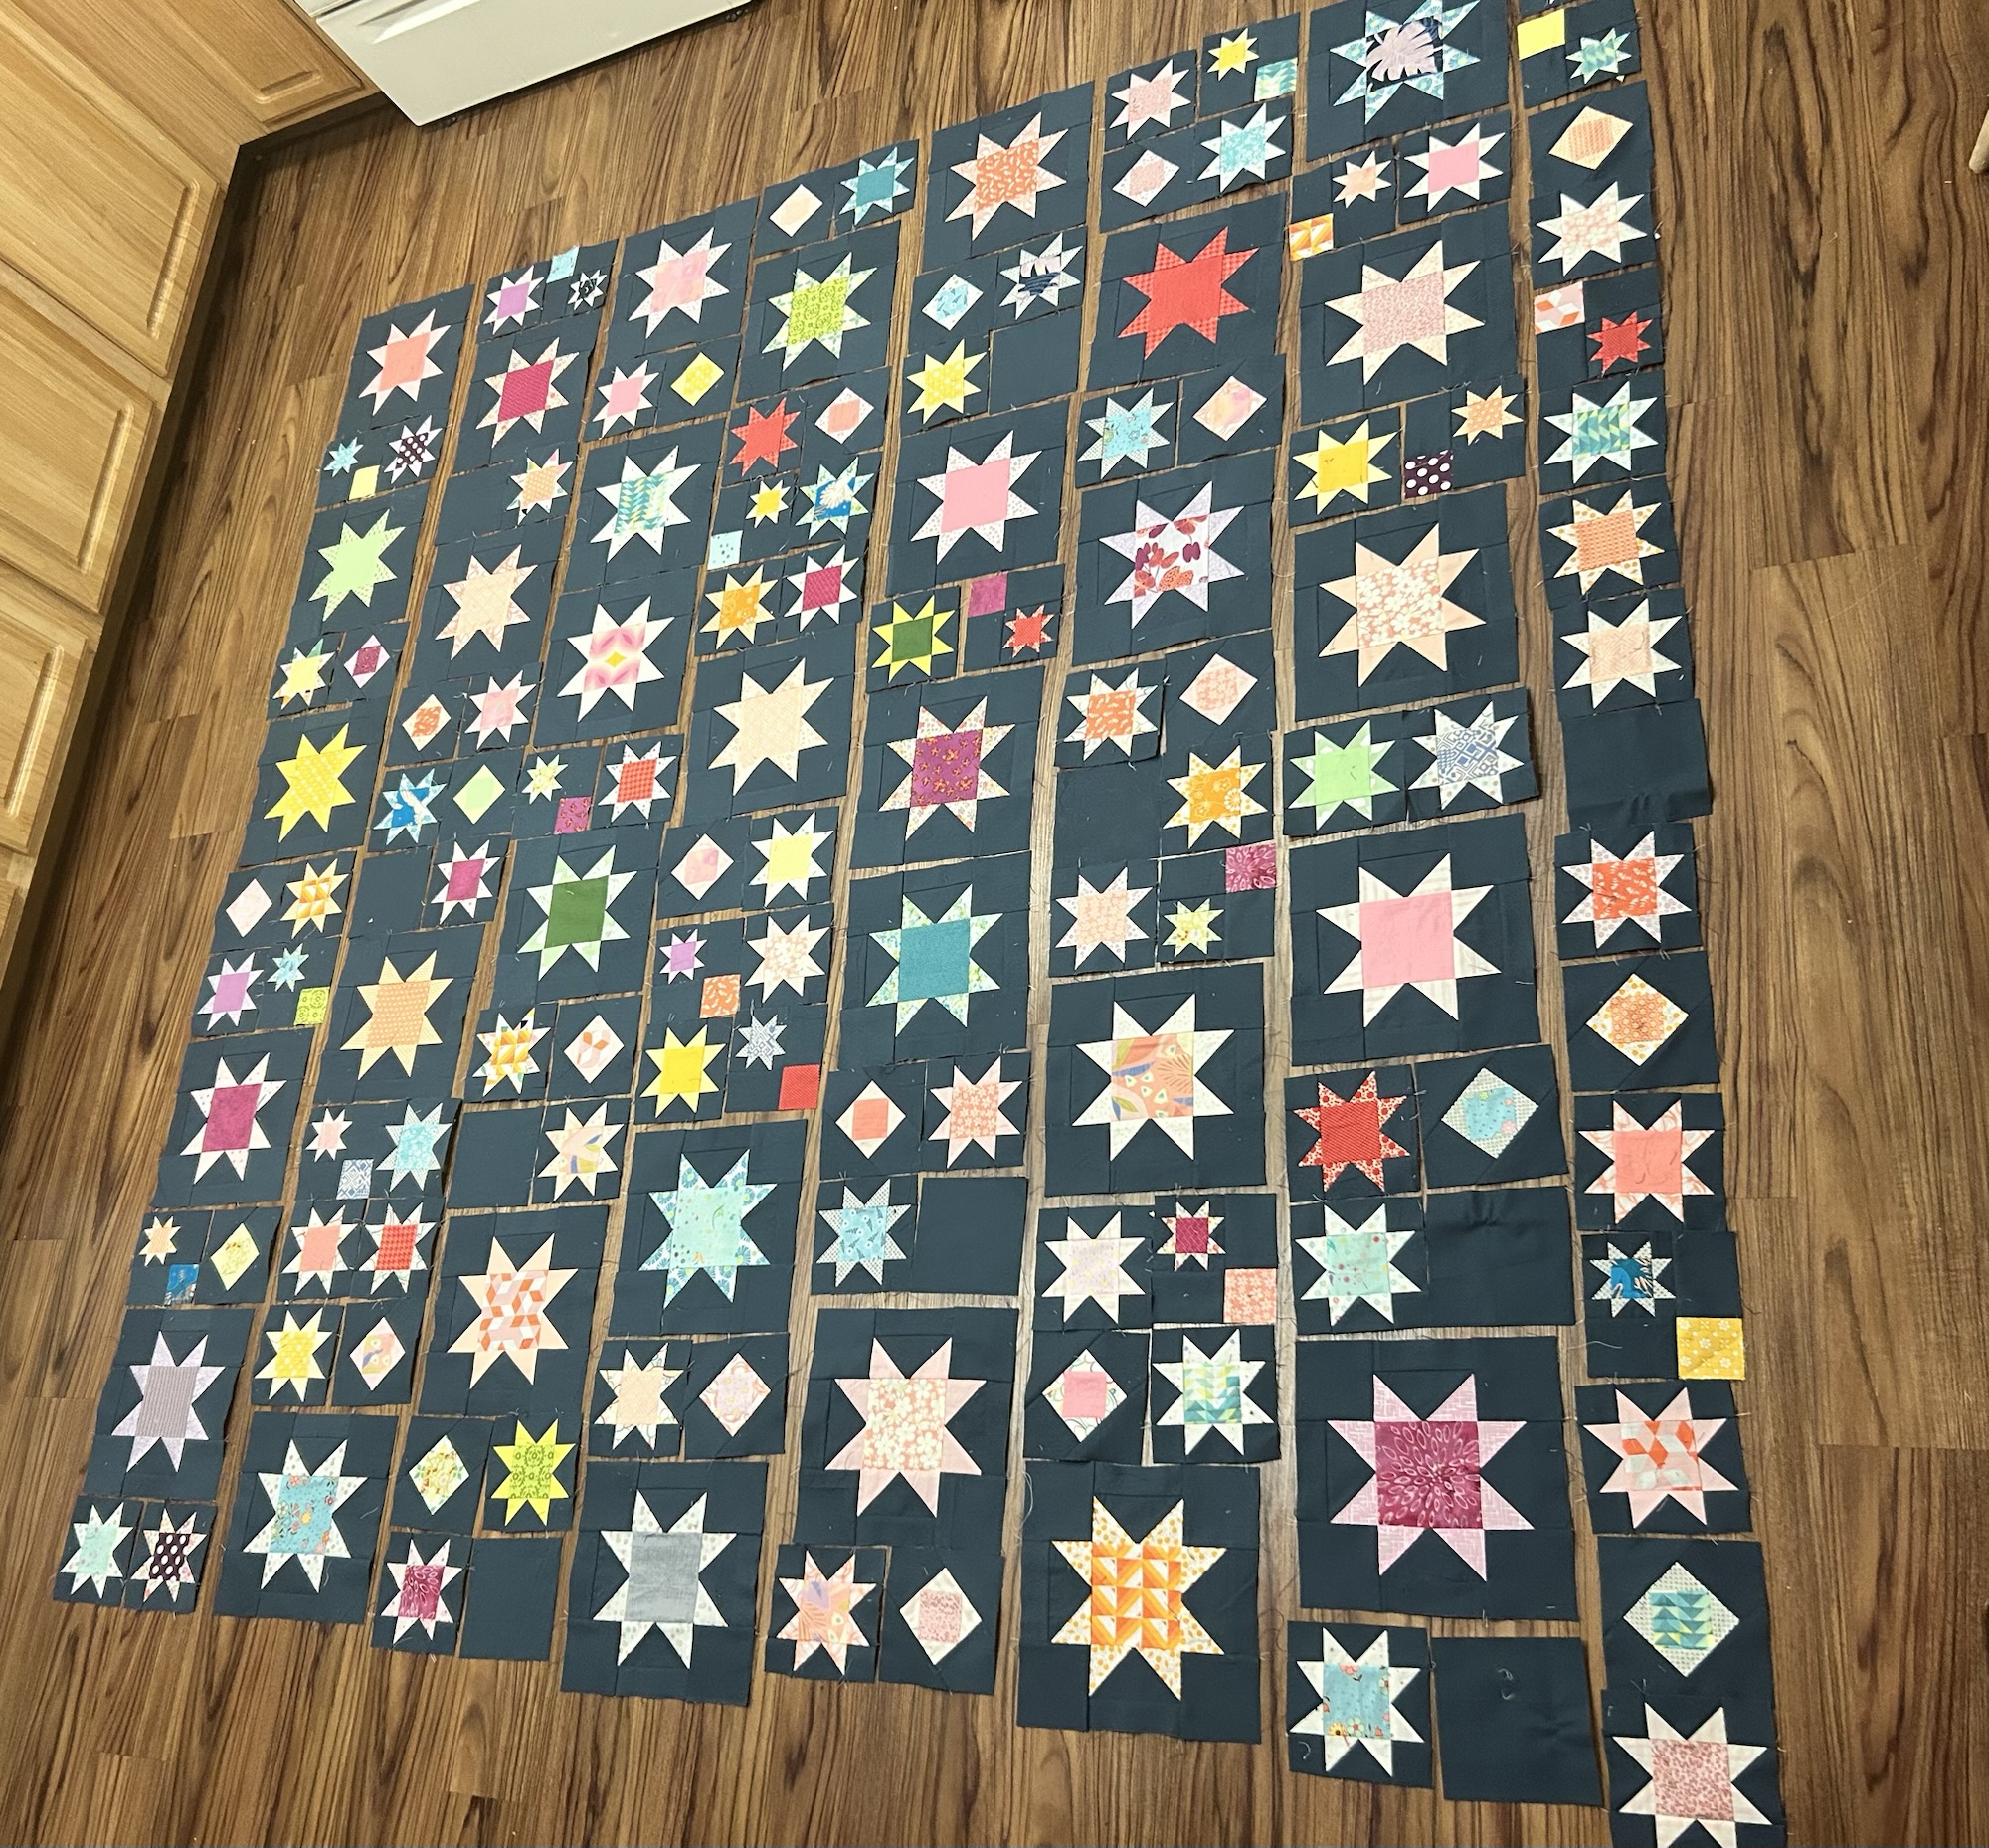
The cutting took so long that I started questioning whether I really wanted to make a quilt after all but I persevered largely due to the fact that once I start cutting teeny tiny fabric pieces, I won’t rest easy until they’re sewn up into much bigger fabric pieces (nothing is safe with little kids running around, but at least the bigger stuff is generally able to be found if it happens to wander off).
The sewing did take longer than I had anticipated but it was the slow, soothing and relaxing process I had hoped for.
The pattern itself was very good and straightforward. I was a little worried because there were very few reviews on the pattern (or the pattern designer) so it was a bit of a leap of faith to purchase the pattern. There were a few spelling errors, but otherwise the pattern was great.

I have made a handful or two of quilts in my sewing career and 100% still consider myself a novice in this arena. And thanks to that I learn quite a bit every time I make a quilt pattern. I’m always surprised at how much trimming takes place over the course of making a quilt. But it is absolutely essential in making sure your quilt ends up square and not wonky or buckling. Pressing is also key to making sure a quilt turns out well, which is definitely a skill that I can take from one sewing project to another. It’s always necessary with sewing-whether making quilts or caftans!
I have another quilt or two in mind to hopefully make before the end of this year. I am hoping that with some more practice I can get better at having corners match up and points align. These are skills that aren’t as relevant to sewing clothing.

Once I finished piecing the top of my quilt, I set the quilt aside until we visited my mom this summer so that she could do the quilting for it. I needed a back and binding at this point, and my mom actually had fabric in her stash that would work for this, so I gratefully used it up. I was a little bit shy on the backing yardage, so I added a small rectangle of another color so that the back would be large enough.

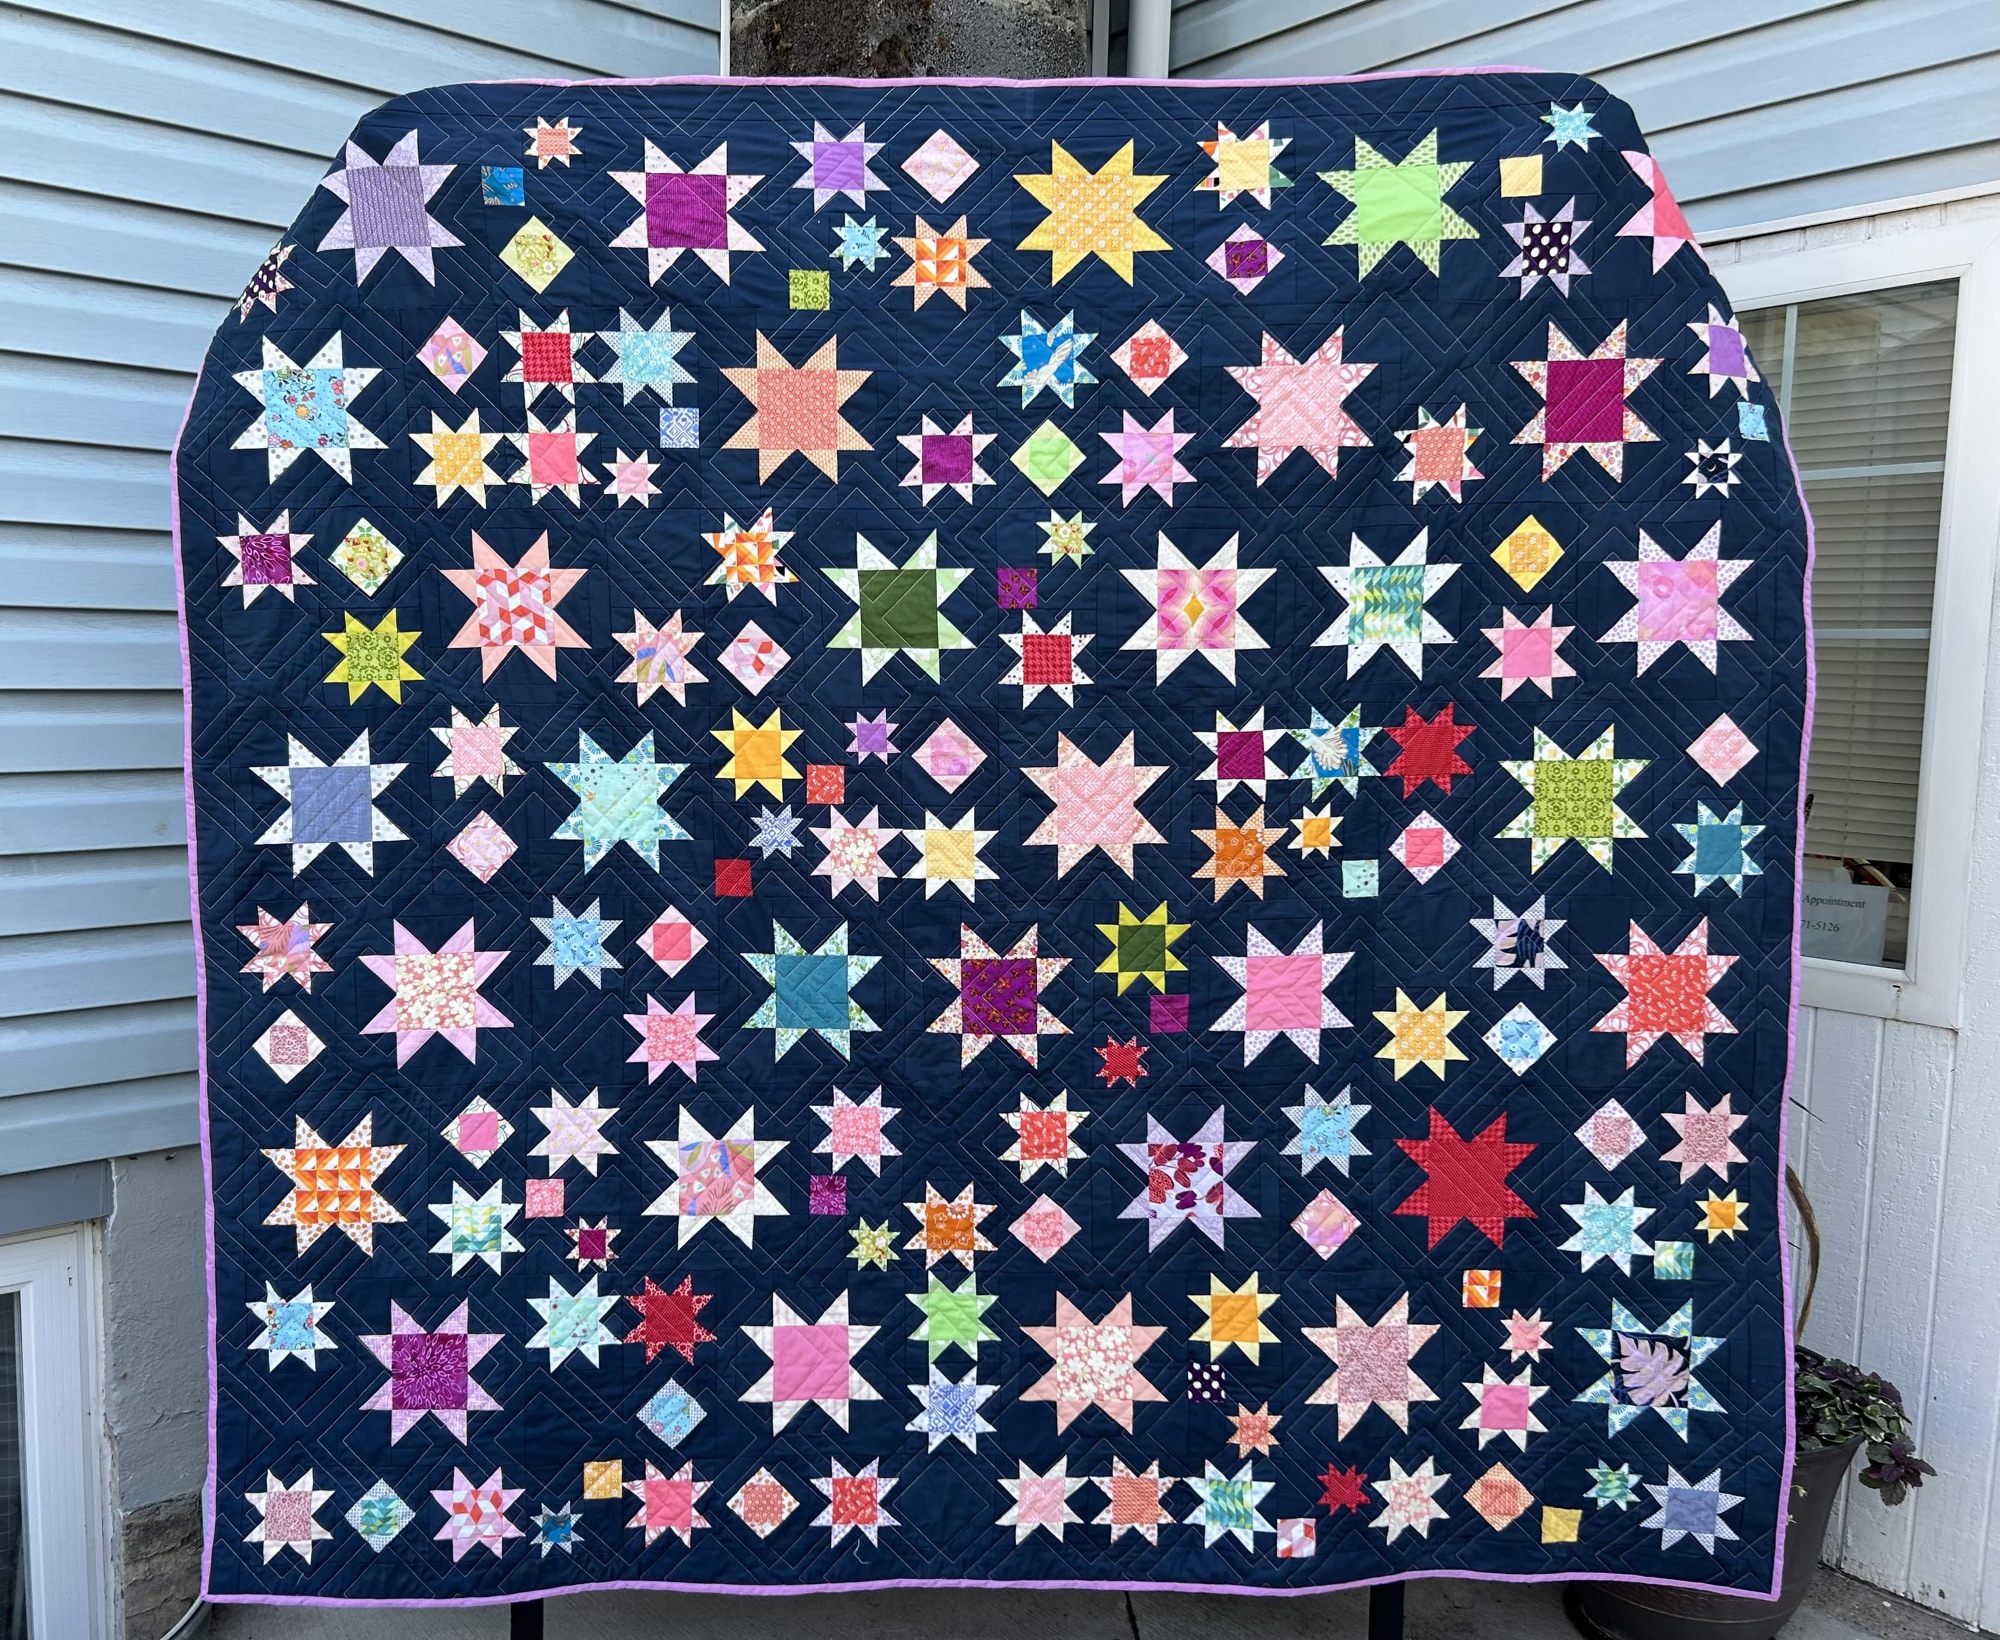
My mom has binders filled with different quilting designs (also called pantographs) and I always have such a hard time decided which design to use for my quilt! I’m always tempted by the floral and modern designs, but in the end, I try to go with my gut. This wasn’t the most exciting pantograph to choose, but I felt like the straight lines of it would go well with the straight lines of the quilt so I went for it. The name of the design is “Diagonal Plaid.” I picked bobbin thread to match the back and a light pink for the front to coordinate with the majority of the stars and pop on the darker fabrics.

And once it was all quilted and trimmed, I used the purple fabric to bind the quilt by hand. I’m very happy with how the quilt turned out. I love the colors and the overall look. I ended up giving the quilt to my sister-in-law and she’s already sent me pictures of her family enjoying the quilt which makes me very happy! Even though the quilt was a process, I had fun making it and I’d definitely make the pattern again, maybe this time actually fussy cutting the center pieces!
Pattern: Sawtooth Sky Quilt
Size: n/a
Alterations: none
Fabric: Stash fabric with navy background fabric from Hobby Lobby
Cost: pattern $13; background fabric $20; everything else from stash
Would I make this pattern again?: I would!


It’s gorgeous! You could design an entire room around this quilt. Lucky SIL! ❤
LikeLiked by 1 person
Thank you! It definitely fits in with SIL’s color scheme anyway, so the two made an easy match!
LikeLike
it’s a true beauty. (And your SIL is truly lucky…)
LikeLiked by 1 person
Thank, Lodi!
LikeLike