

I don’t think K Pop Demon Hunters has hit every area as hard as it’s hit where we live, but kids here are obsessed with the movie, so it was no surprise to me when my girls wanted to dress up as characters from the movie for Halloween. Lots of different outfits are worn in the movie, and my girls specifically requested outfits from when the song “Golden” is performed.

When it comes to making costumes, my goal has become to get the kids the costumes they want as economically as possible. If buying the costume is cheaper, I’ll typically choose that. When I searched for K Pop Demon Hunters costumes, I was very disappointed in the options. They seemed poorly made and more expensive than necessary, so I decided to cobble costumes together, including some handmade elements.

I knew I’d buy the shorts, but I was open to making the shirts. Truthfully, I probably could have made the shirts for cheaper than I bought them (the shirts were $5 each, but I probably could have used one yard of $6 fabric to make two shirts), but I was cutting things close on time and the Easy button won out here. So RTW shorts and shirts with a handmade jacket.

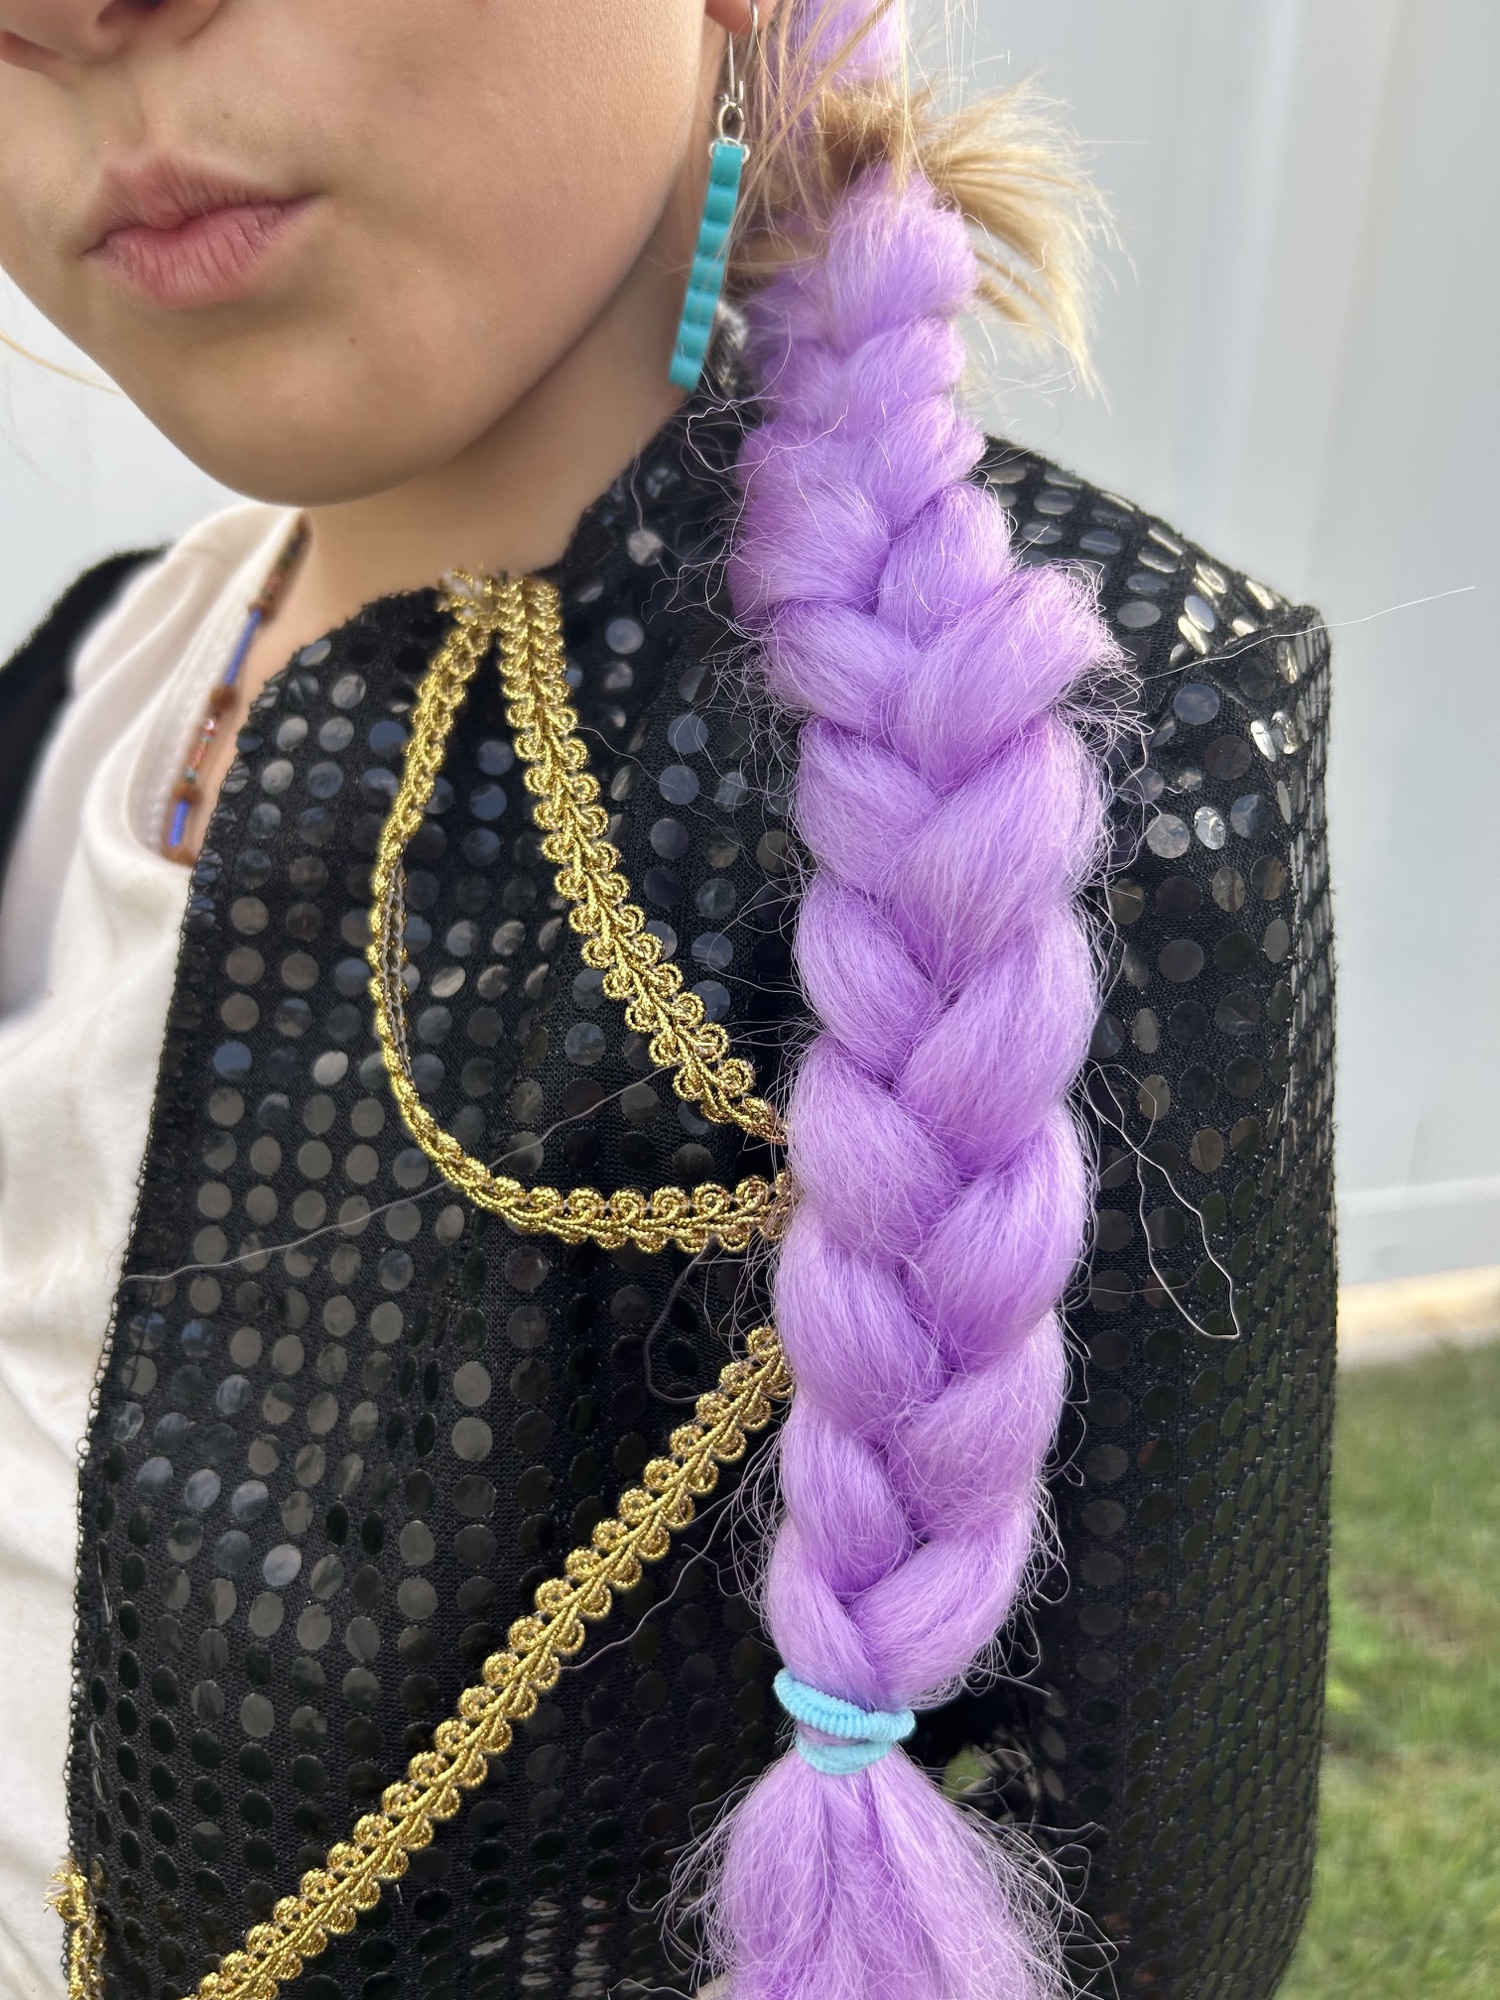
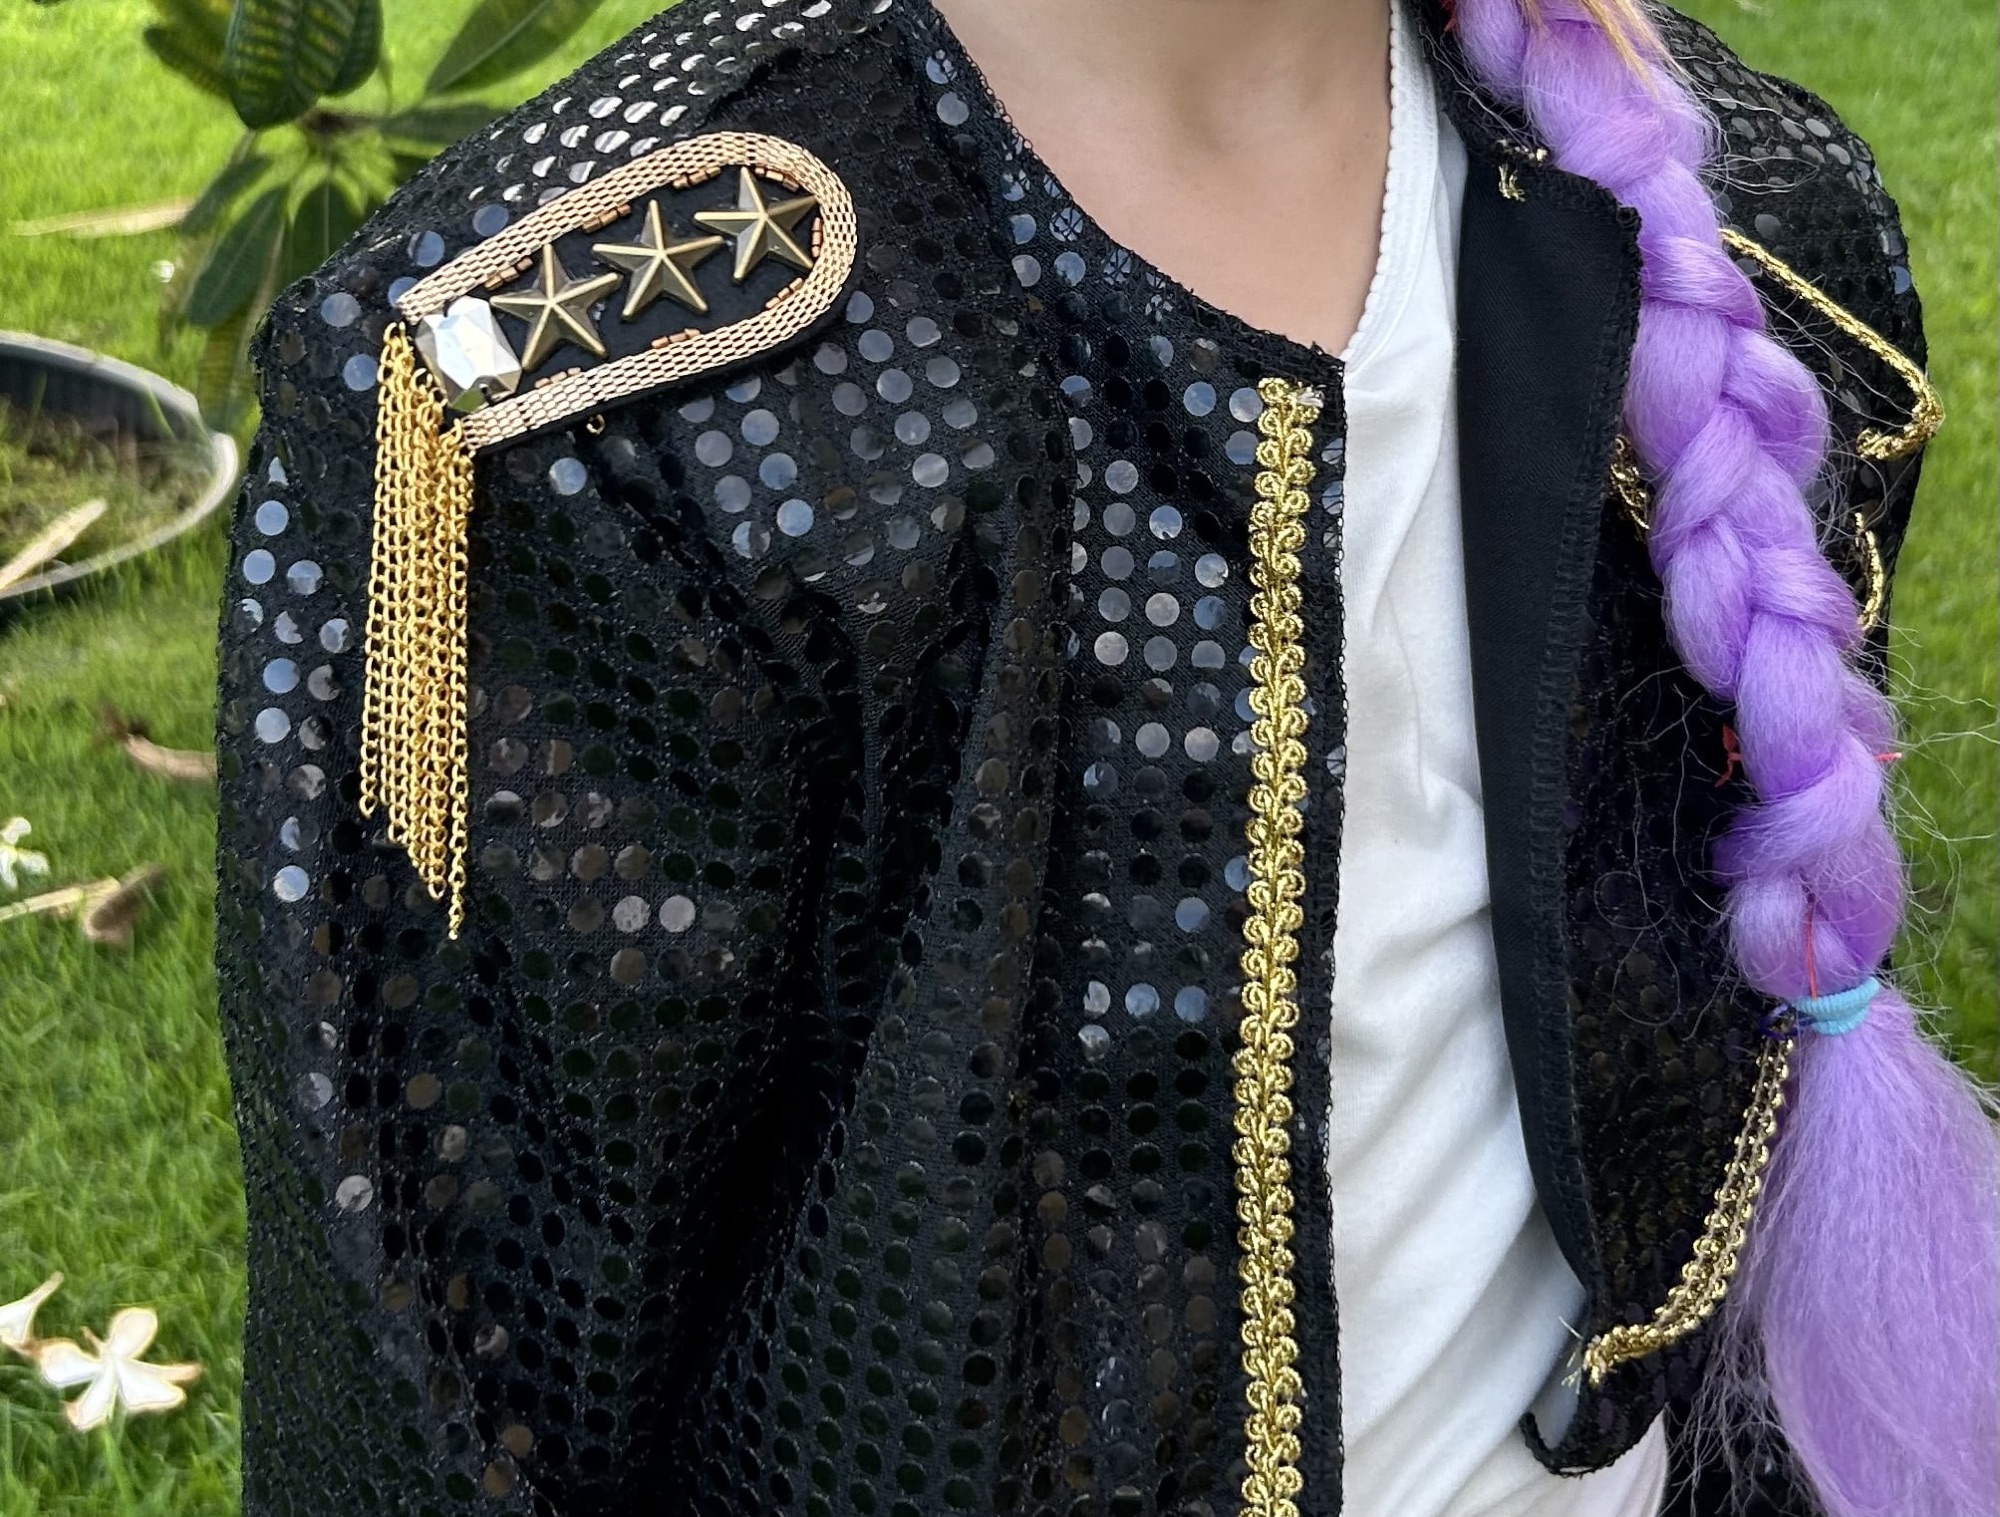
For the jacket, I had the idea of using denim so the jacket had more structure, but my girls were adamant that it needed to be made in a sparkly material. The closest thing the fabric store had to black and sparkly was this mesh with glued-on sequins. Because it’s sheer, I also needed a lining and found a lightweight polyester that had some structure to it.
I also picked up gold trim, including some gold sequins (but that was such a pain to work with, I barely used it).

I was a bit stumped as to what pattern to use for the project as I didn’t have anything in my stash for a child-sized cropped, structured jacket. Finally I landed on Simplicity 8852, which I just made for my son but haven’t blogged about yet! It’s a pattern for a button down shirt and I used it because it went up to a size 8 and is drafted for a stable woven fabric (my fabrics don’t have any stretch!).
I altered the pattern slightly by bringing the shoulders out and up by about half an inch. This decreased the slope of the shoulder, making it appear more rectangular. I also cut the pattern about 5 inches below the armpit to make it cropped. And since the sleeves are meant to have pleats and plackets, I also narrowed the sleeves by about in inch on each side.

One of the most delightful parts of making these jackets was making little shoulder pads to go inside them. I found this excellent and thorough tutorial about making and placing shoulder pads and had a treat of a time making small ones for the costumes! Again, since these were for costumes, I was pretty loosey goosey with the instructions.

I wish I could say the rest of the project was smooth sailing but it most definitely was not. I don’t often work with special occasion fabric, and when I do, I always wonder why I’m working with it! The sequined fabric left a nasty residue on my needle that was endlessly snagging my thread. After rethreading 5 times, I canned the sewing machine all together and did the remaining sewing directly on my serger, which handled the glue much better.
However, the serger didn’t handle me sandwiching the shoulder pads in between the bodice and sleeves and more rounds of rethreading ensued after inserting two of the four pads (and it takes a good chunk longer to rethread a serger than my sewing machine).
My plan was to sew the fashion fabric and lining fabric separately and then combine with a modified version of bagging the lining, but my first attempt wasn’t great thanks to the difficulty of pressing this finicky fabric, even when using my tried and true wet pressing cloth technique. The sequins were getting a touch too hot and shriveling, and the fabric wasn’t even really pressing.
Thankfully, I started out batch sewing but then decided to just finish one to see if it turned out. So for the second try I was able to change my method. This time around I tucked the little lining jacket and fashion fabric jacket together with everything facing how it was supposed to and just serged the crap* out of the openings. These results were much better as it made it all lay flat, hallelujah! I’m grateful for the shortcuts that are acceptable when making costumes!
*that’s a technical term

I tucked the gold trim into seams when I thought about it, otherwise all of it was hand sewn into place using some gold embroidery floss I was very grateful to have.
Any other elements were added by my crafty girls!
I was super happy with how these turned out and my girls love them too! If I were to make them again, I would do a forward shoulder adjustment because these have a tendency to ride to the back, but otherwise, I think they’re golden (ha, sorry, it was right there)!


The girls look really happy with their costumes 🤗
LikeLike
Thank you! I think they were pleased 🙂
LikeLiked by 1 person
Ooh frustrating, but rad result! I actually read a news story about how nobody was prepared for the popularity of this film which is why the commercial costumes are so bad. They didn’t think EVERYBODY would be trying to buy them! The local mom’s crafting group I follow has been swapping tips for KPop Demon Hunters particularly (one even made a hat crow costume, which was pretty cool). I’ve also heard the soundtrack coming out of cars. 😂 The embellishments are great! I hope everyone is proud and ready for a Happy Halloween!
LikeLiked by 1 person