

I thought the day would never come!
But here we are, many many months after dreaming up this project and not only are the quiet books FINISHED they are also shipped to their respective owners. The only thing that’s left is to throw mine into the trash because I’m so sick of looking at it I think it’d do best there!
Ha! I’m joking of course…kind of.
No, this project has been so fun. It has taken a LOT longer than I had anticipated but I loved working on these quiet books.
So one of the main reasons these books took so long—hey, have you noticed I’ve been using the plural version of books—is because I decided to make a quiet book for my girls AND for all the little girl cousins as well, which ended up being SIX books in total. So when I made a page, I really made SIX pages. So, yeah, it took some time.
The reason I decided to make lots of quiet books is because I love all my sweet little nieces and, as I was buying lots of the supplies, I realized that it just made sense. For example, many of the buttons I bought for the I Spy page came in packages of six. Another example: I could buy 4 zippers at Joann’s for 2 dollars a piece, or I could buy a pack of 100 zippers for $8 on Amazon. Buying in bulk proved to be most cost effective and where I know lots of littles, I just decided to take the plunge.
I got lots of my ideas from Pinterest and a couple from Instagram. There were so many cute pages to consider, but when I started to get going I realized that lots of the pages I was seeing were impractical because of how much time I’d have to put into them. So I tweaked my plan as I went and worked on a page by page basis. I wanted to do lots of other pages, but when it came down to it, I was ready to get these Quiet Books out of the way so I could work on other projects.
My biggest rule for my pages was that everything (with one exception you’ll see at the end) had to be attached to the book. I cannot imagine putting a ton of work into something that’s just going to get lost. A quiet book is supposed to help with stress not add more of it! I also tried hard to think of things that would actually keep kids busy, not just be something to look at. Time will tell if I did a good job with this goal!
(Forgive the bluish pictures-daylight up here is weird during the winter.)
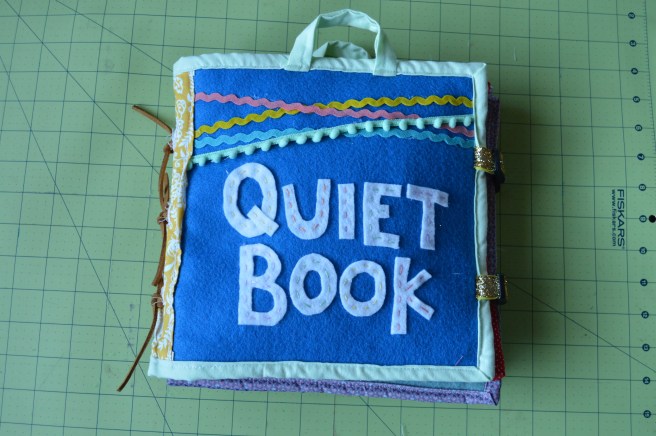
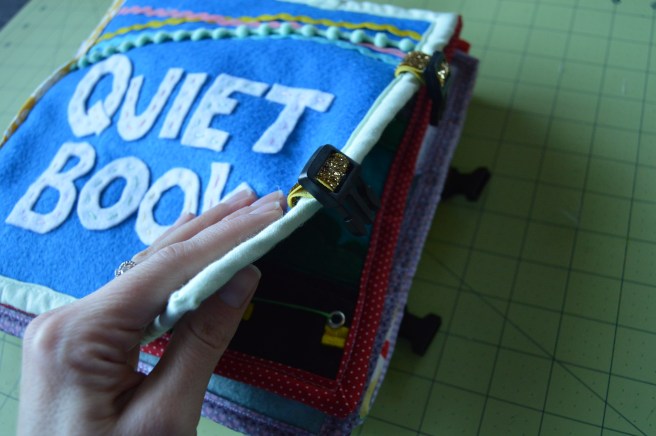
I had lots of ideas for a cover page, but as it was the last page to complete, I kept it relatively simple. I did add buckles to keep the book closed because Wendy is wild for buckling things. Like it literally kept her busy for hours during our drive to Alaska! Ha!
So let’s just open this guy up already…
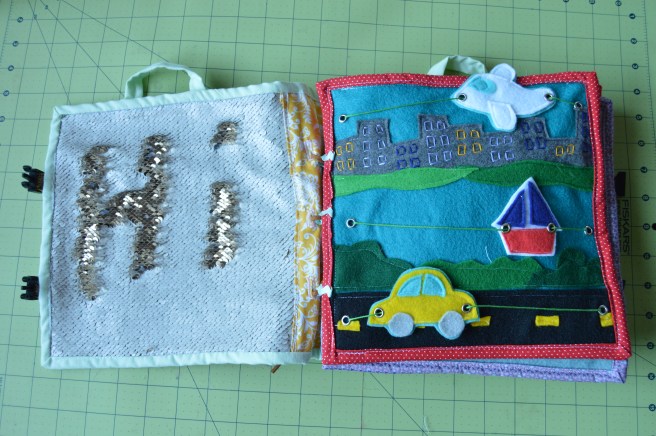
Ta-da!!! The car, boat and plane all move back and forth across the page. This was the first page I made and after dealing will all those tiny pieces, I decided to keep things simpler with the other pages but this is one of the cutest pages!
I’ve seen lots of cute quiet books that are just texture books. I love that idea so I decided to incorporate it in my quiet books by having the page opposite be a texture page. This one is probably my favorite texture page–it’s reversible sequins! Which will keep anyone busy-child or adult!
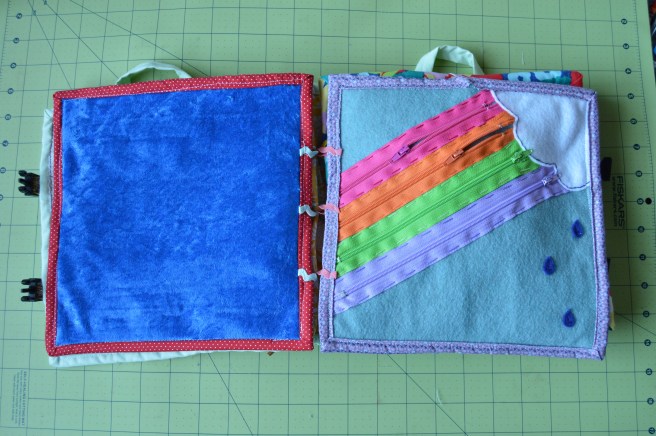
This page has the zipper rainbow! And on the left is a crushed velvet.
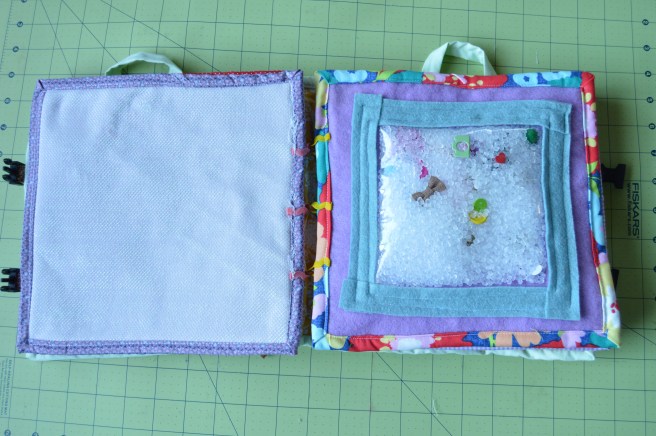
The I Spy page was the most fun to shop for. I bought everything for it when I was still pregnant with Greta and Wendy and I went all over scouring craft stores and stores like Marshalls and Tuesday Mornings to find little trinkets to add. Buttons were an easy thing to add, especially because we found buttons that looked like cows or strawberries or snowflakes. Scrapbooking stuff was also oftentimes a win. I didn’t use these but I think alphabet beads would be awesome to use. We added other things you can find around the house like pennies and paperclips. When we bought everything, I was looking for anything that was itty bitty, but when I started sewing the pages together, I really wished we had some bigger things-maybe even up to 2 inches tall (my pages are 9 inch squares). Oh well. For whatever reason, I was so set on using Poly-Pellets (which were surprising hard to find) to fill these but you could easily use rice.
I’m so sad you can’t really make out the fabric on the left but it’s this super awesome pink fabric with an iridescent netting overlay. It’s kind of bumpy. It makes me think of mermaids. I love it.
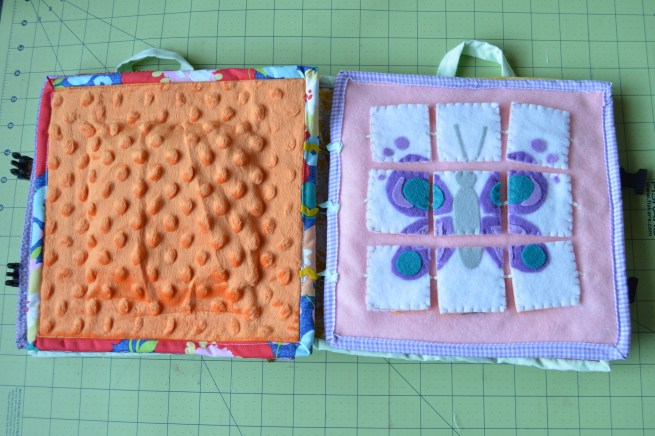
I the idea for this page on Instagram and I thought it was genius but the actual execution took some tiiiiiiiime. And some trial and error.
It’s a puzzle…


Eh?? Kind of cool, right? So I used Heat n Bond to iron the butterfly/tiger onto a plain white background then I sliced them into 9 pieces and matched them up. I tried sewing them together with my machine but the needle accumulated glue and started skipping stitches. So I ended up blanket stitching each one by hand. And even then I couldn’t always get the yarn linking them together perfectly straight. This page gave me the most headaches by far. But I like how they turned out (mostly).
On the left is a soft bumpy orange minky.
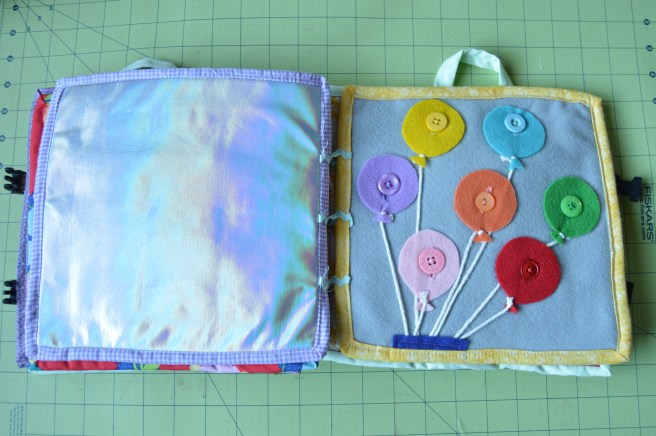
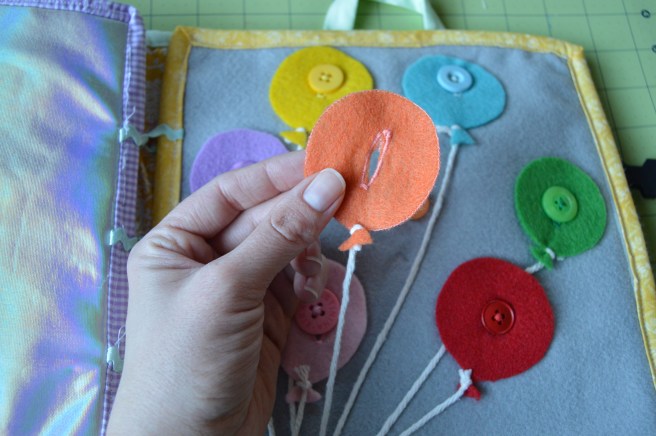
The balloon button page was super easy and it got me verrrrry comfortable with sewing buttonholes!
On the left is a kind of spacey iridescent silver (who knew I’d have so many opportunities to say iridescent in one post! #blessed ;).
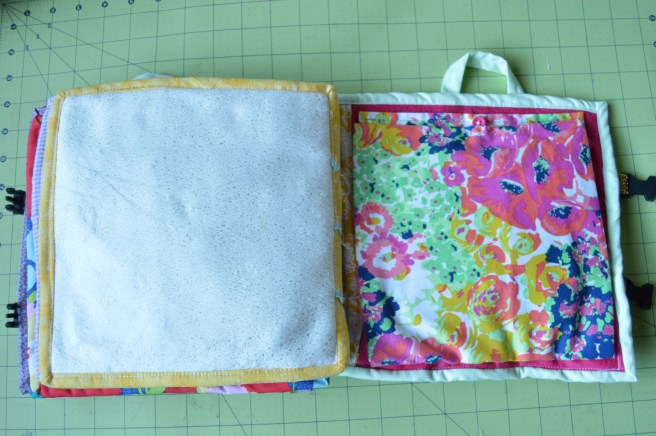
You made it! This is the last page! On the left, I used a gold flecked plush fleece (very soft) and on the right I designed a little page that can unbutton…
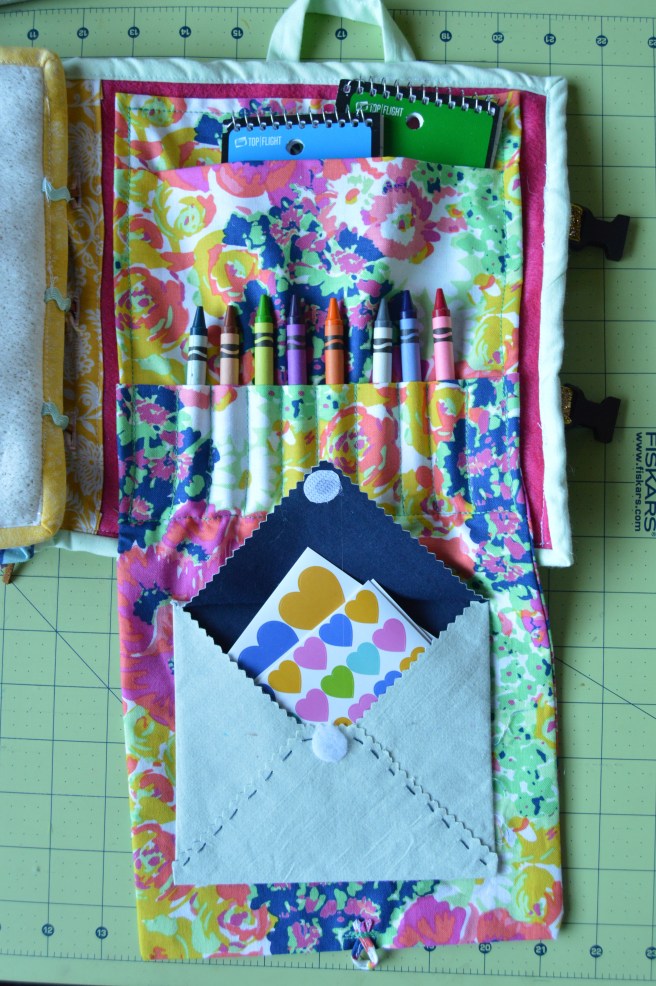
To this fun little coloring station (and the only page that has removables–what’s a lost crayon? Not at all stress inducing!)!
I bound each of the pages as you would bind a quilt (on a sewing machine, thank heavens!), adding ribbon loops to the left edges so that I could bind the pages together. I was planning on using binder rings for binding, and I even ordered some on Amazon, but I ended up not liking how that looked at all. So instead I used faux leather ribbon to tie the pages together. It’s not my favorite look but it does the job. (On a semi-related note, if anyone needs 50 2-inch binder rings, give me a shout.)
So, if you want to make your own quiet book, here’s some advice you might want to consider:
- Forget wasting all your time and just go buy a ready made activity book from Barnes and Noble. Haha! I kid! Mostly! But really, it is a time investment (and I believe it’d be a time investment even if you’re not making six books at once), so make sure you’re committed. And, I’m serious. While I was knees deep in felt and buttons, I’d see really nice quiet-type books for not a bad price. It’s worth considering if you’re not sure you’re up for the long haul.
- Having said that, I had a friend tell me that how she’s done quiet books is that she gets a group of friends and they each make multiples of one page and then share the pages. So you end up with a variety of pages. This is GENIUS! If I ever want to make another quiet book THIS is how I’ll do it.
- If you still want to make your own (I truthfully had a LOT of fun making these…and it gave me something to do while I listened to the Lunar Chronicles!), I would say to just choose one page at a time. Once you get working, you might change how you want to do things which is totally fine! It’s just harder to change course if you’ve already bought everything.
- This might not deserve its own bullet point but I bought a bunch of felt in all different colors but as I was making my books, I realized that blue and white were the only colors I wanted to use as backgrounds. So. Buy a bunch of blue (varying shades) and white. All other colors just buy one sheet. It’ll do.
- Just plan a page at a time, but do think of binding from the start! That’ll change how your page is constructed.
If you guys have any specific questions about my quiet books, feel free to ask! I know I complained too much about all the time they took but I really did enjoy making these books! It’s a fun project and I still find myself thinking of new pages to add (but it might be awhile before I gather the gumption to actually make them).
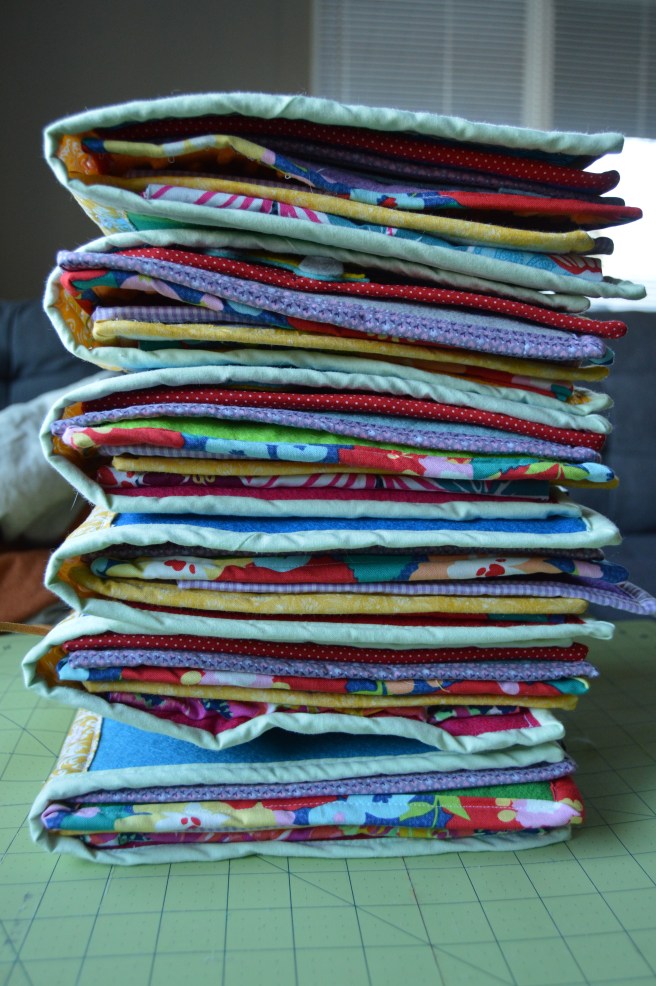
All six of them finished! Best feeling ever!

This is adorable!!!! I made a quiet book for Niko last year along the same lines—no removable pieces. It took forever but it was fun! Luckily I only had to make one! I went a little overboard and did the entire alphabet with animals for each letter. We take it to church and Niko mostly just ignores it. Oh well! That’s life! So so cute Kim!
LikeLike
What?!? An alphabet animal book??? That sounds amazing! I want to see it!
LikeLike