


Here’s the rest of the information about sewing your own wrap dress! (Click here for info on how to draft your own wrap dress pattern:).
I mentioned it in my last post, but I just feel the need to say it again: I am no professional in sewing, pattern drafting or teaching! I dabble and hope for the best, ha! So I will share very basic instructions for how to sew your wrap dress. BUT it’s not a step by step and there aren’t any photos of the process, so I would recommend sewing this dress only if you’ve done a little sewing before. In any case, YouTube is awesome and it’s a source I use all the time when I run into something I’m unsure about.
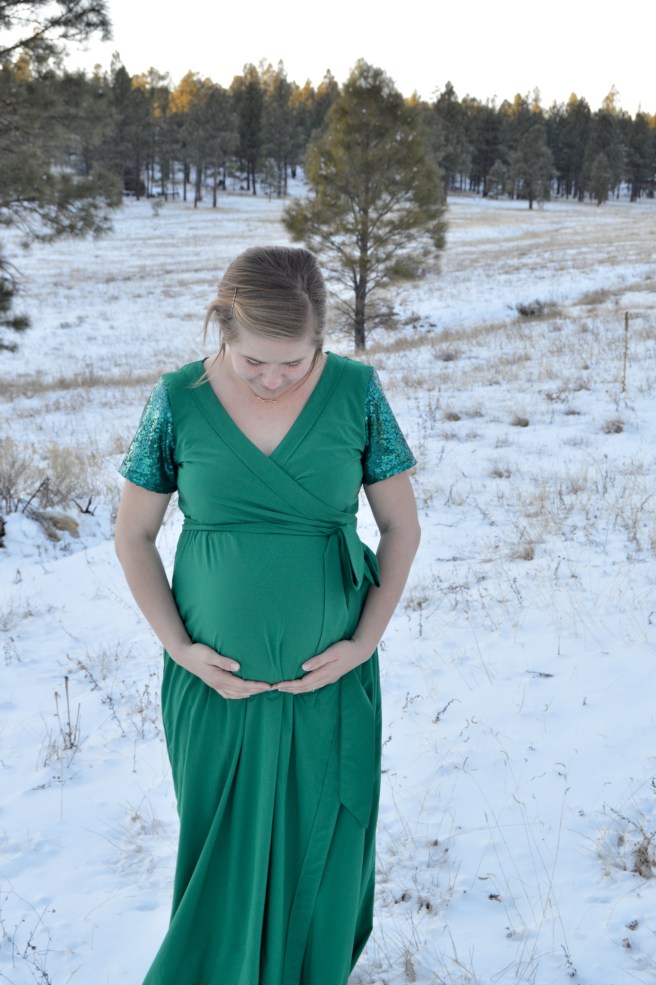
For my dress, I was hoping to use some sort of knit fabric. I made the mistake of buying the sequined fabric first, so I had a really hard time finding a shade of green that worked for the rest of the dress that was also stretchy (I wish there were more stores with apparel fabric!).
But I ended up finding this emerald stretch satin. It’s mostly polyester with a bit of rayon and the stretch is very minimal. But there is a stretch, it’s very lightweight but it’s not sheer at all. So it really fit all of my requirements.
I think there are plenty of fabrics that would work for this project, but I would recommend choosing something that’s not too bulky, and something that has a bit of a stretch (that way, you don’t have to worry about adding darts to your pattern).
I got 1/2 yard of the sequined fabric for my sleeves, and 4 yards of the stretch satin for the rest of the dress. I might’ve been okay with a little less, but I think it’s best to err on the side of too much, right? Adjust those measurements as needed (like if you’re making longer sleeves or if you’re not a total shorty like me:).
All right! Let’s get on to sewing! Remember, I don’t give any information on finishing edges (including necklines!), so plan your project accordingly (sorry, I’m just not very good at necklines yet, so I don’t feel at all qualified telling someone else how to do them. I will say that it’s probably best to finish your neckline BEFORE adding sleeves).

Gosh, this is the 21st century but I still prefer hand drawing. Ha!
Here are the general steps to sewing your wrap dress:
- Sew the back bodice piece to the front bodice pieces at the shoulder.
- Sew on both sleeves.
- Make your sashes by ironing your sash pieces in half. Sew (for the sashes you can just sew at a 1/4 inch) along the length of your raw edges. Leave one width edge unsewn, and sew the other width edge at an angle (and trim to 1/4 inch). Turn the sash right side out and press again.
- Sew each sash to one of your bodice fronts.
- Sew your skirt pieces on to each corresponding bodice piece at the waist.
- Sew the side seams of bodices and skirts to each other. NOTE: One of your sashes needs a hole to come through in your bodice to be able to wrap around your. So, as you are sewing the side seams, leave about 2 inches (although this will vary depending on how big your sashes are) unsewn right above your waist.


(Hopefully you can kind of see how I did it…it’s a little hard since it’s all the same color.)
The last step is to just hem everywhere that needs it!
Feel free to ask any questions! And if anyone actually ends up making this dress, send me a picture! I’d love to see how it turns out!


I’m so impressed!!! I wouldn’t ever be brave enough to attempt a dress like that for myself! You look gorgeous and I love that color 🙂
LikeLike