

Hey I hope everyone had happy holidays and is enjoying the new year! We are just trying to soak up our time together before Ben starts up his next semester.
I didn’t want to wait too long before sharing a post about the jammies I made us for Christmas! This post is about the PJs I made for the girls and next week I’ll share what I made for Ben and I…okay, fine, here’s a sneak peek 😉

Our Christmases are a little bit funny in that we are usually visiting family during that time (since that’s when Ben’s breaks fall) so instead of having our own traditions, we just kind of latch onto those of our extended family. I’ve done pajamas in the past (you can see those here and here) but I wasn’t sure if it was, like, a thing. But when I asked Ben if I should do them this year he seemed almost offended that I would consider not doing them, so I quickly got to work.

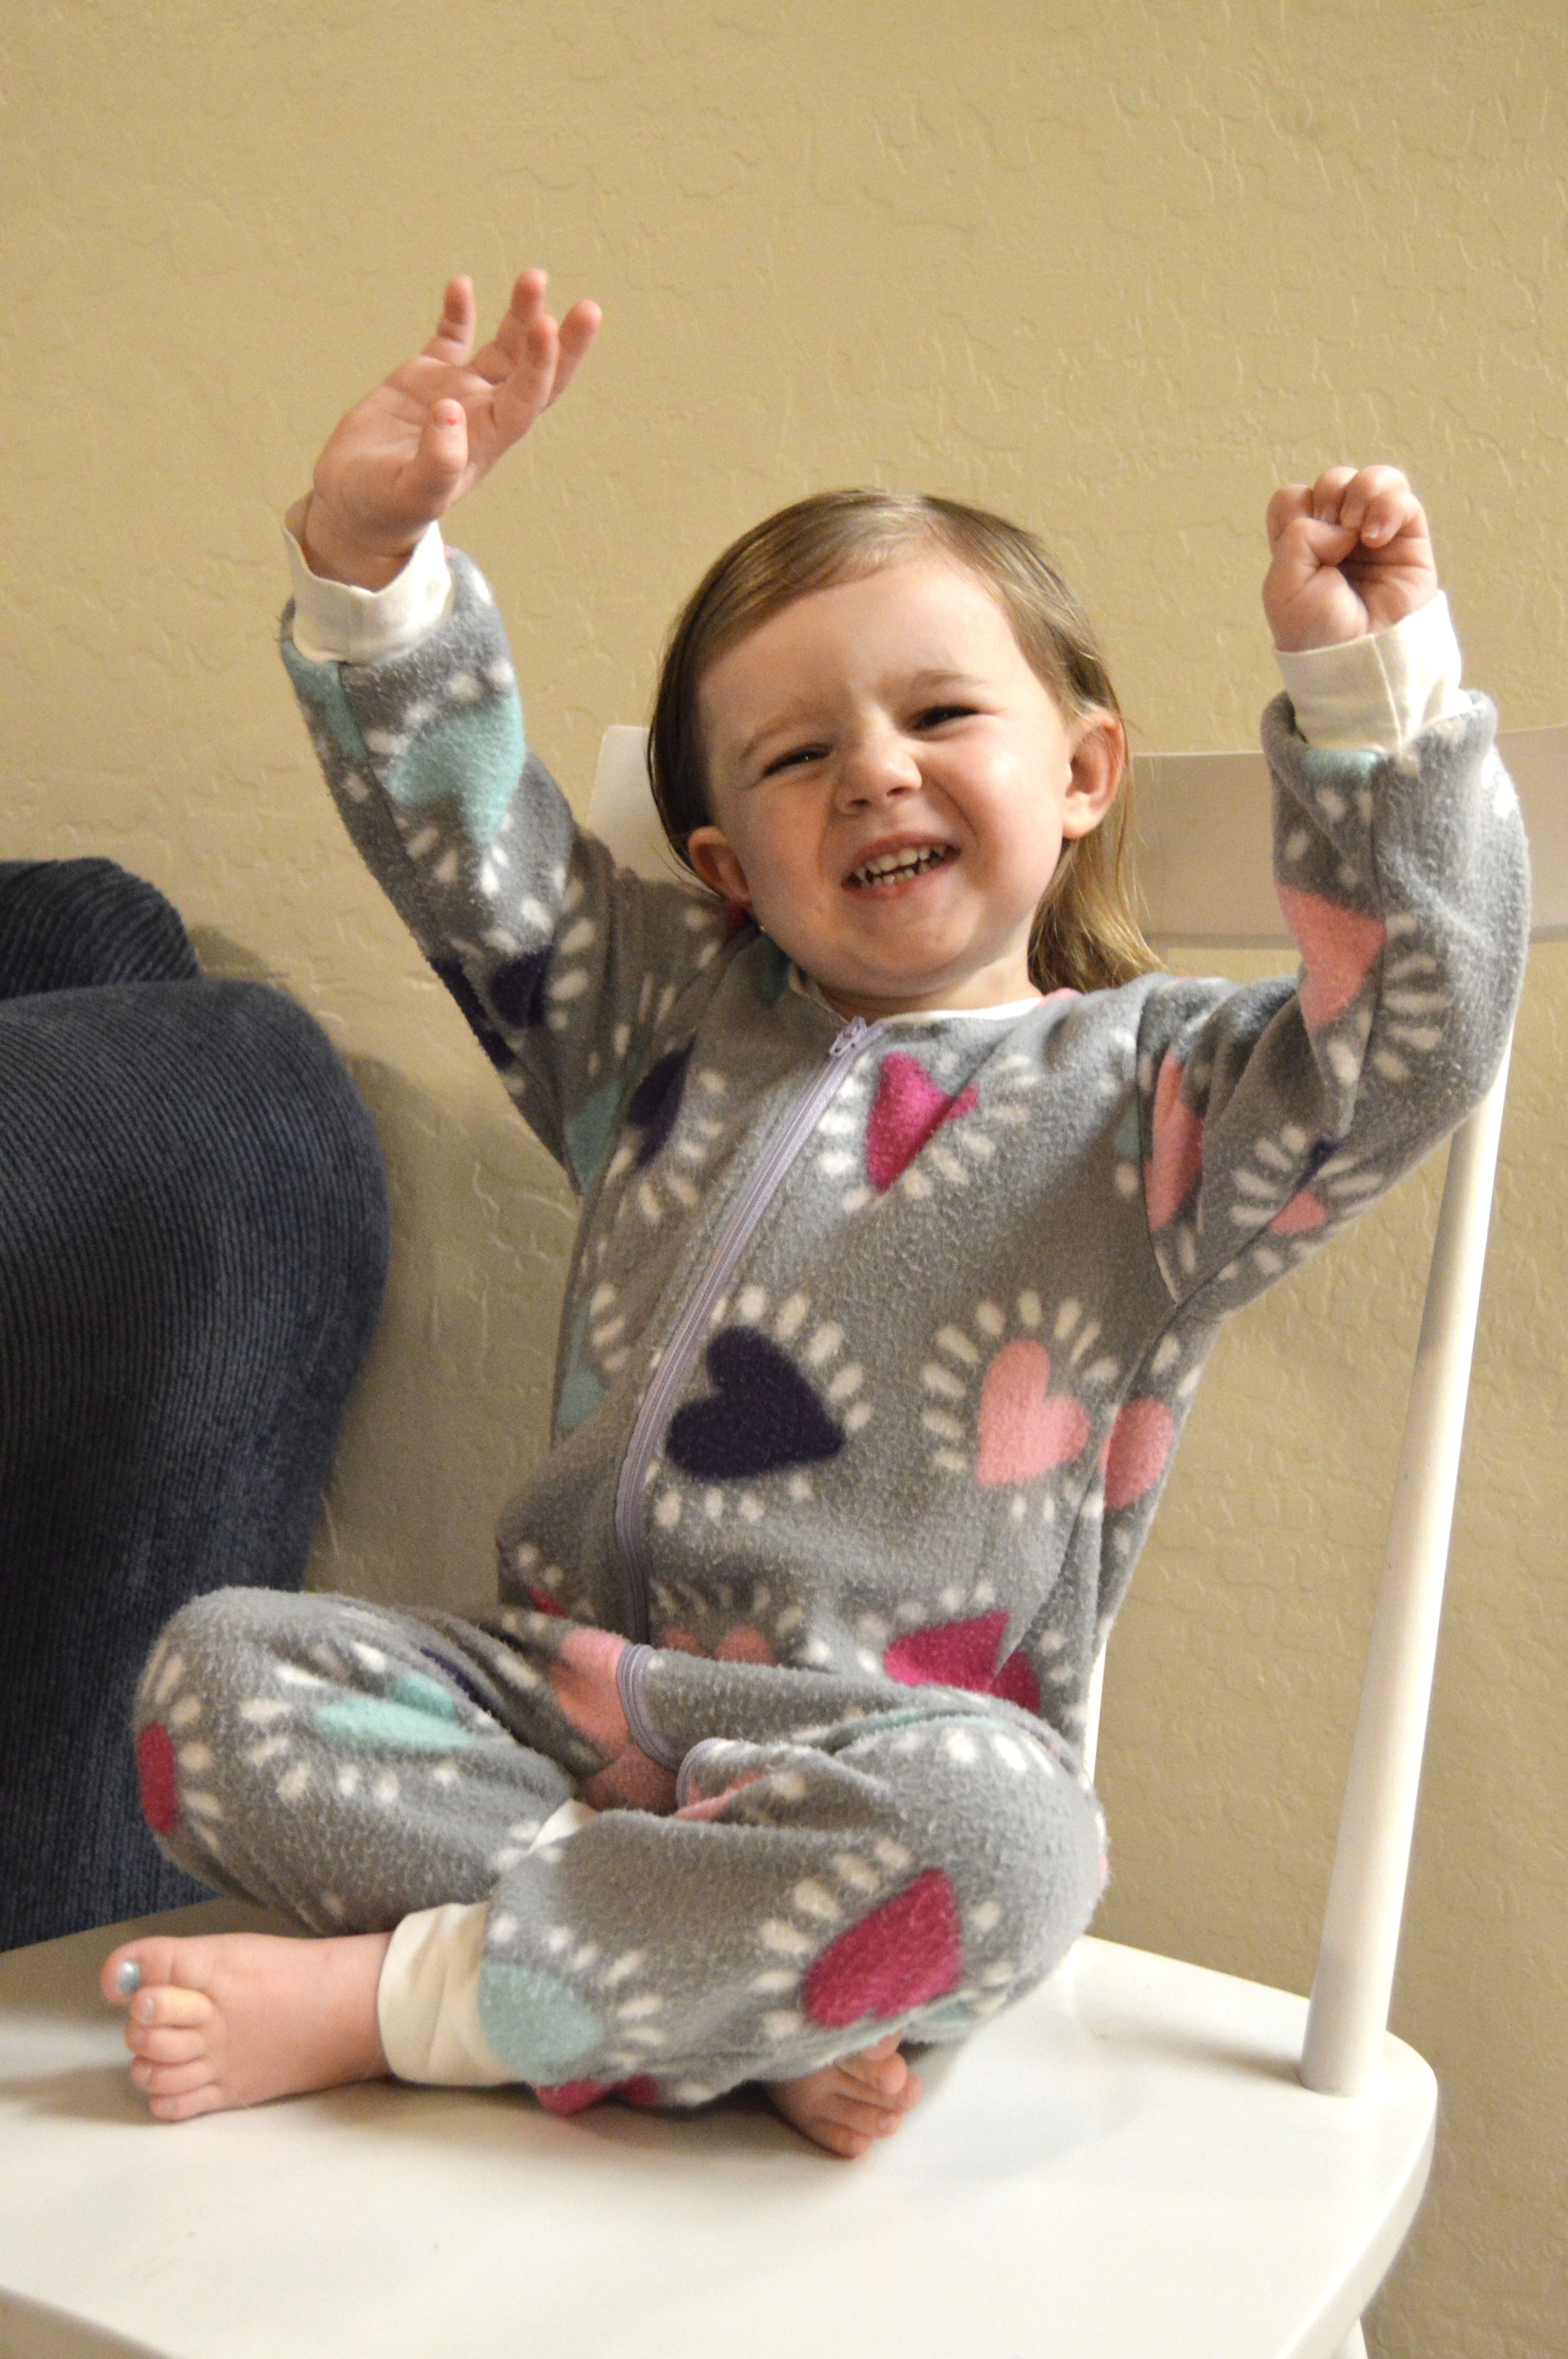
It did not take me long to know what I wanted to make for the girls. Sometimes projects are born out of necessity and that was the case here since Wendy has been running low on warm pajamas. I wanted to make zippered footie pajamas so that they’d be very warm. But I wanted them without the foot part so Greta would avoid slipping everywhere while wearing them (poor thing) and so that Wendy could keep wearing them as she grows (girl doesn’t grow out, just up). I was happy to find the Classic Zipper PJs from the Peek-a-Boo Pattern Shop that had both the footie option as well as cuffed option, along with an option for shorts length, not to mention it’s a really great price. It includes sizes from newborn up to 10/12. I also found a footie pajama pattern at Jalie that I almost bought. It includes more sizes (even adult sizes!) also at a great price, but in the end I went with Peek-a-Boo because I couldn’t realistically see Ben and I actually wearing footie pajamas (fun as it might be), so I went with the cheaper and more practical option.
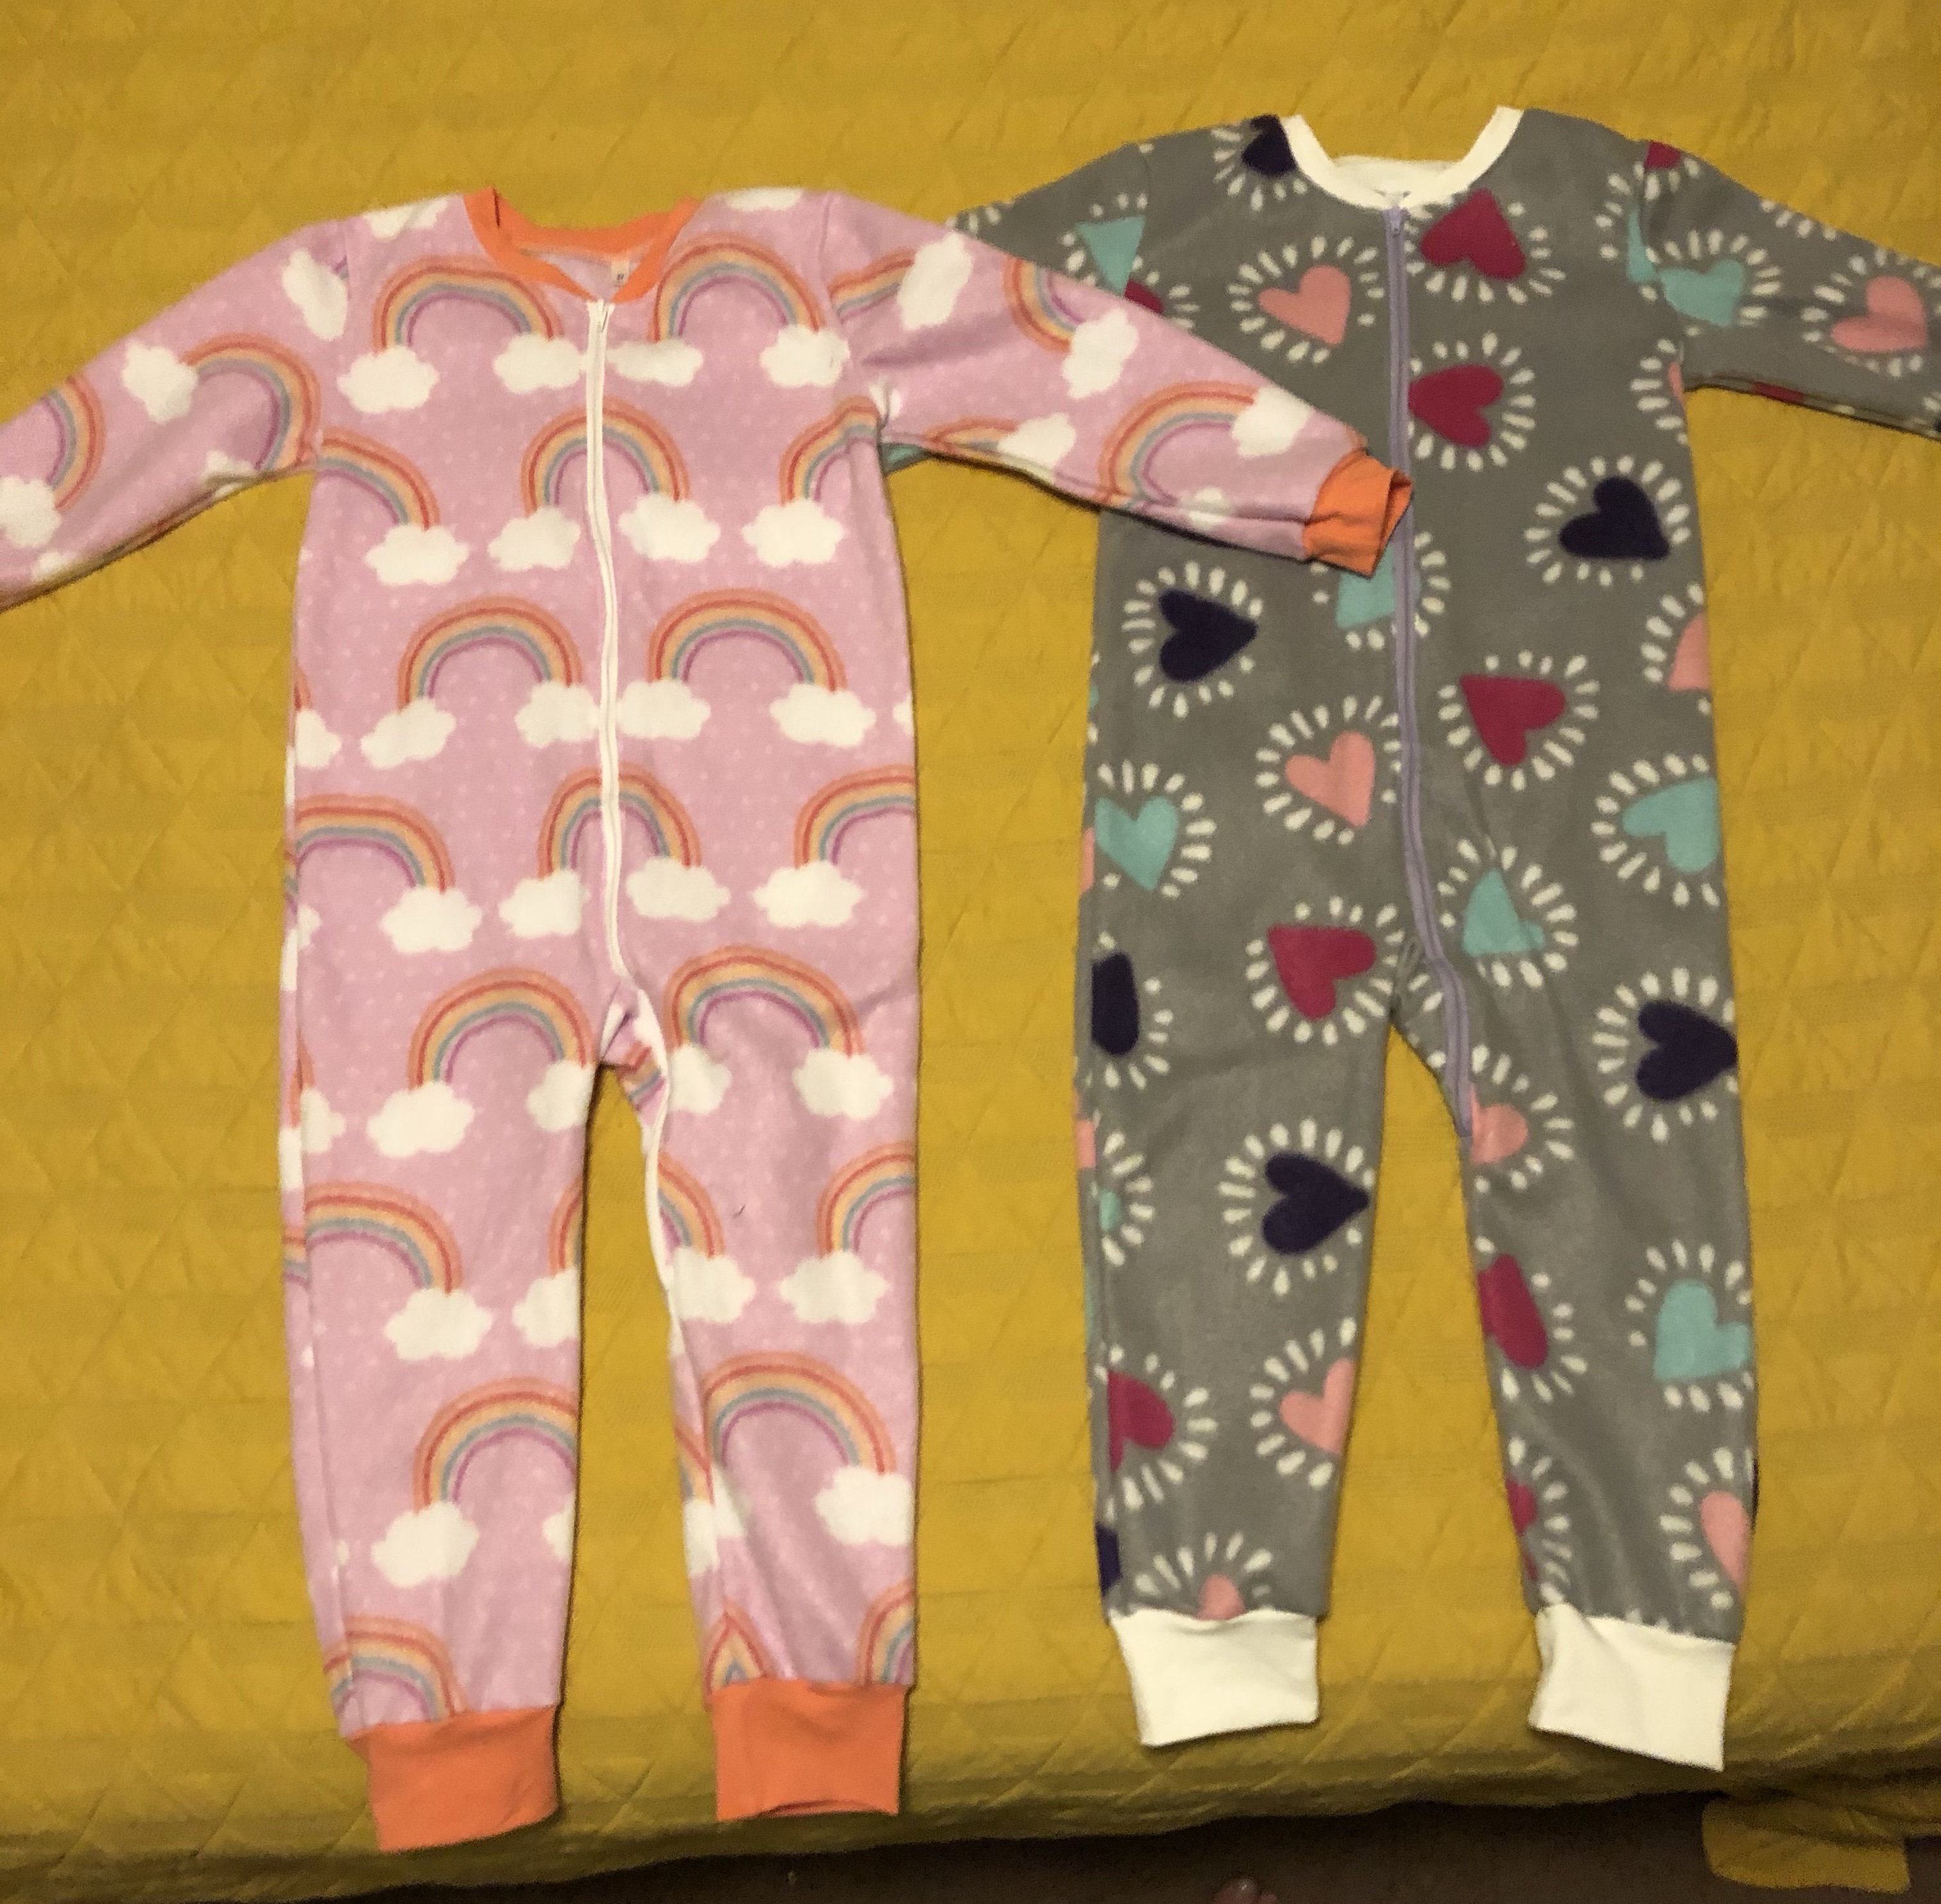
Again, since Wendy was low on pajamas, I decided to make two pairs of jams for each girl. Sometime in November I got an email that Joann had their fleece on sale for 3.99/yard. Joann doesn’t have everything but by golly do they have fleece, so I went a got these two different fabrics. I chose the heart fabric because it would go with what I had in mind for mine and Ben’s pajamas, so we could be a little bit match-y. The rainbow fabric, I think with my girls in mind, needs no explanation. With as huge a selection as they have at Joann’s, I will say that not everything I saw would work for little girl jammies just because the print is too large scale, so that was something to be mindful of. Also, I just got what was on sale which was their regular fleece (I think it’s called Blizzard Fleece) but literally after one day of the girls wearing these bad boys, the fleece was pilling like crazy (you can see it in some of the pictures below). Now I know that next time I will go with the anti-pill fleece. It might cost more but I think it’d absolutely be worth it. I even heard one of the workers saying that it’s a lot better, so now we know. Lesson learned!
I always get very tempted by the Christmas themed prints. They are so cute! But I made Christmas themed jammies my first year of pajama making and we didn’t really wear them much after Christmas. As cute as those Christmas-y prints are, I know that our jammies will get much more wear if I use something more neutral.
Since I’m here talking a bit about price points, I wanted to mention that these pajamas are probably pretty comparably priced to the jammies you buy in the store. Especially around Christmas time, it seems like pajamas are everywhere and they really aren’t too expensive. I always go back and forth between buying and making and I will never ever say that I’m always going to make our pajamas. Sometimes sewing them just doesn’t make sense (cost. time, etc.)! But I do enjoy sewing much more than I enjoy shopping, so since I had time, this year I went with making my own.
For the trim (neckband and cuffs), I just used stuff that I had in my stash. The orange I used with the rainbow fabric was a bit of a stretch as far as matching went, but I was set on not buying any fabric for those parts so I just went with it and I think it works just fine. I got the zippers at Wal-Mart, again just buying what they had in stock. The pattern directs for 24″ zippers (for my girls’ sizes) but colors and sizes were limited so I ended up with 2 22″ zippers and they work just fine. If I were planning ahead I would have probably bought the zippers from Wawak because they’re cheaper there and they have a great selection of colors. Next time. The pattern has directions for a zipper shield but I chose not to include that since my girls are older. But if I were making these for a baby I would include that (and probably the feet too).
I was a bit worried about the sewing for the pajamas, but they were actually pretty straightforward to put together. There is a picture tutorial as well as a video to walk you through the steps. I did not watch the video and the only place where I wish there was more information was where you attach the zippers. The tutorial explains it just fine although not super in-depth. So I paused for a bit when I came to that part, but I just kind of went with my gut and it did work out.
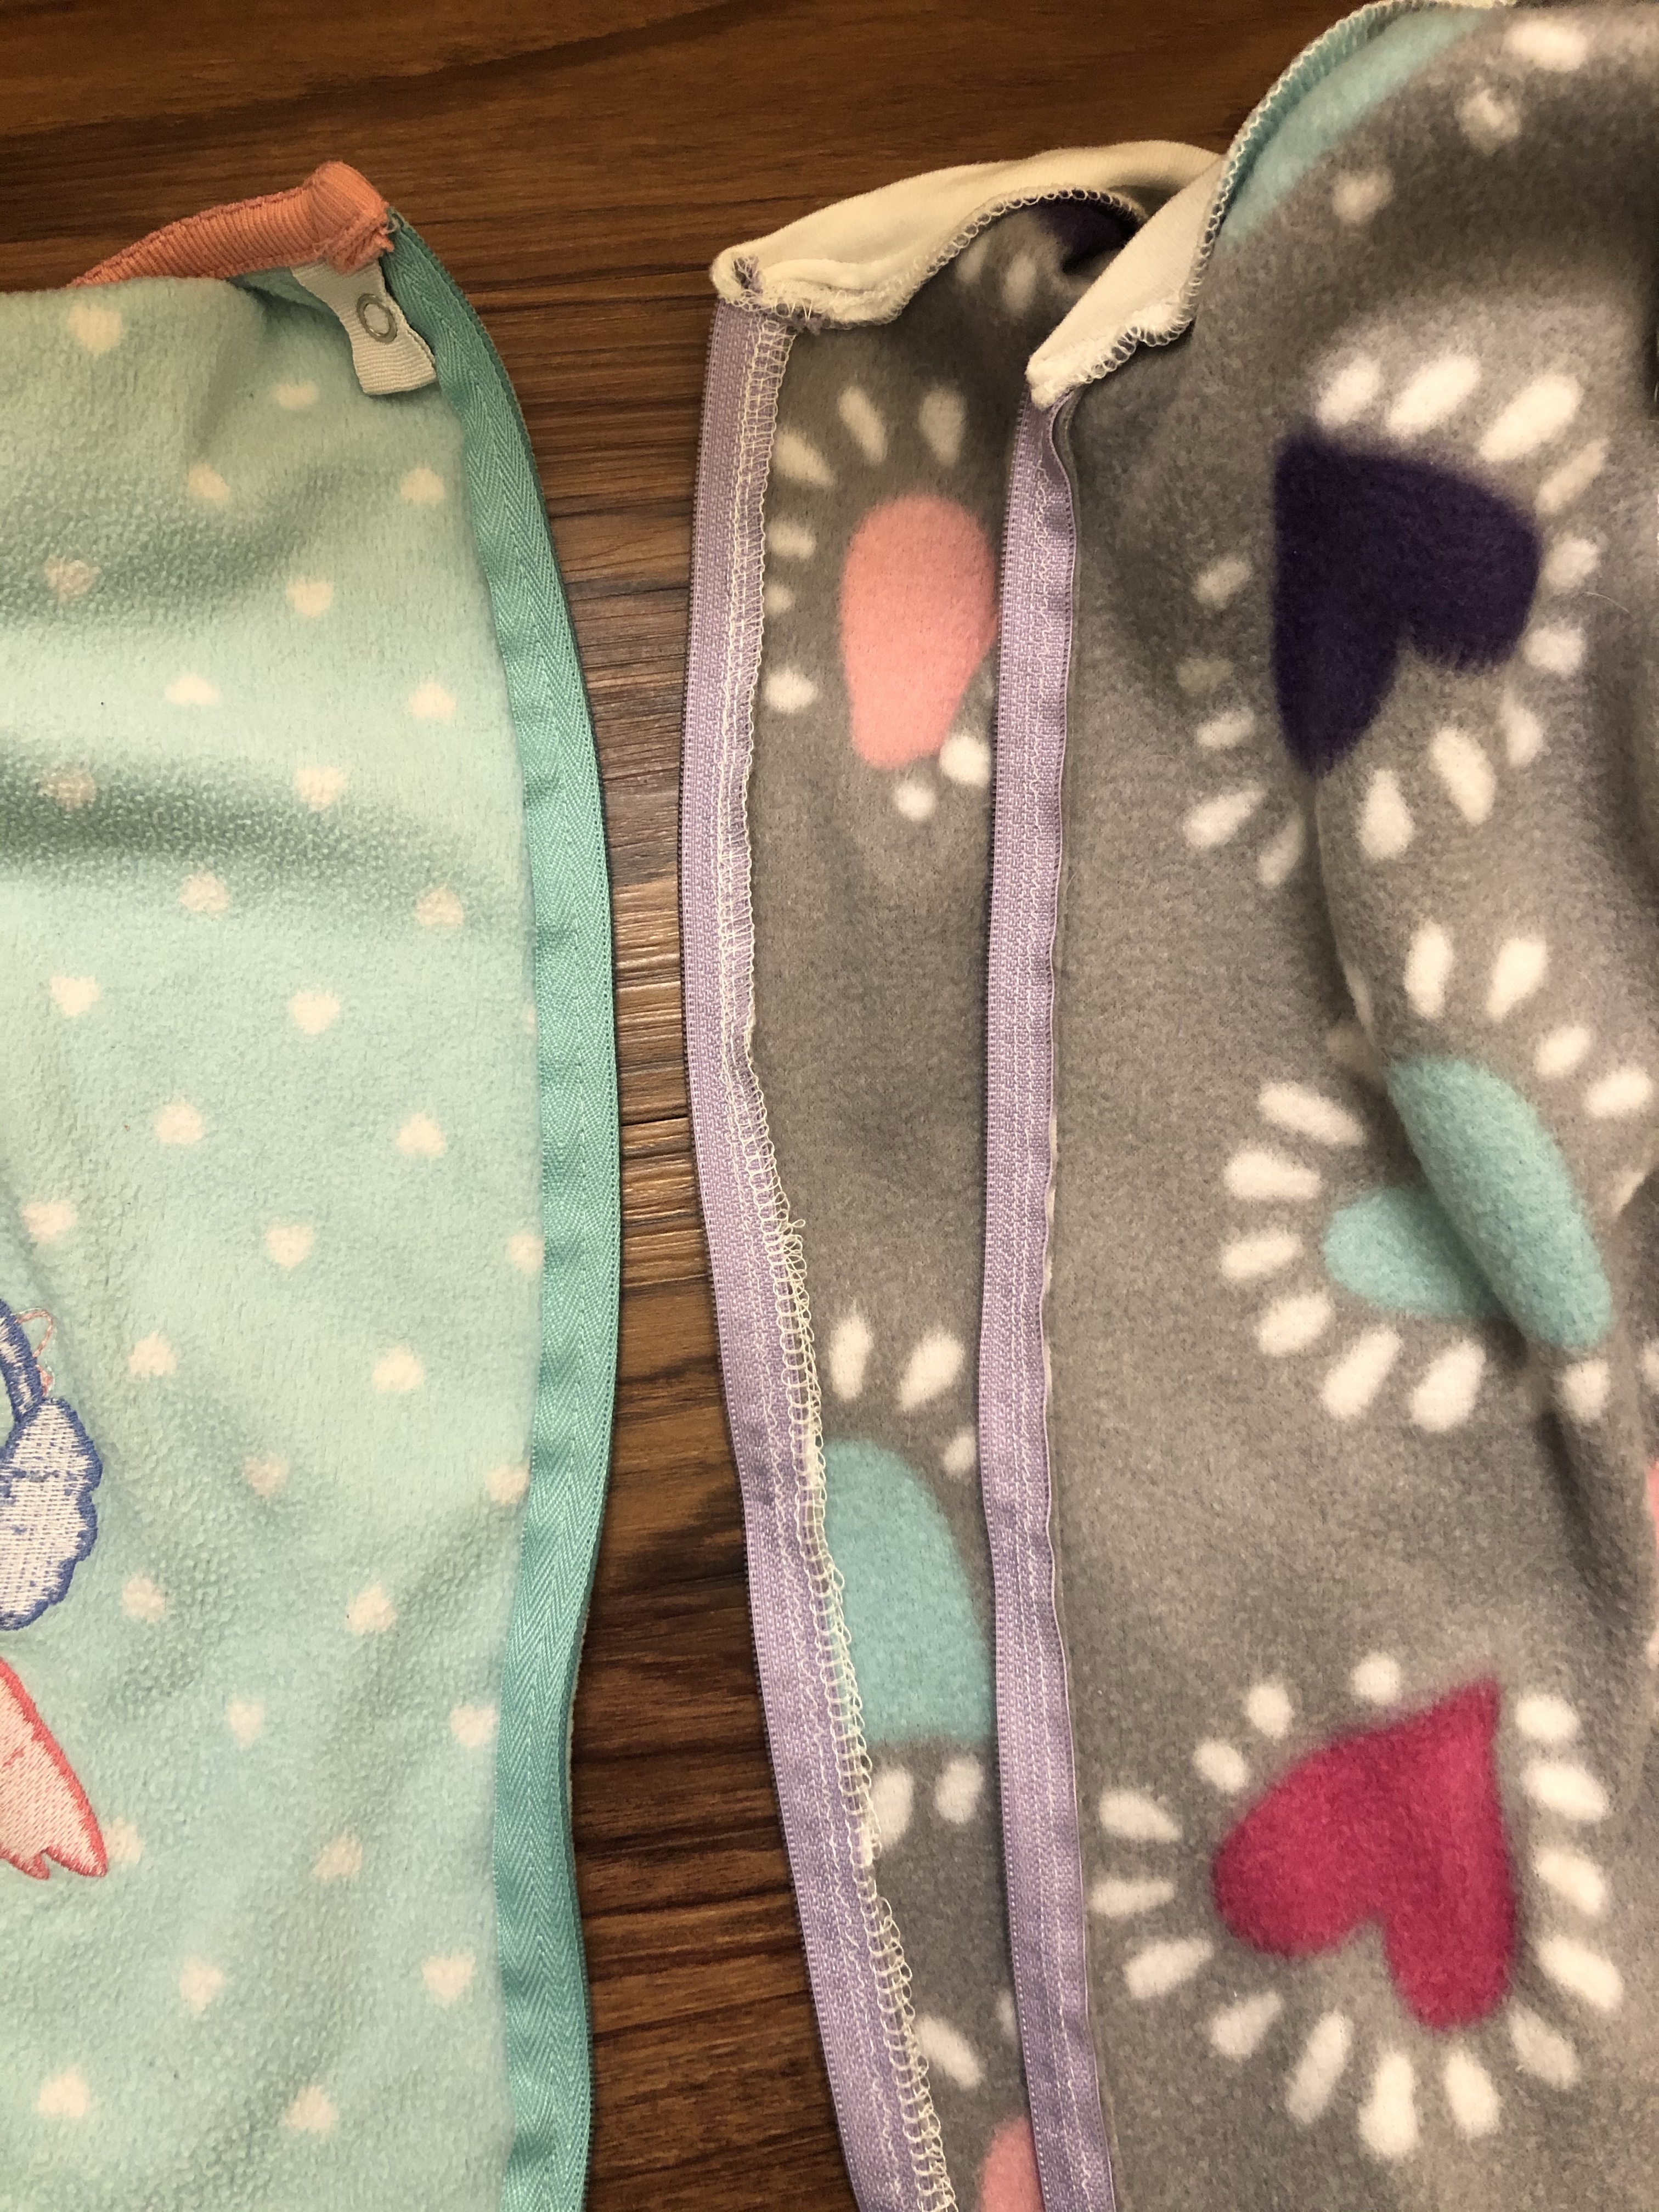
Oh! I did want to mention that for my first two pairs of jams, I was sewing on the zipper and then serging that seam. I was getting pretty frustrated because my serger just would not behave correctly for that seam only. But then I went and looked at some zipper jammies we have from the store and guess what? That seam is not finished! Phew! I had to wipe a bead of sweat off my brow and give thanks because that sure saved me from a lot of time and headaches. I don’t think the tutorial mentions that glorious fact that this seam can remain unfinished, but I’m not totally sure because sometimes I skim. But now you know and I know and we can all sew zipper jams with a little more peace of mind. The photo above has the RTW jammies on the left, the terribly serged finish in the middle, and the unserged but totally finished pair on the right, much cleaner!
Aside from the zipper, these pajamas really are very straightforward and they don’t take too much time or headache. If I’m remembering correctly (and I might not be), I made all four pairs in about 4 hours (not including time to cut out fabric). I had 2 yards of each color and had plenty left over. I used some of the left over to make little doll blankets for each girl and I still have enough that I could probably make a baby sized pair of jammies or two.
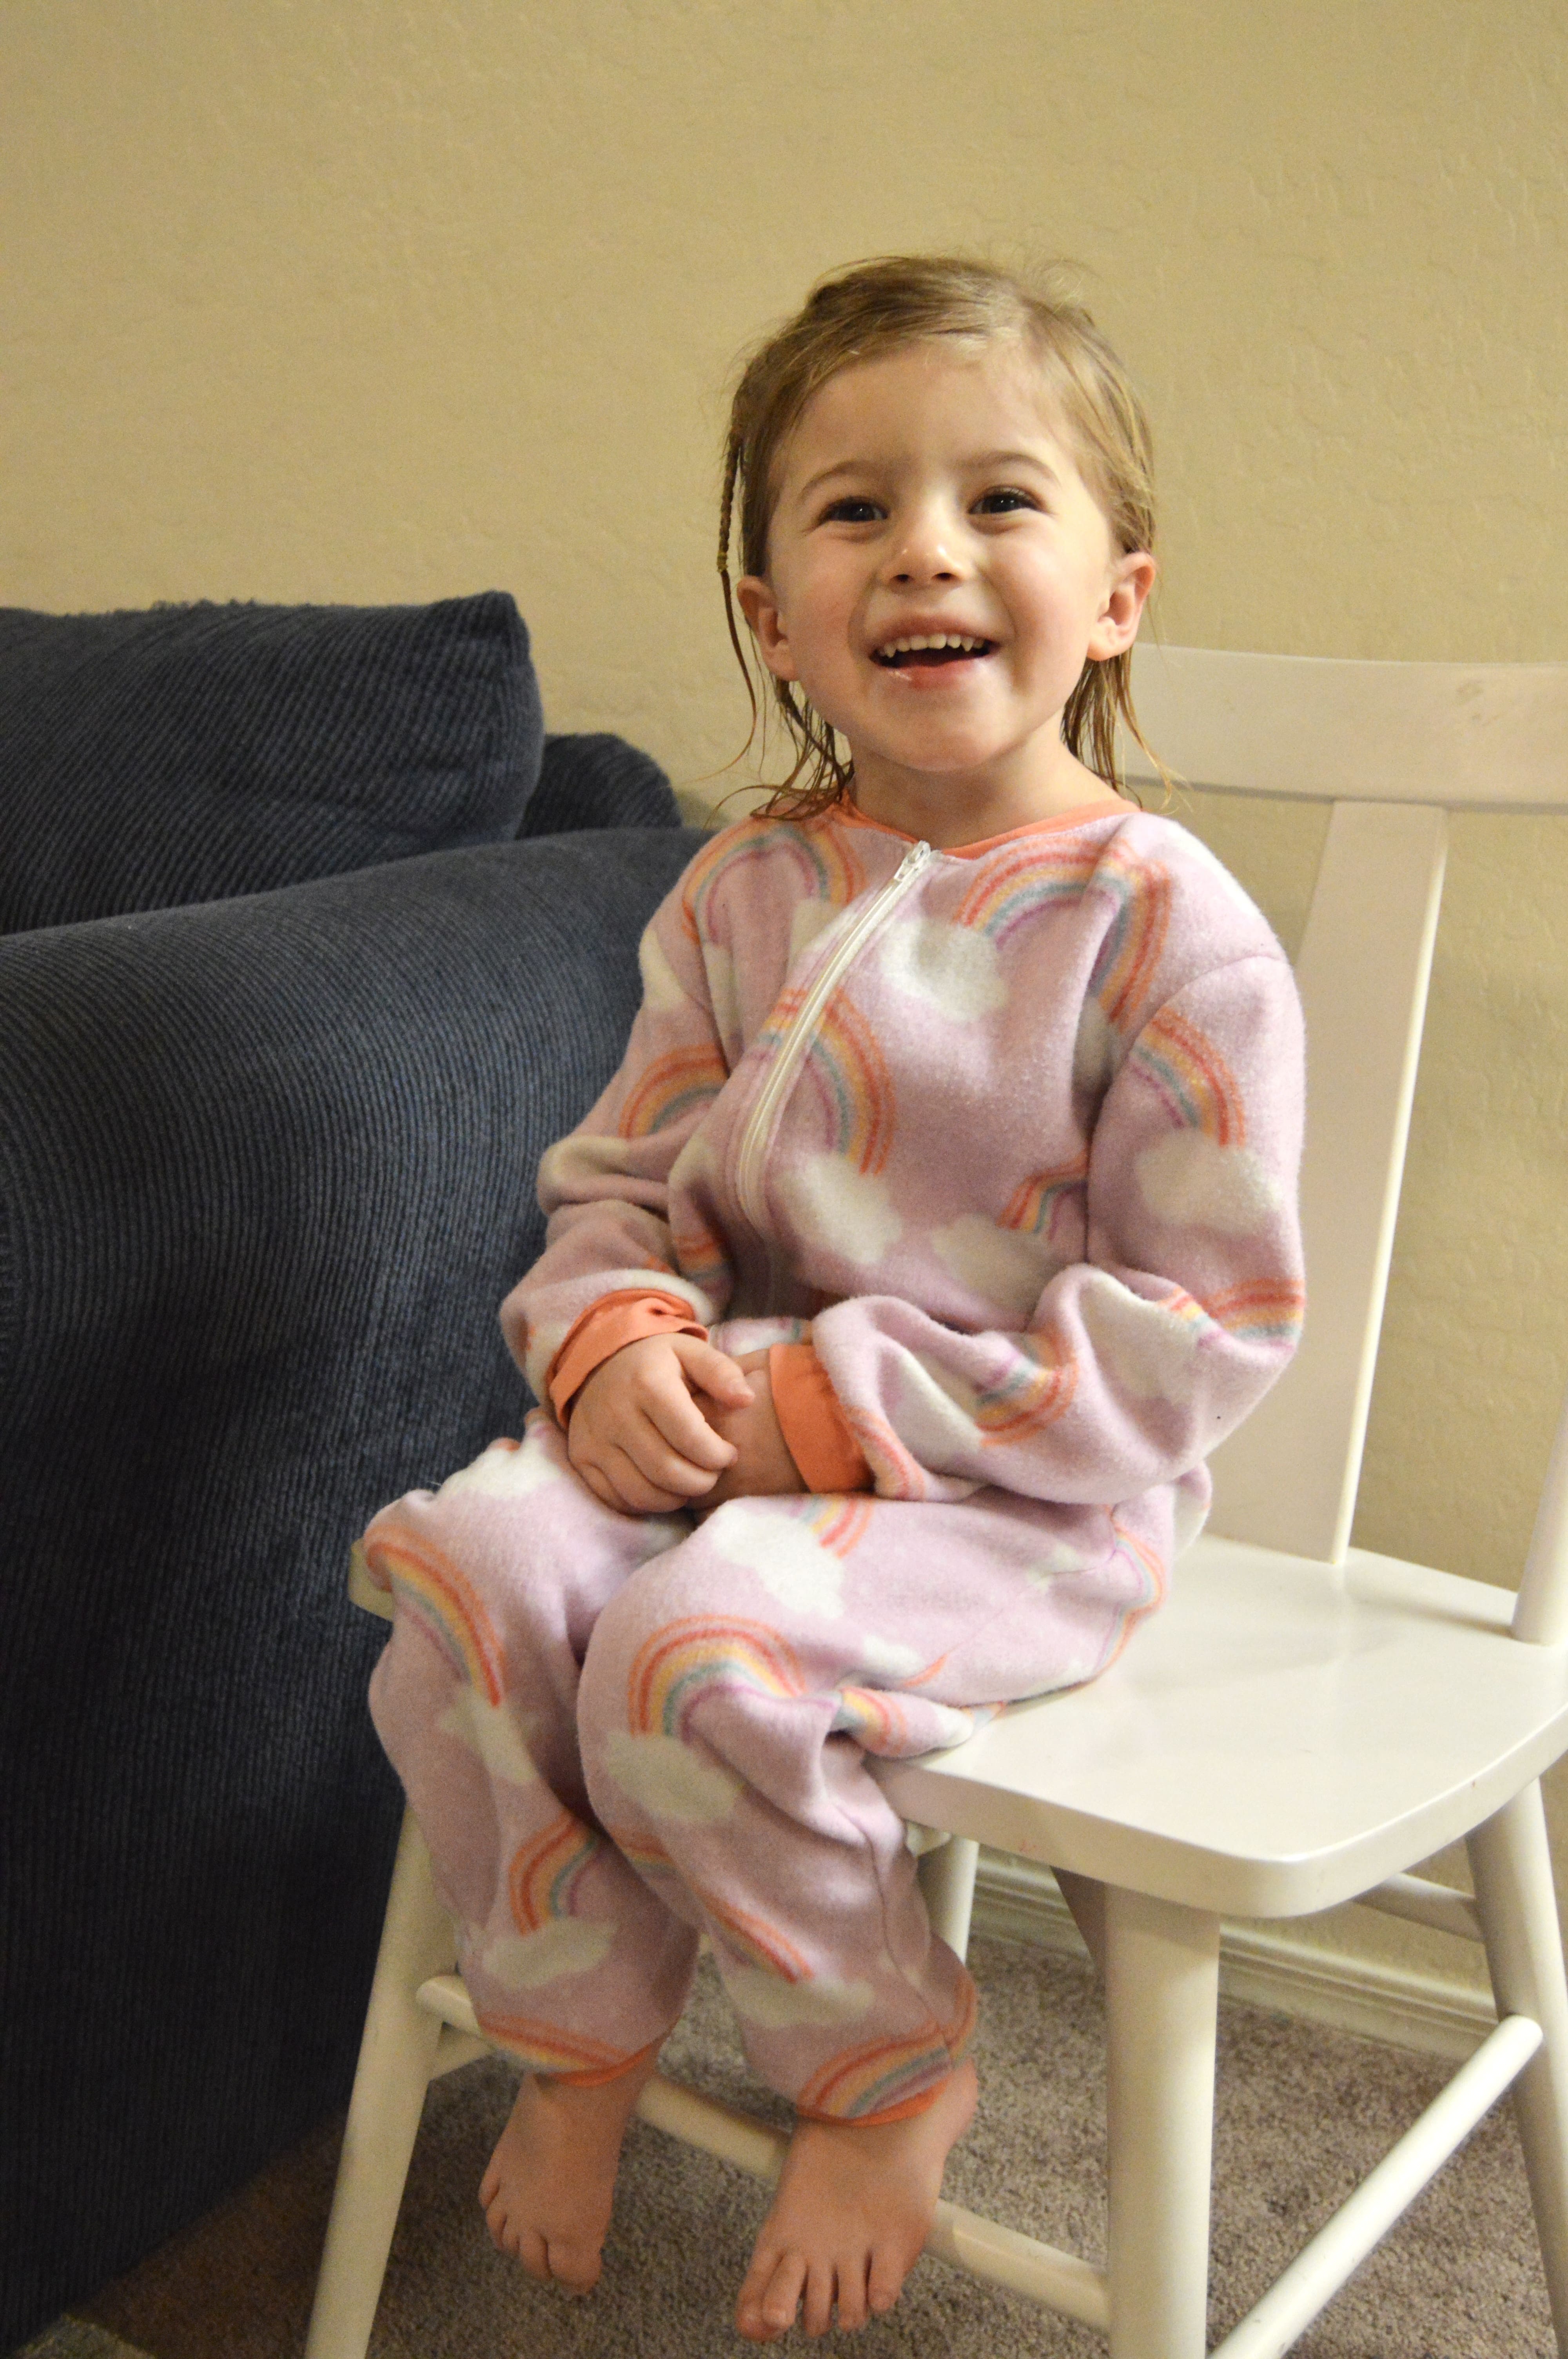
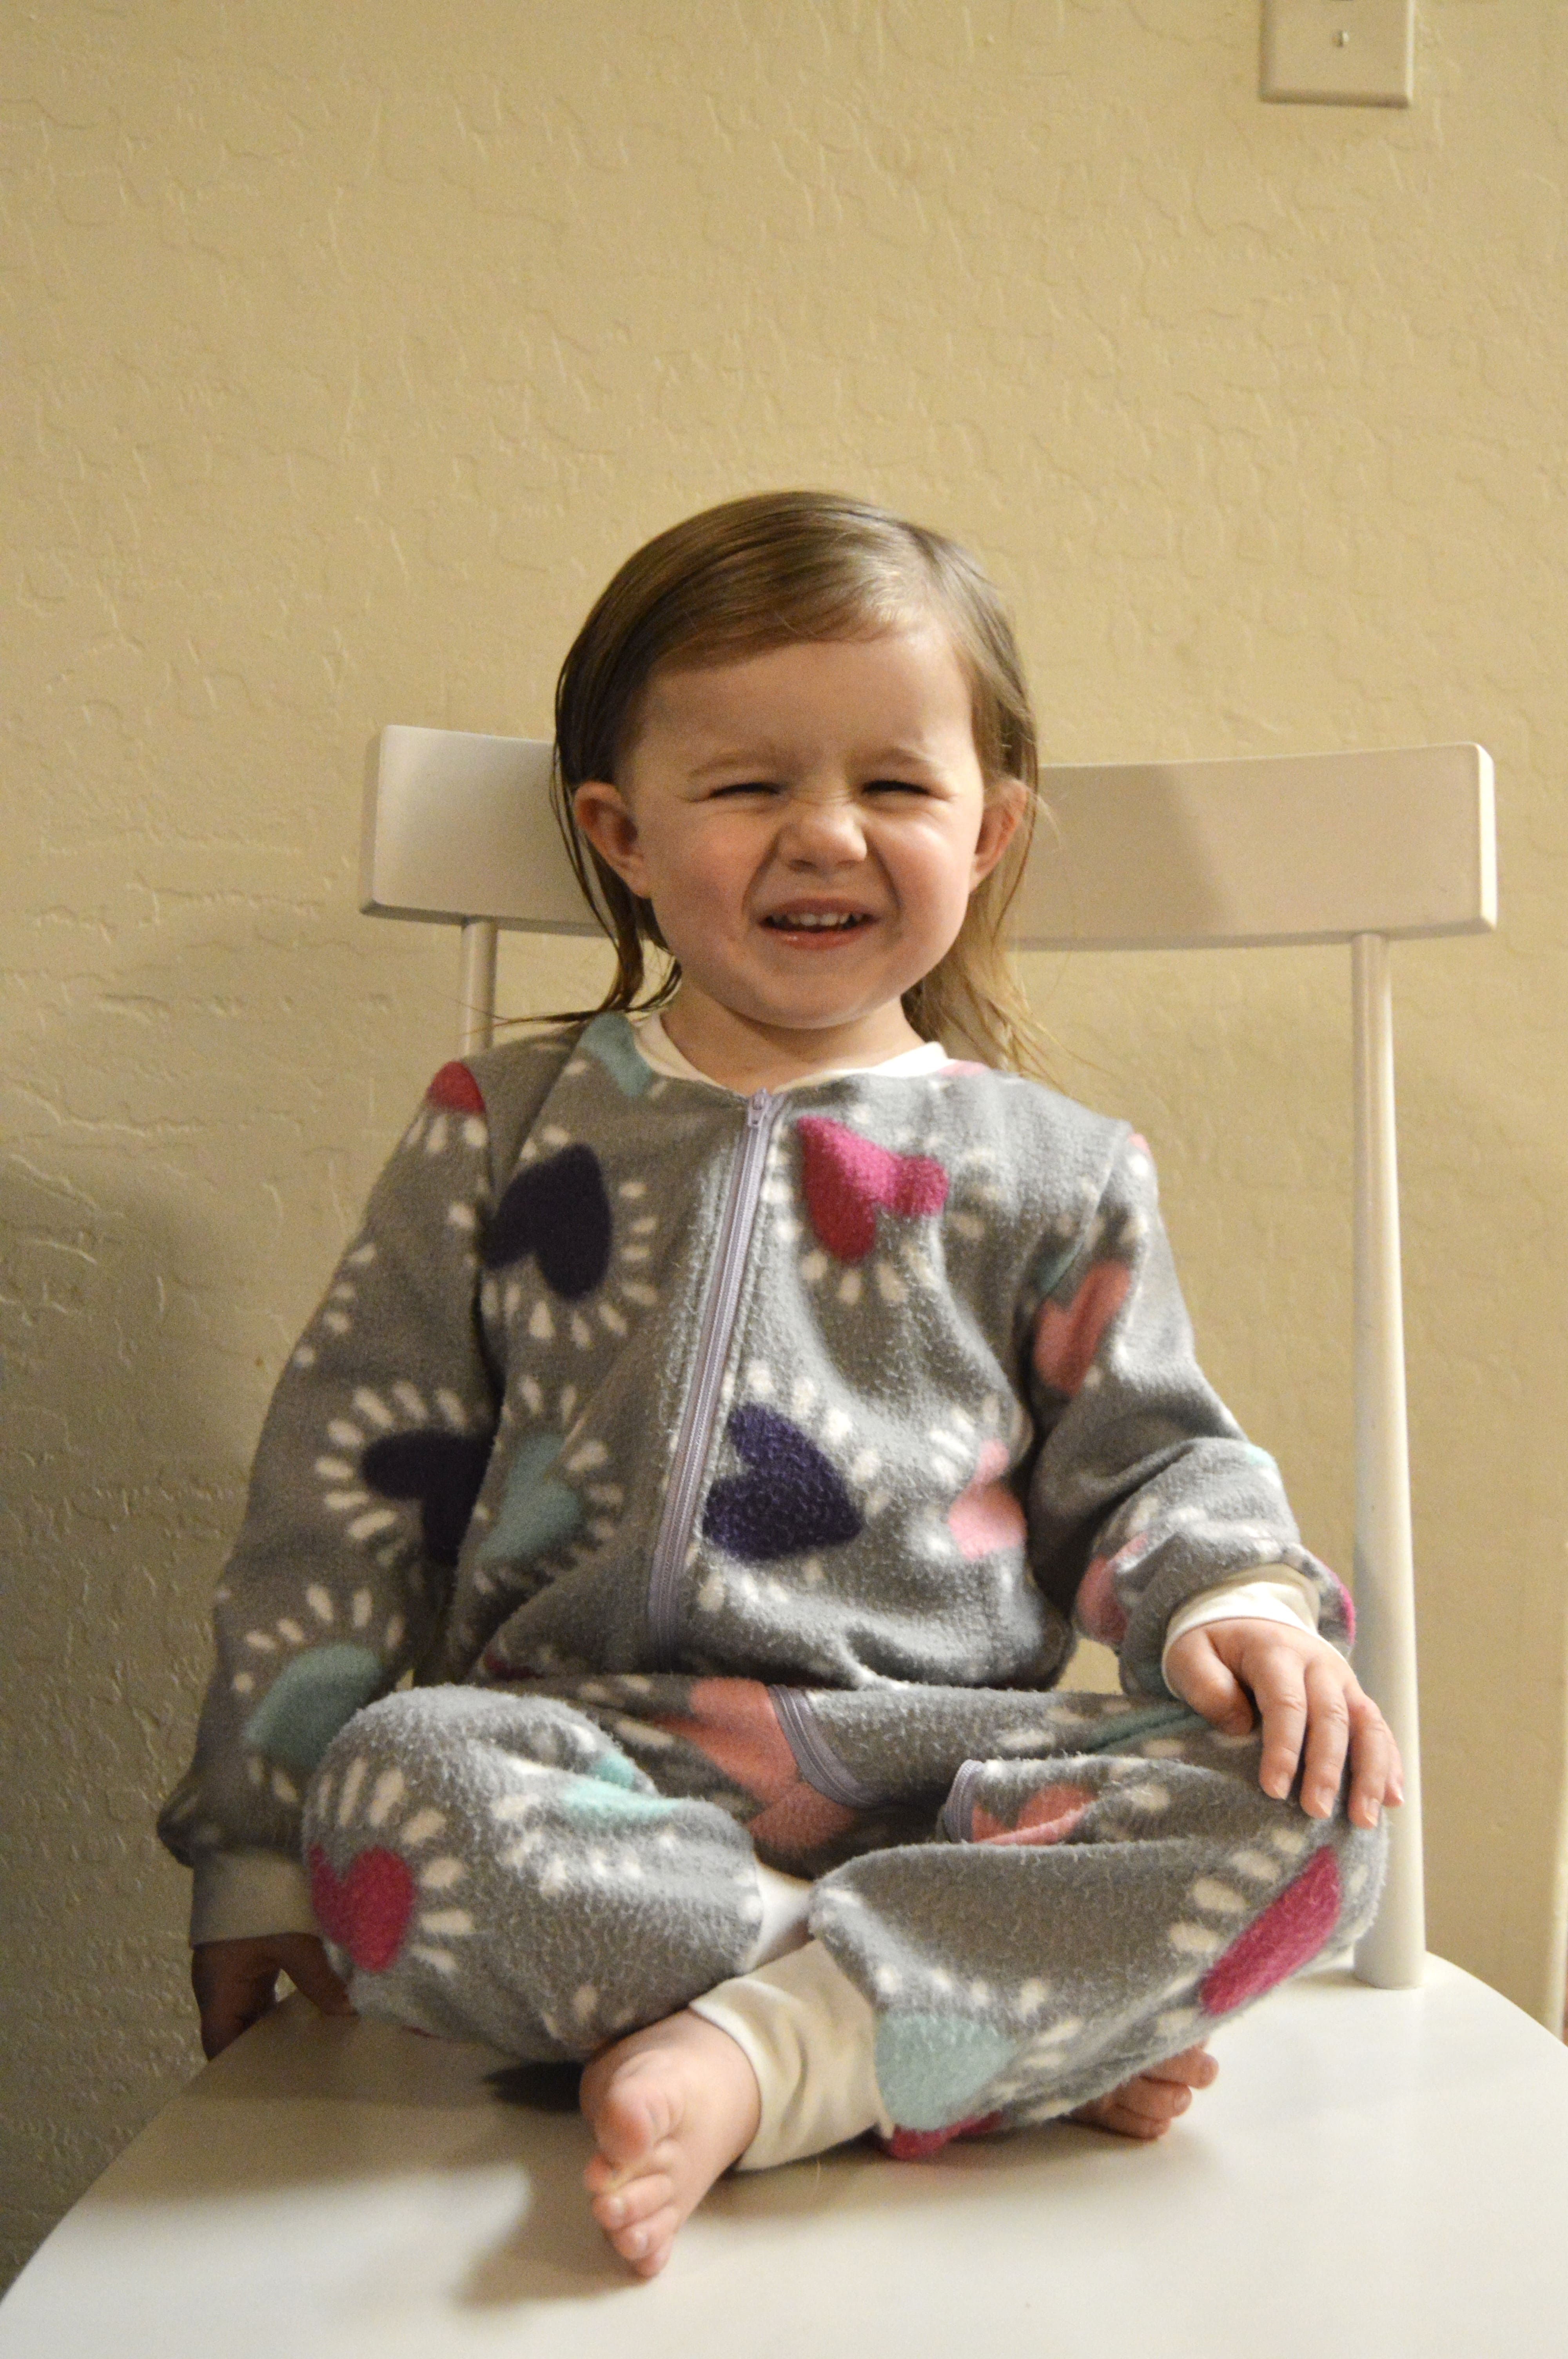
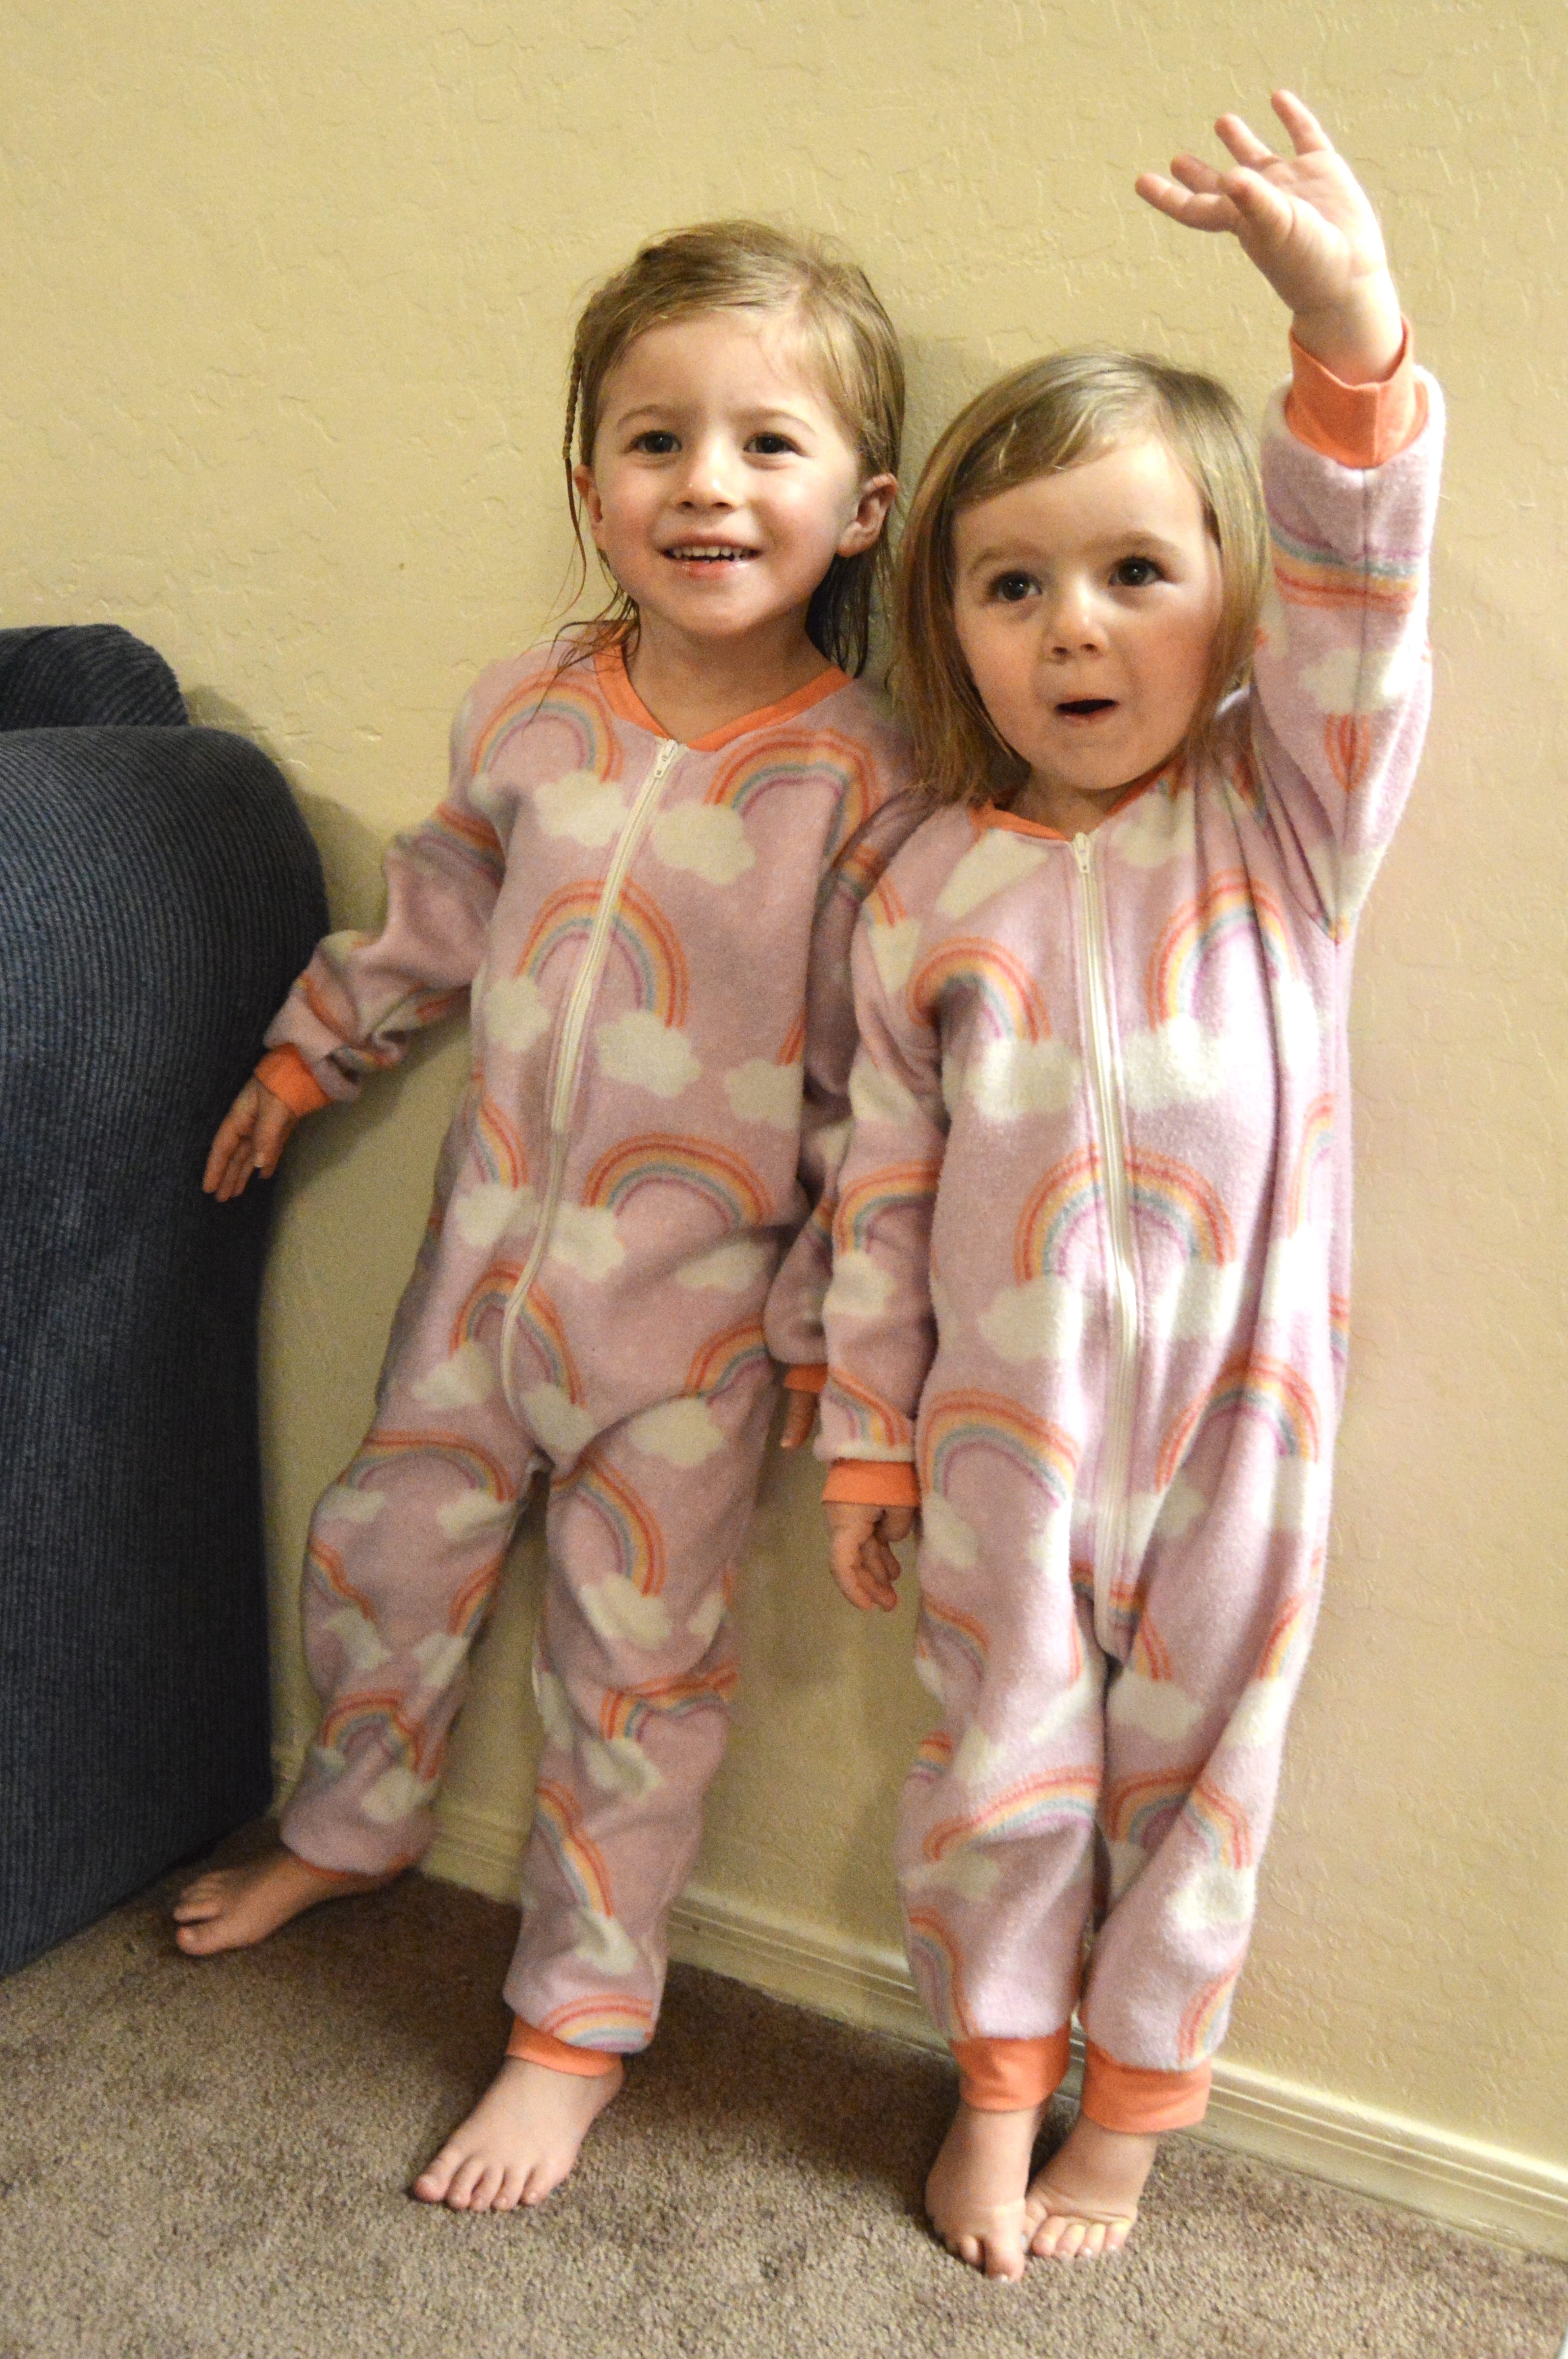
Making things for Christmas can be a little bit tricky since there is generally no trying on during the process. I measured everyone beforehand but I think there’s still a little bit of guesswork. I made Wendy a size 4 and I’d say it’s a touch big on her (but she is pretty little) which is fine. Room to grow! I made a size 2 for Greta and I think the fit is pretty darn perfect.
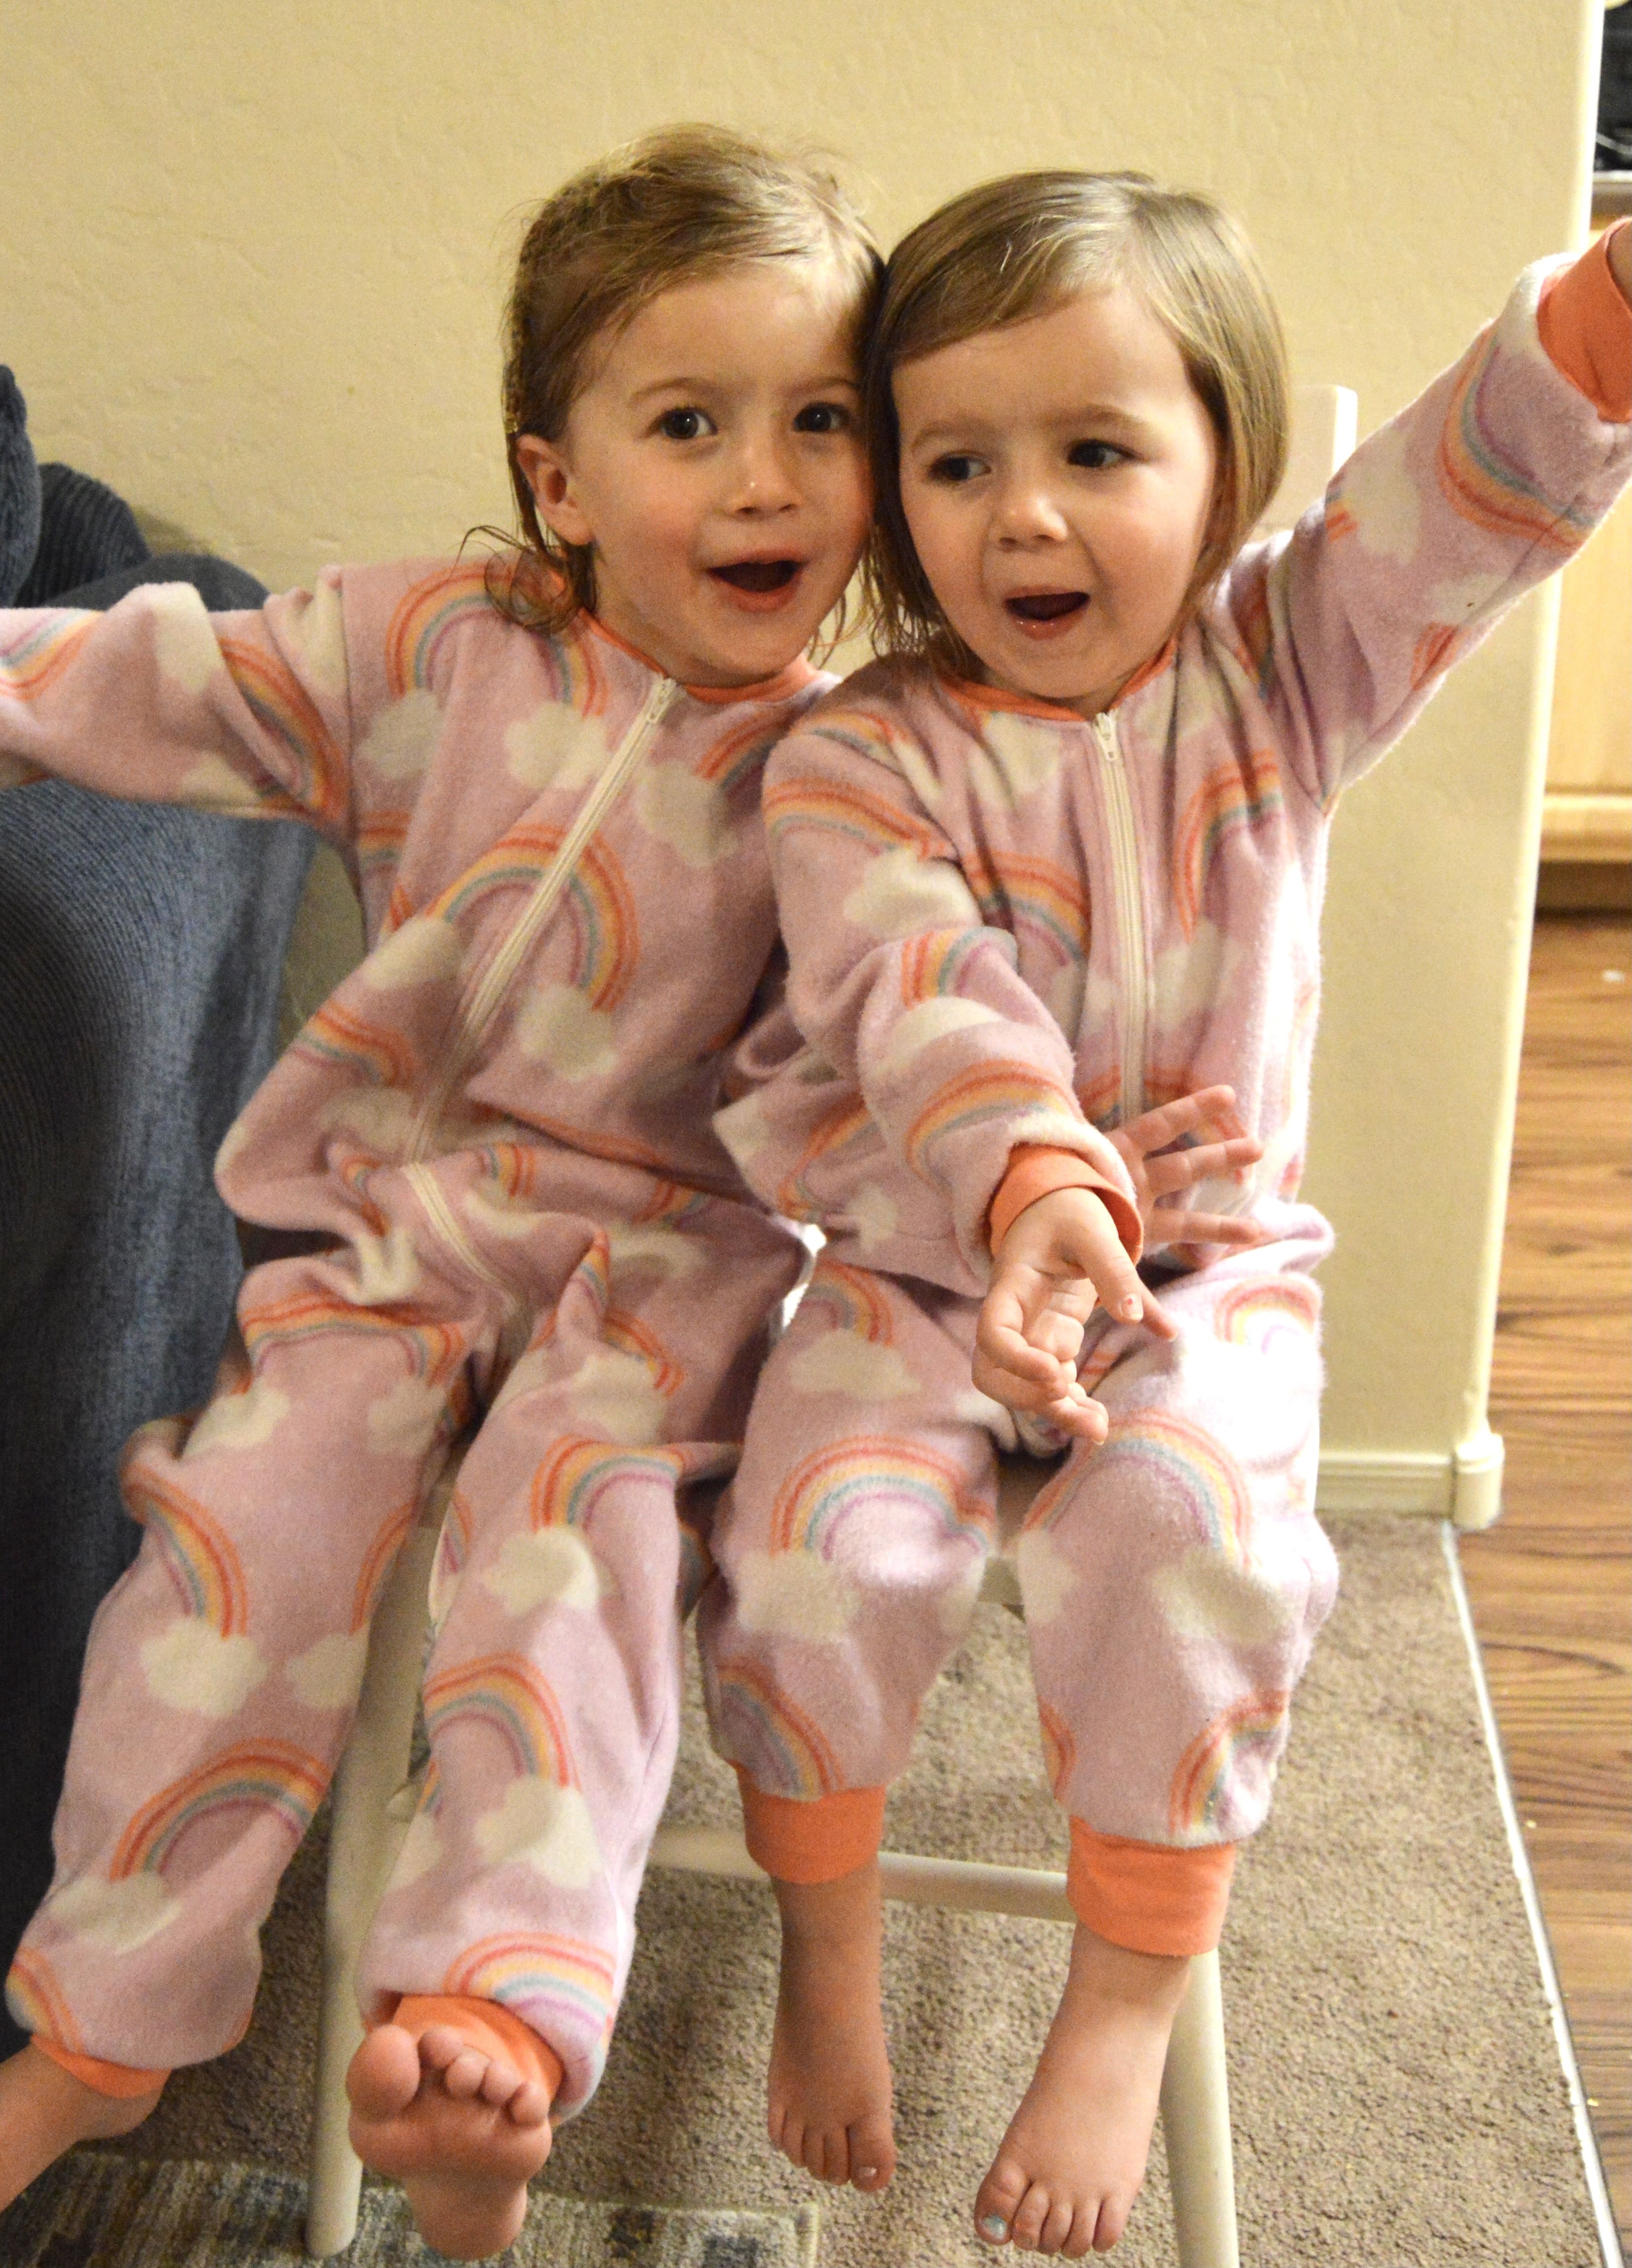
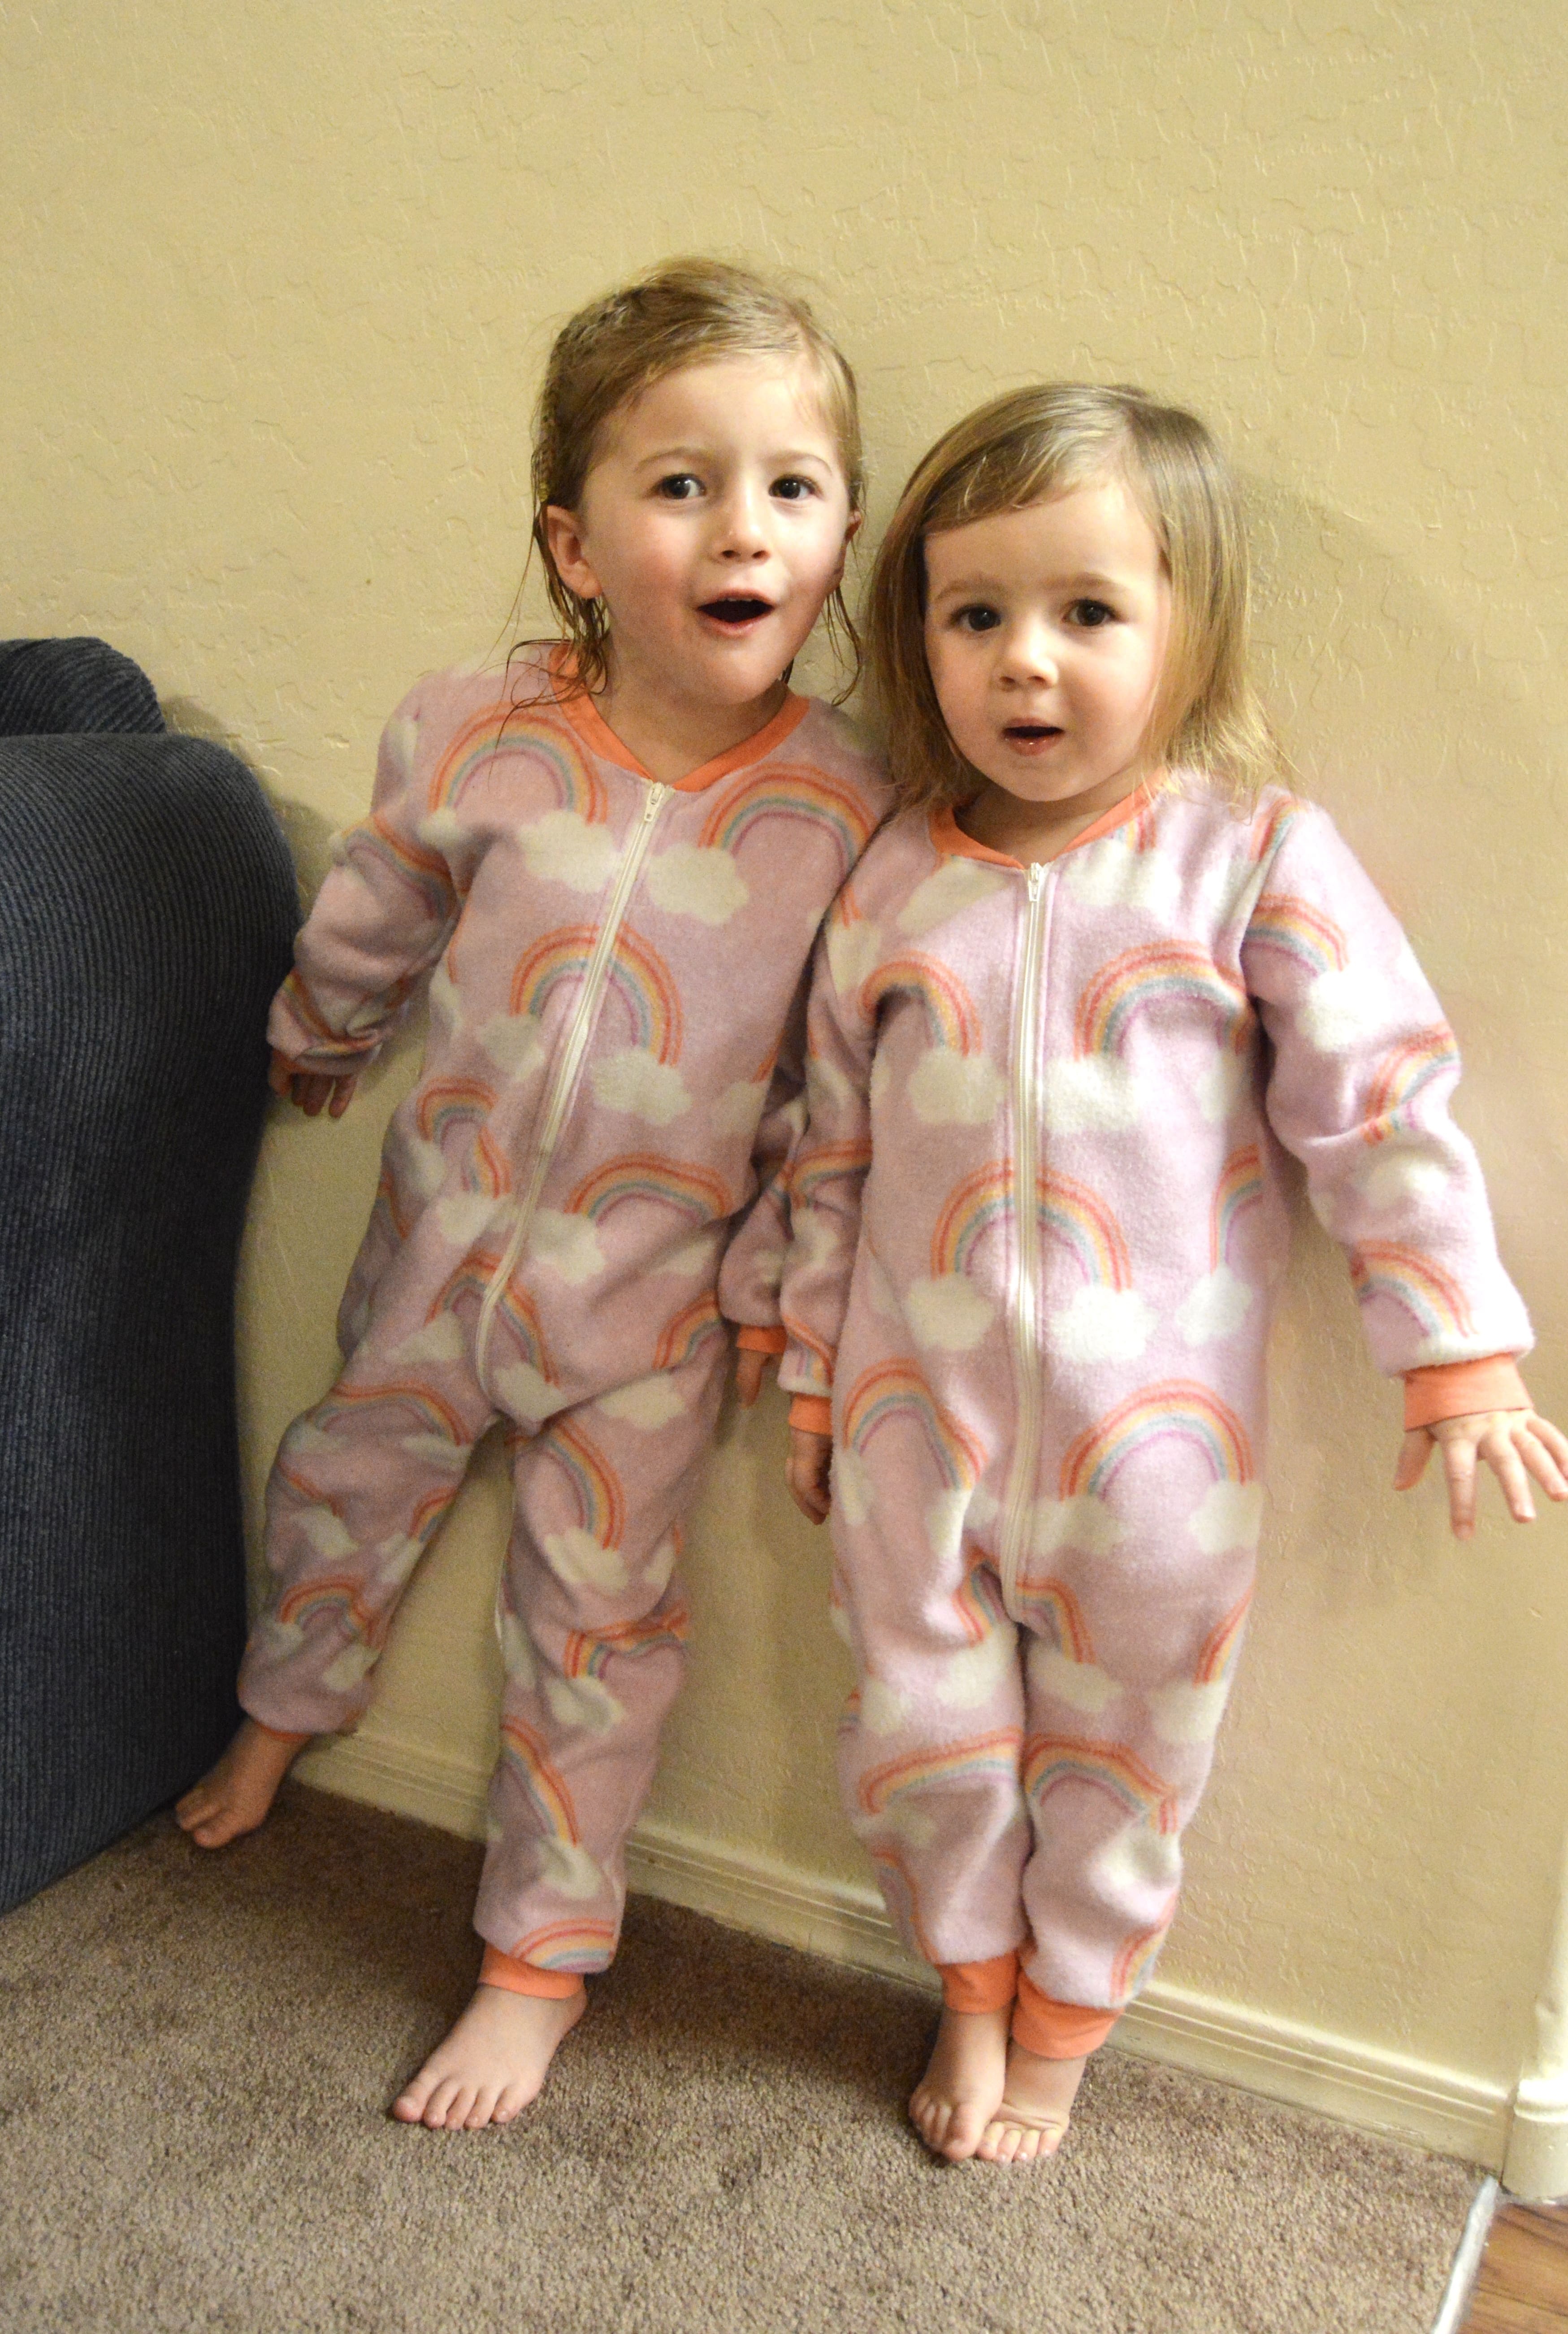
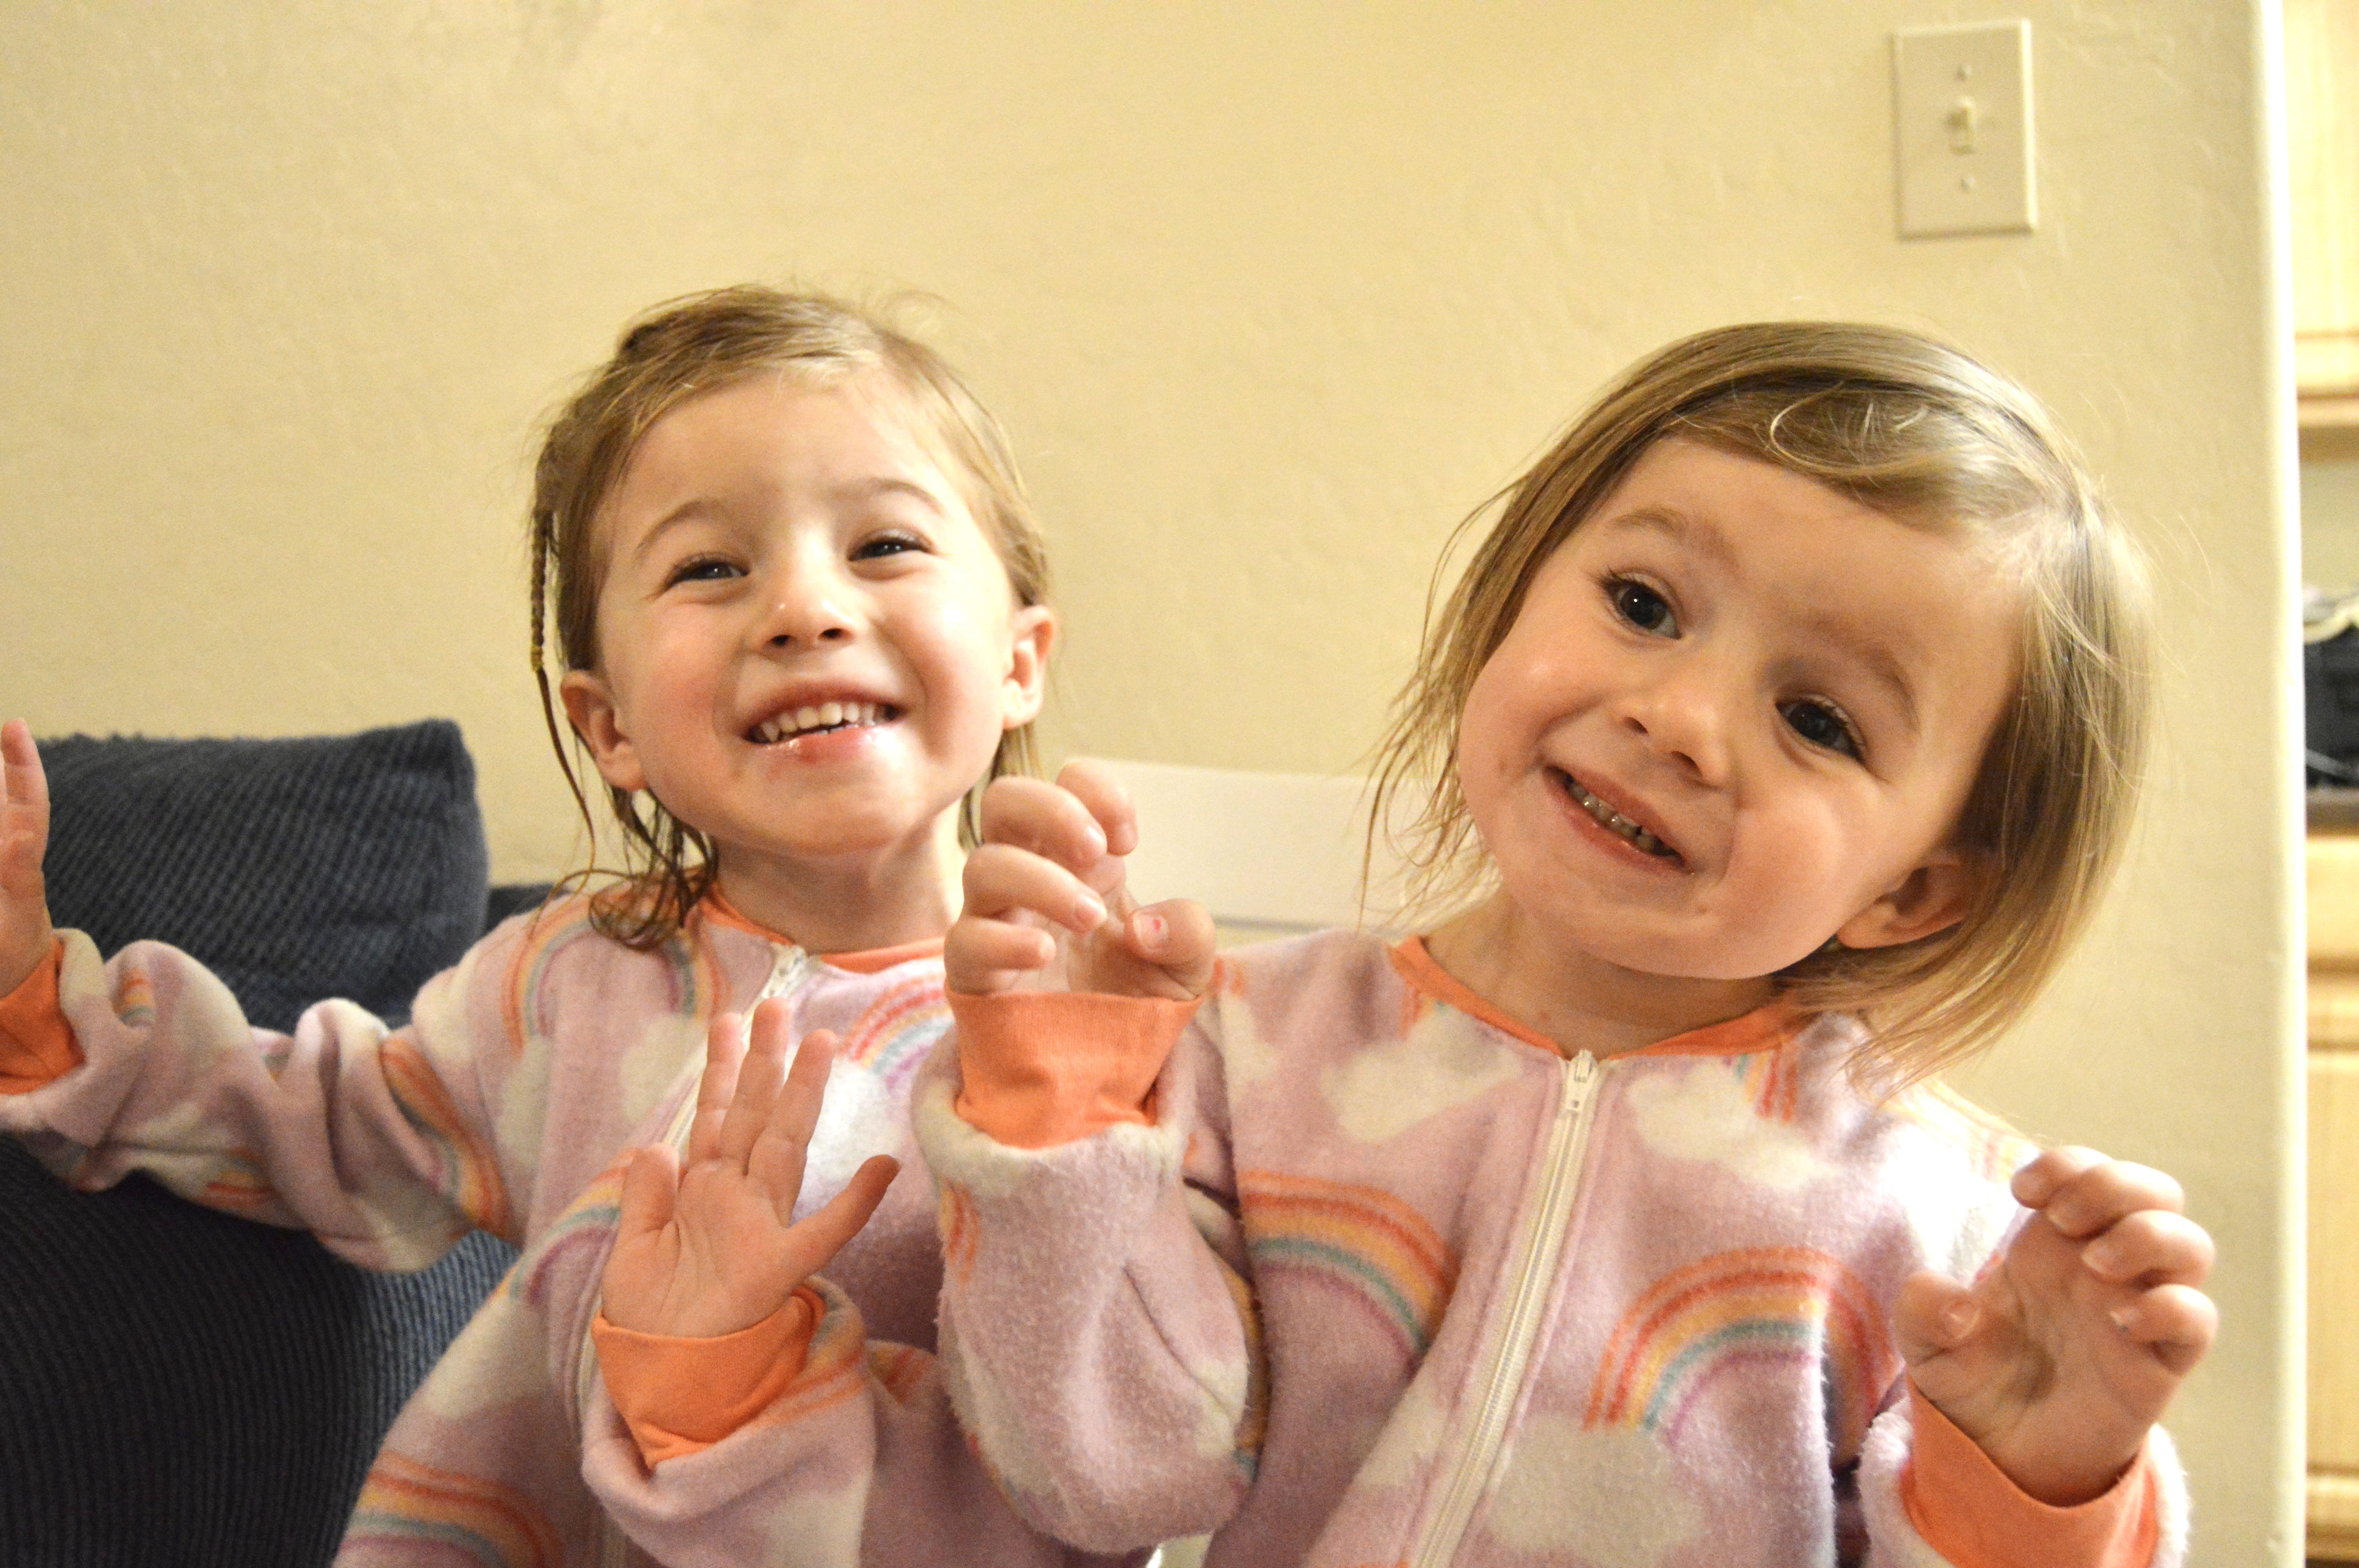
It was really fun giving the girls two pairs of pajamas on Christmas Eve so they could choose which one they wanted to wear. They eagerly chose the rainbow ones (duh!). And having two pairs at the ready proved to be worth it when, not an hour later, they each had experienced some sort of major mishap (spill) that required a pajama change. Heart jammies for the win! Both of the girls commented to me that the pajamas didn’t have feet, a fact they were very excited about (tears may or may not have been shed in our home because of those cursed jammie feet!). I think both girls really love these pajamas and Greta, especially, has been requesting them daily, so I think it was a success all they way around. I personally was really happy with the results.
Pattern: Classic Zipper PJs from Peek-a-Boo Pattern Shop
Sizes: 2T and 4T
Adjustments: None
Fabric: Blizzard Fleece from Joann
Cost: $16 for 4 yards of fabric, $7.50 (ish) for 4 zippers, $7.95 for the pattern (everything else was in my stash)
Would I make this pattern again?: Definitely yes! The first go round with the zipper was a little tricky but I got the hang of it. Since this is a staple item that will get plenty of use, I can see making this all year round (with a knit fabric instead of a fleece during the warmer months). The finish is nice enough that I’m also excited to maybe batch-make some to have on hand for baby gifts.

Hands down the best advice I learned about zippers & fleece is wonder tape, which you can get pretty cheaply on Wawak, too. It makes zipper sewing a total cinch, and neat, too.
LikeLike
This was mentioned in the tutorial. I’ll have to give it a try! Thank you!
LikeLike